
Believe it or not, this project was 100% NO SEW. And very very easy.
I'll show you how...
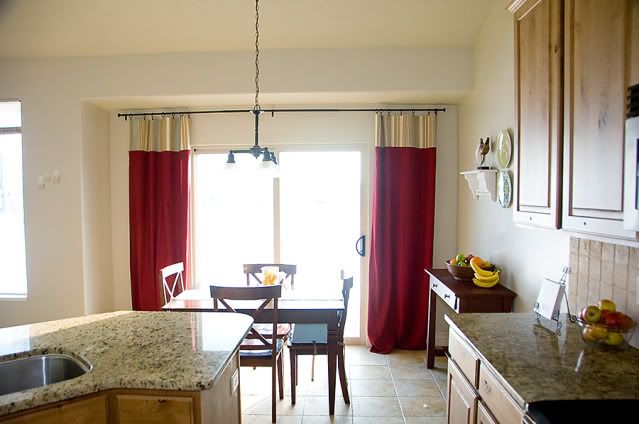
For starters, when we moved in, the back door was covered with these vertical blinds that didn't really do anything good for the kitchen or the door.
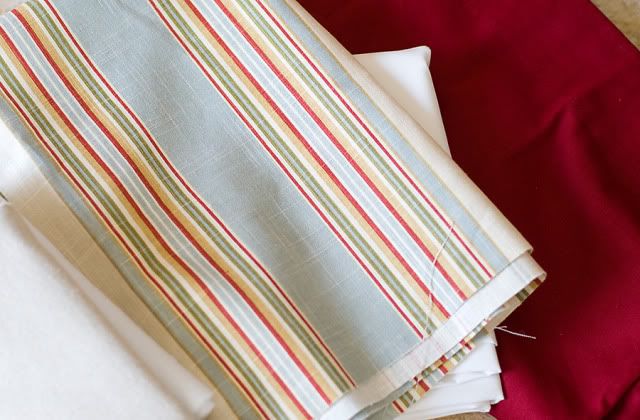
I found a pair of red sailcloth curtains on clearance at the good old Target in January for $11. I decided we couldn't beat that. The colors throughout most of my house are red, a limey green, and a few different shades of blue (aquas, turquoise and light blue) But we have mostly blues and greens going on. I thought the red would be fun.
Here's what it looked like from the very first phase:
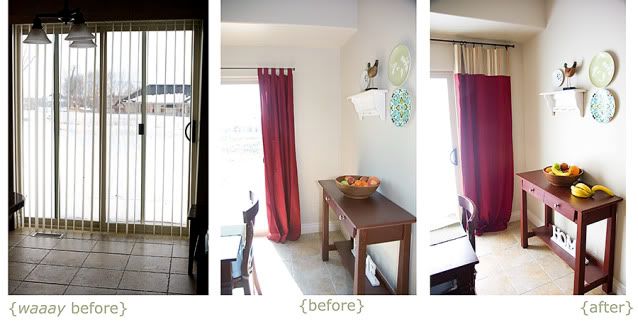
The red tab curtains where better than the plain old vertical blinds, but they just didn't do it for me. So I brainstormed and searched for the perfect coordinating fabric.
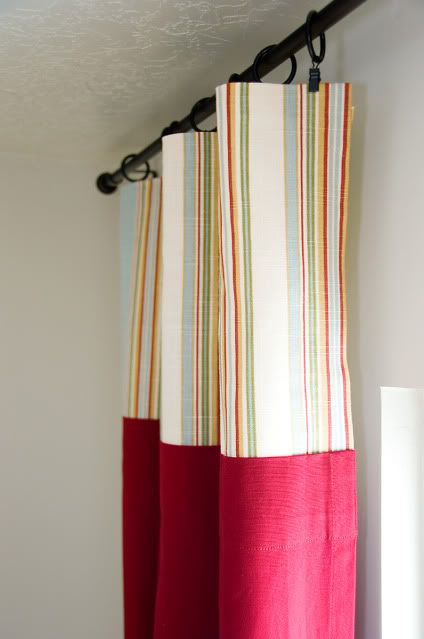
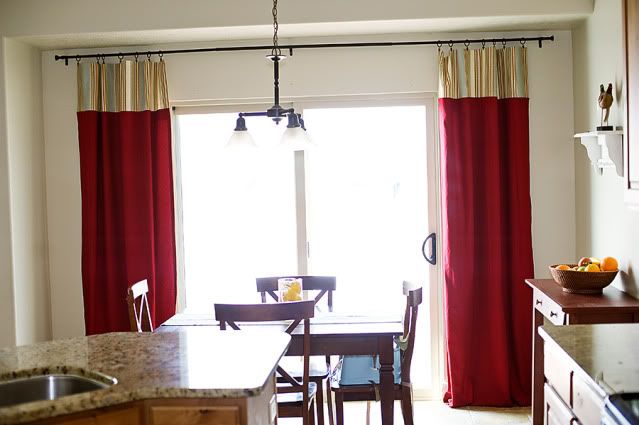
When I found it, I turned them into this:
By adding fabric to the top and hanging the curtain rod higher, it gives the illusion that the windows are larger. Let the curtains hang all the way to the floor, these even bunch at the bottom a tiny bit, which I may or may not change. For now they're fine.
I cut the tabs off, going for a more tailored look and used metal clampy ring things to hang them. I think they add a nice touch.
First of all... make sure the fabrics you choose are of similar weight. I found a nice woven fabric that was identical in feel and weight to the sailcloth. This will ensure that it lays as it should. My fabric just happened to be a remnant left on the roll at JoAnn's, so they gave it to me for 50% off the 40% off sale price... you follow me? That made it about $6.00 for nearly a yard. It should have cost a little over $20/yard!
So the first step was to use a seam ripper to remove the tabs. They came right off, and where attatched in such a way that you couldn't even tell that I took them off and a nice hemmed edge was left. I actually flipped the panel and used that for the bottom of my curtain.
Next, if you haven't used stitch witchery, I suggest now would be a good time to get acquainted with your new best friend. It's really easy to use, comes in various widths and bond strengths.

This is perfect for making hems where you don't want a seam to show. If you can iron, you can use this stuff.
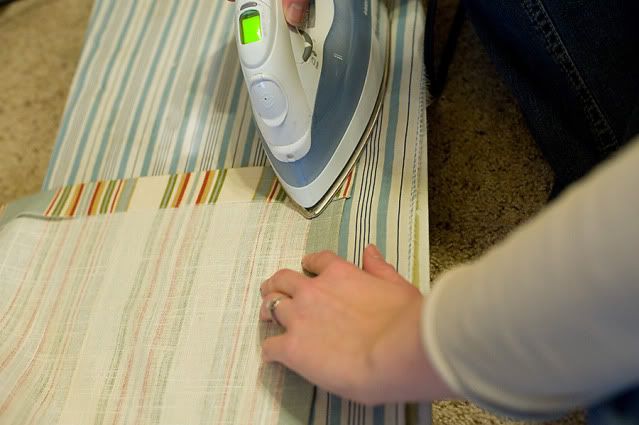
Next I ironed a nice hem line all around the patterned fabric.
Then attached the patterned piece to the sailcloth.
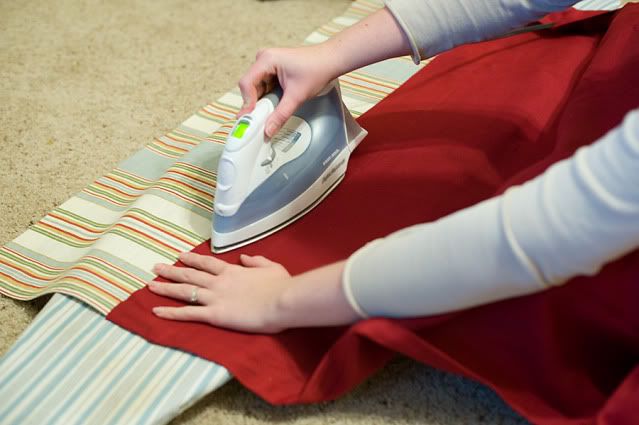
Ironed both sides really well to make sure the bond was secure.
I used the factory perfect hem on the bottom of the original panel for detail on the top of my new panel where the two fabrics meet.
And that was really all there was to it.
Could I have just sewn it? Yes, and originally that was the plan, but my sewing machine was having a mechanical problem so I improvised. I think it ended up working out really well though, and I ended up really liking the no seam look.
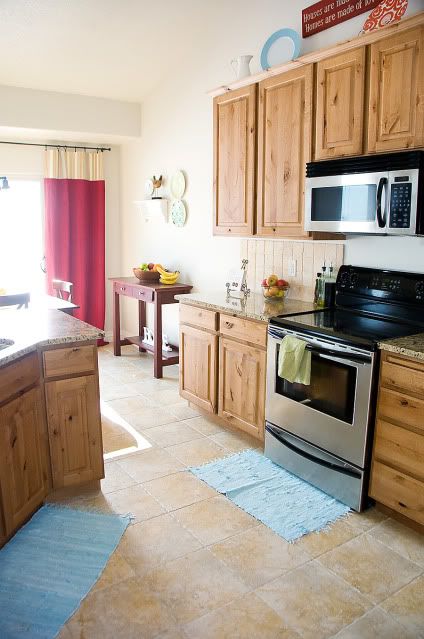
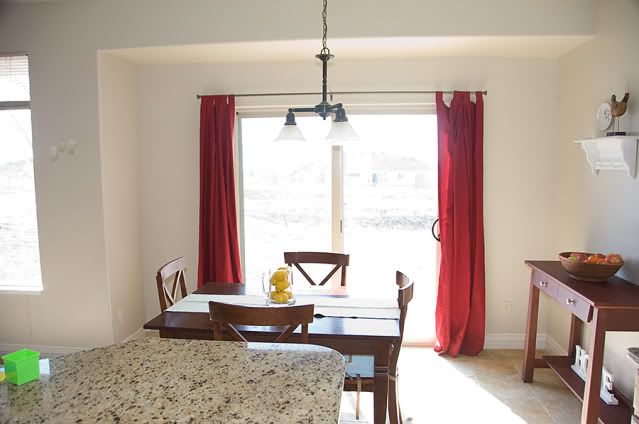
Here's the larger view of the colors in the kitchen (there is a bright green rug behind the camera by the fridge that you can't see as well.)
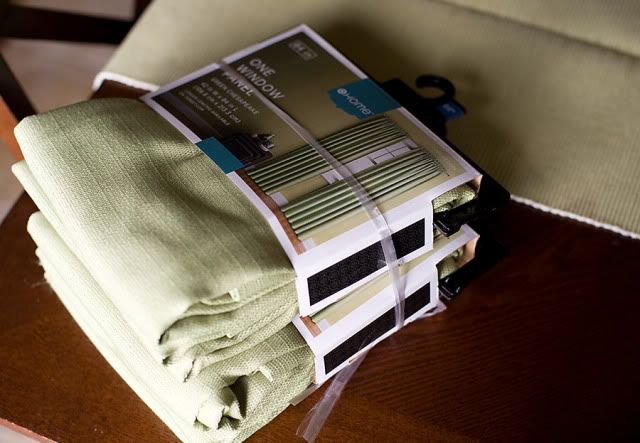
I went to target today to exchange a bike helmet for my little boy and found these beauties on clearance for $7.99. They bundled two of them together too! (they were originally sold separately. I still don't get why they did it that way, but it worked out well for me!) I'm thinking another set will be coming to my living room soon!


14 comments:
Love these. I like how the red panel comes up the window just perfectly. You planned that right, :) I am learning so much from you. My husband thinks we need to hire someone to do window treatments. Now that my new best friend is stitch witchery we may not have to.
I love the coordinating fabrics. The striped fabric really pulls in the color from your kitchen cabinets, too. Great job! I love them!
What a difference, added a lot more style to the room. I am not big on blinds and have been trying to figure out how to dress our curtains up. Now I know. :)
I love this! And - I just happen to have several red sailcloth panels hanging on my windows right now! I see a project coming in the very near future... now just to find the perfect coordinating fabric...
I love how much brighter the rooms is without the vertical blinds, looks great.
Pretty! The coordinating fabric you found is perfect!
~ Sarah
Very cool! Great (easy) tutorial - and they look so nice!
Brilliant idea! Looks great!!!
Thanks, ladies!
I love these curtains. I'm going to try to make some for my kitchen. Way excited. And I liked the clock too. So simple but way nice.
I have a very similar (but broken) vertical blind hanging over my slider door right now, and I have been trying to decide what to do with it. I love that you used premade panels. I will have to start searching Target and others to find a good deal. I want to do this!
I love how you customized these! The tabs were definitely lacking something, what a difference!
Nope, not the same fabric I used, but I just read through over 6 months of posts to find out! Love the way you updated the drapes!
I Will Be Coming Back Soon, Thanks for posting Some Great ideas and I'll try to return back With A Completely different browser to check out Things! Also, I put a link to your blog at my site, hope you do not mind.
Post a Comment