Showing posts with label bedrooms. Show all posts

Friday, October 29, 2010

master bedroom paint and odds and ends

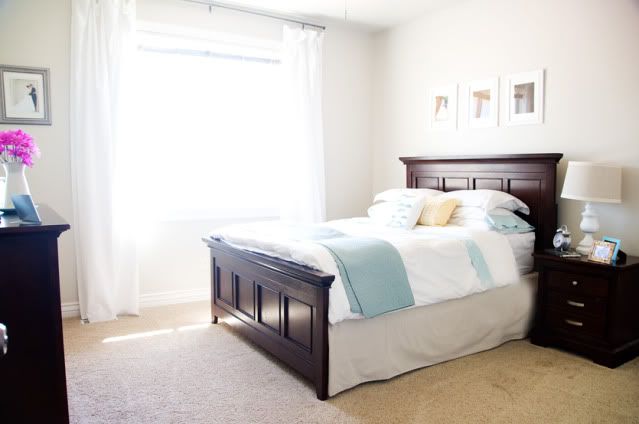
Another room painted! We actually painted this one about 6 weeks ago, but I never posted about it. The color is Valspar Bay Sands, it's a nice soft warmer gray. I wanted a gray that wasn't icey cold, and I didn't want it to have any purple undertones, so this was perfect. I LOOOVE it next to all of the white in the room.

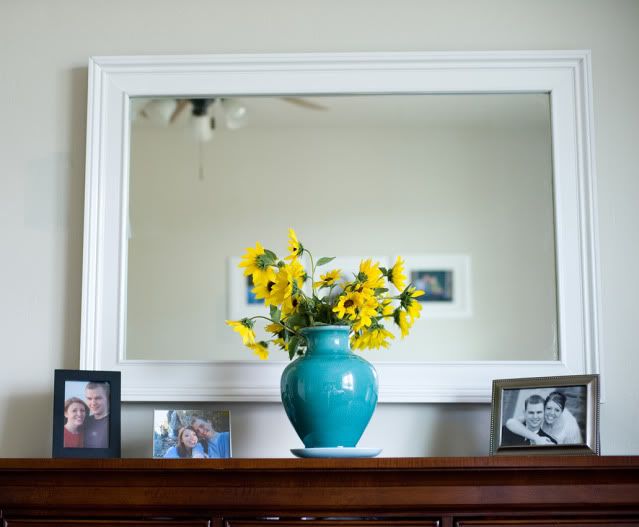
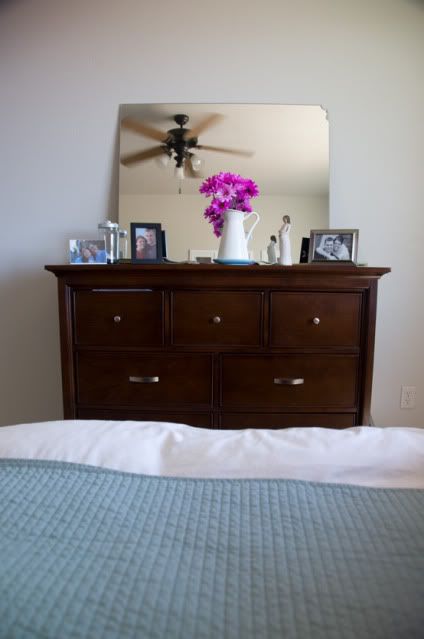
I added the mirror because I felt like we really needed something "shiny" and I'm still looking for a few more shiny things to spiff it up a bit.
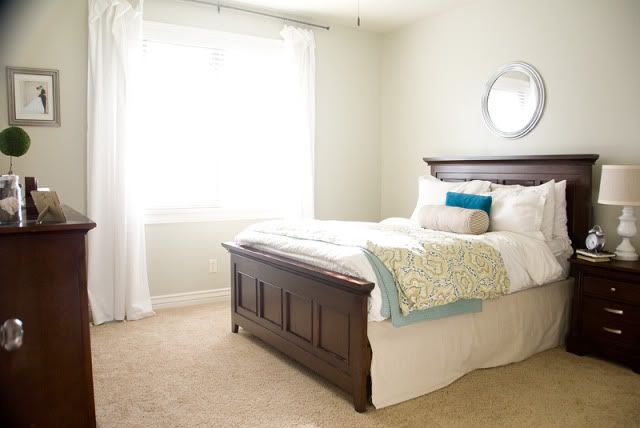
Here it is before...
and here it is WAAAY before... right after we moved in.
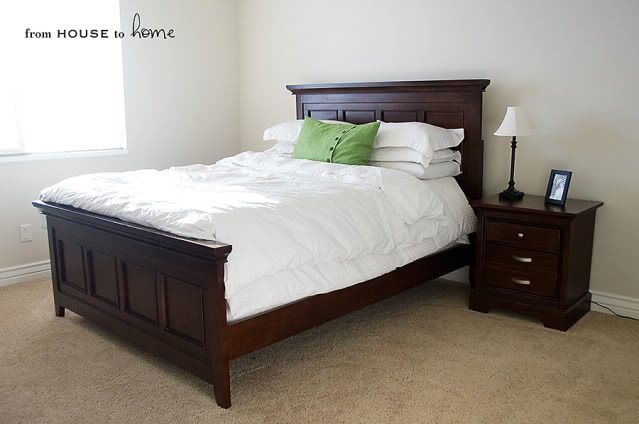
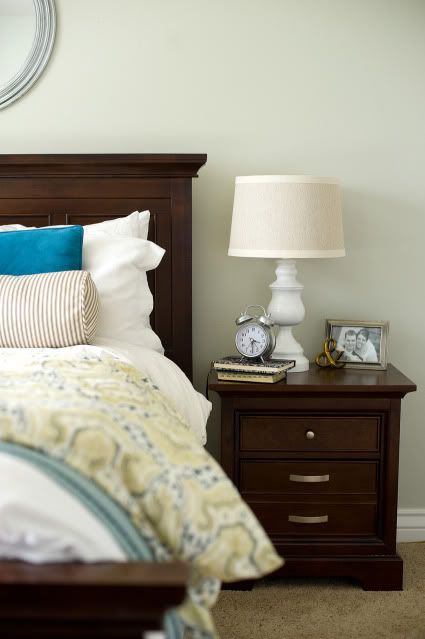


We always throw an extra down comforter on in fall and winter, so I decided to add more color and texture by finding a new duvet cover. I think she's gorgeous, I love it.
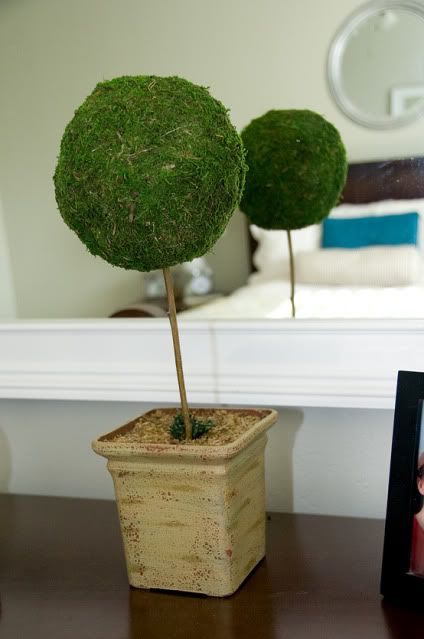

I made this topiary using a (foam) pot thing that I already had. This had something leafy in it, it's been in the pile to donate to the DI for months now, but I dug it out and gave it a second chance. I had to use wire cutters to cut the pretend greenery out of it. From there it was easy, a moss ball and a stick from the yard.
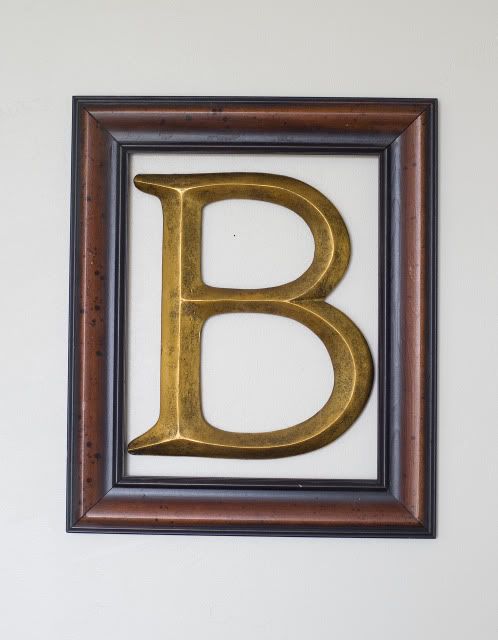
I found the B at Hobby Lobby and just hoped it would be the right size for this empty frame I already had on hand. It was on sale, $3. I thought about painting it, but I kind of like the look of it for now.

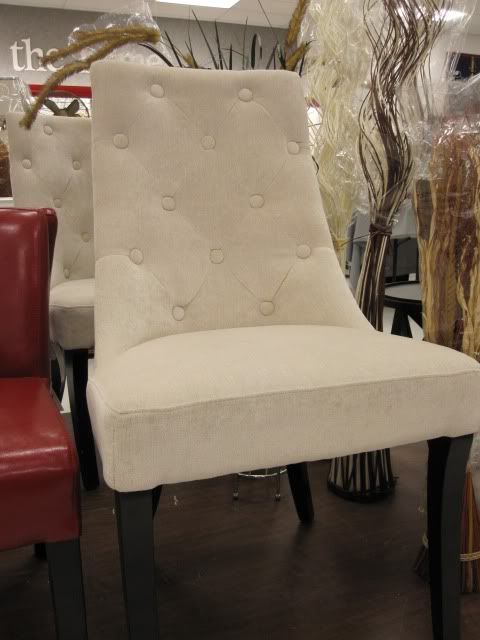
So what's left? I have another night stand that's been on back order that should be here any day, that will help make things a little more symmetrical, and I scored this gorgeous chair from a classifieds ad for only $35. It's perfect, nice and small, lovely mustard colored velvet. Tufted buttons on the back...
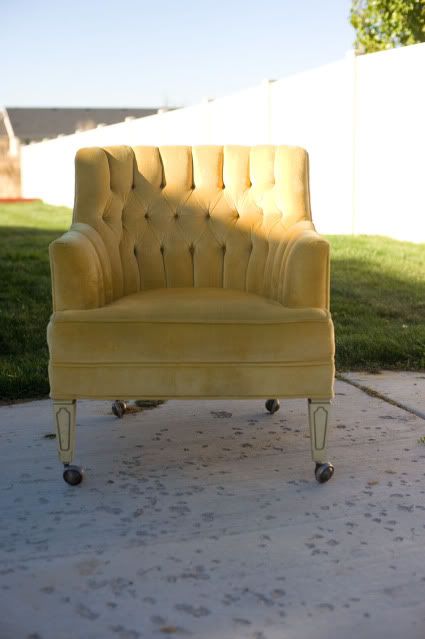
Imagine it with new dark wood legs, if you please. :) I have plans for this baby.

I used it in our family pictures a few weeks ago, see, she's already part of the family!

The only problem is that even after steam cleaning it, it smells like old grandma mixed with stale smoke. Nasty! It's living in the garage until I can figure out what to do with it. Any suggestions? The guy who did the cleaning even sprayed a sanitizing and deodorizing spray on it, and it's better than it was, but I just can't put it in my bedroom smelling funky like it does.

I really want to find a way to keep it, so I'll try any reasonable suggestion. Throw 'em at me!

So pretty much that's it. The other nightstand and the chair, and then I'll really be "finished" in there, although I'm never really finished, but you all know what I mean, right? :)

Today is our official ONE YEAR housiversary! One year ago today, we were packing up our old house and saying goodbye to neighbors and friends and moving everything to a new county and new town. We are so happy to be here, we feel so at home! I have a little celebratory post planned, so come on back and visit and celebrate with us! :)

Sunday, September 26, 2010

salvaging a mirror


We did a bathroom renovation in our last house, and removing this sheet mirror was a task. It got all chipped and broken in the corners, but was in good shape everywhere else. Because of it's size I really wanted to see if I could salvage it. And it kind of made me sick to think of tossing it into a landfill.

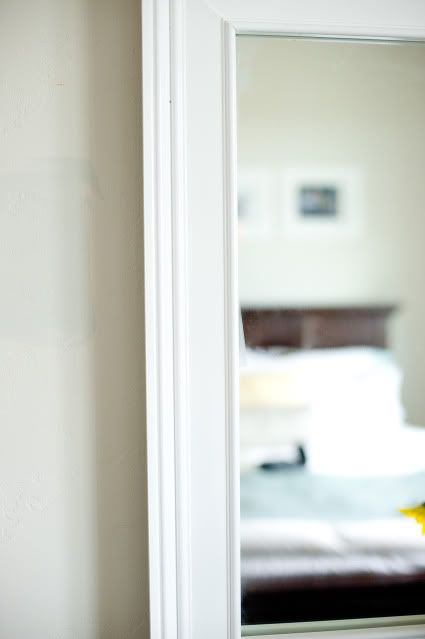
So I found some chunky MDF molding that I really love and gave it a try.


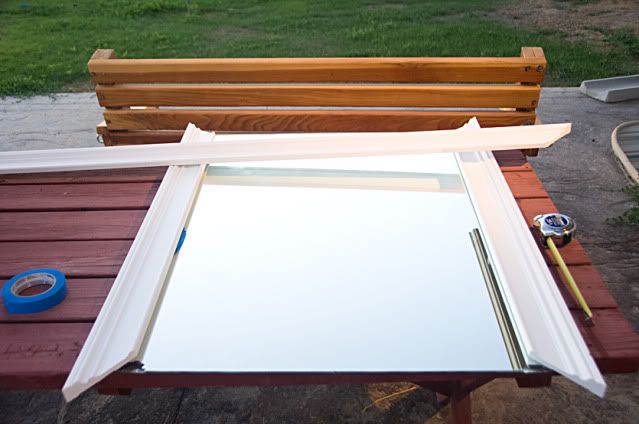
My hubby cut a piece of plywood that was just smaller than the mirror and we used epoxy to stick them together (for the purpose of having a good stable surface for mounting it to the wall). We then made measured and made miter cuts to frame the mirror with the trims. Once they were all matching up just right, we used gorilla glue to stick them to the mirror. I used heavy cans of tomatoes and other home canned veggies to hold it all in place on our picnic table while it dried overnight.

The next day I masked it off and spray painted it a nice soft white.


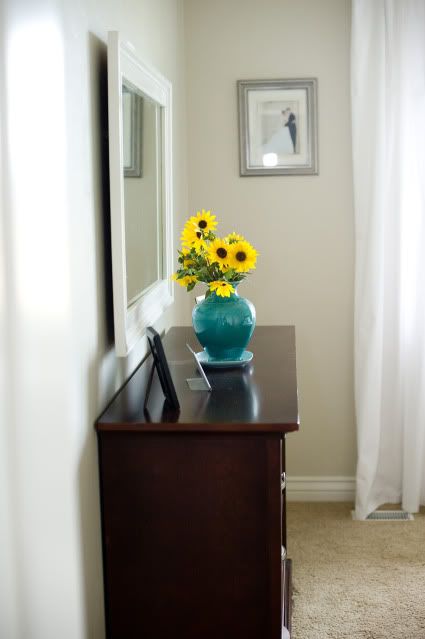
The last step was hanging it. We used D rings and hooks rated at 40 pounds each, just to be on the safe side.


I'm happy to say it actually worked, and the total cost to us was about $15! I don't know if I could have found a deal like that anyway, but it makes me happy that we gave something broken a new life.

Friday, August 6, 2010

big boy's room!

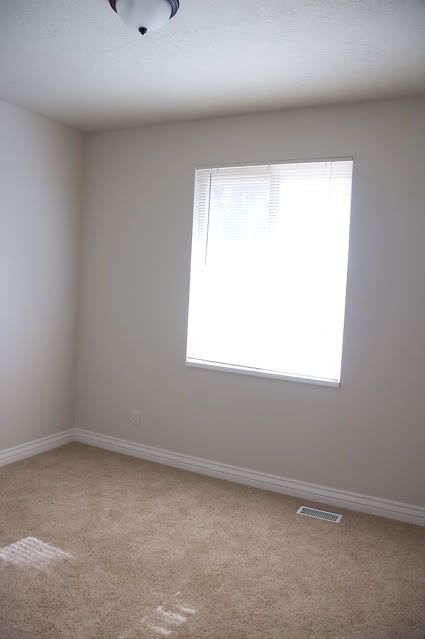
here's the before...


and just to be fair, this was before we moved in obviously, but still... very ordinary beige room.

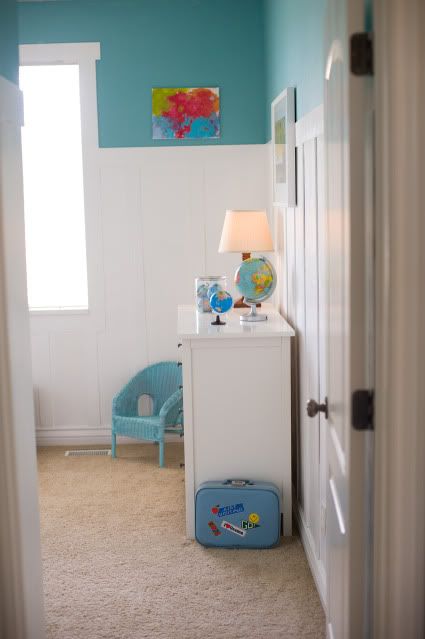
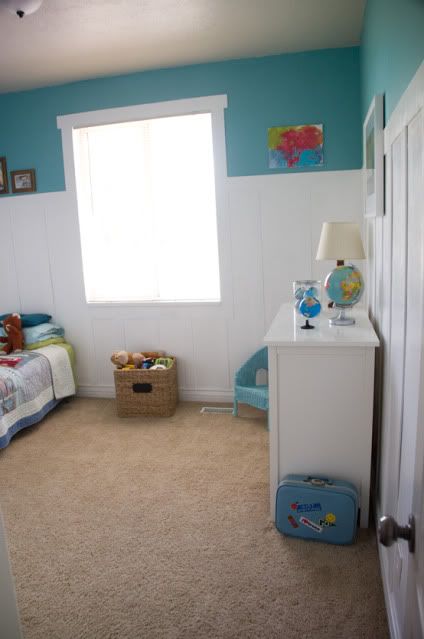
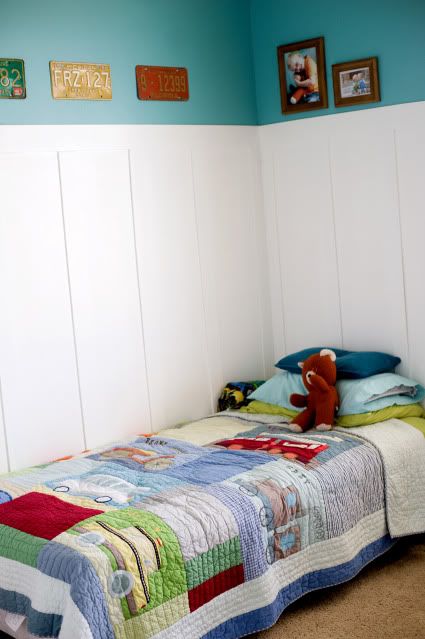
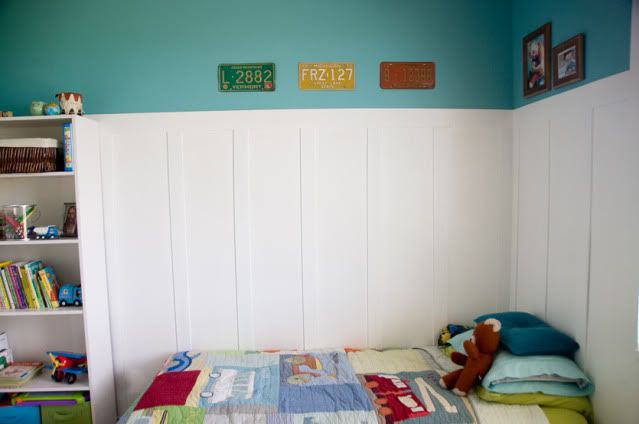
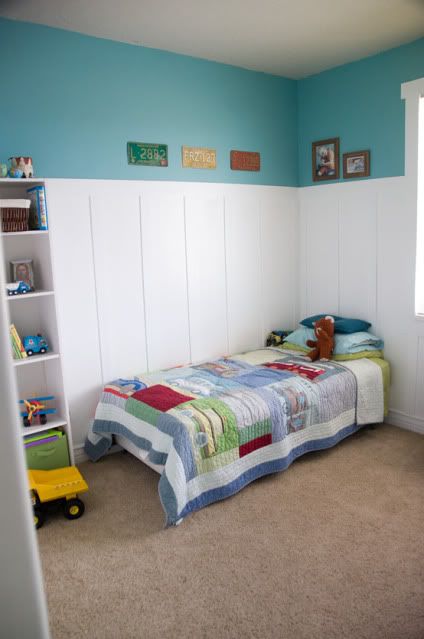
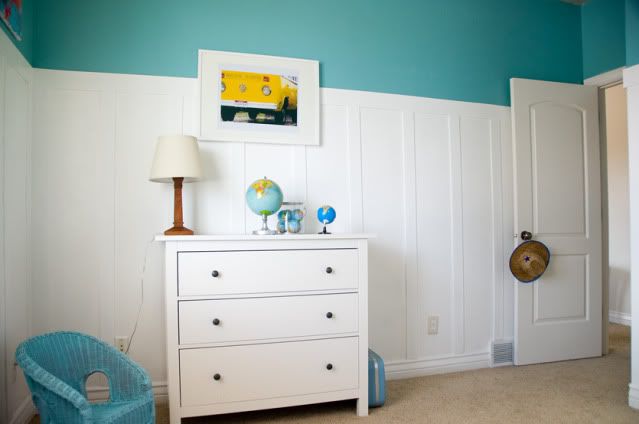
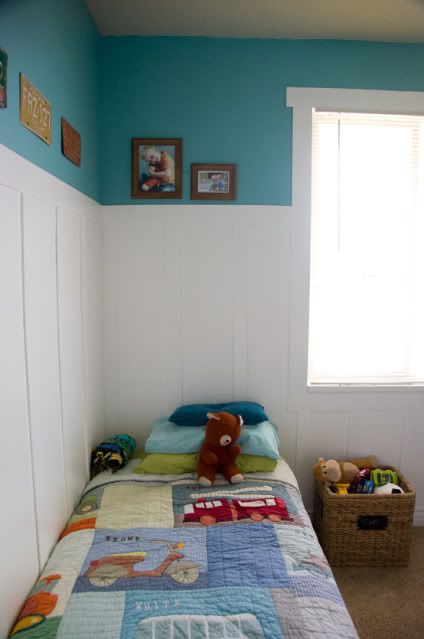
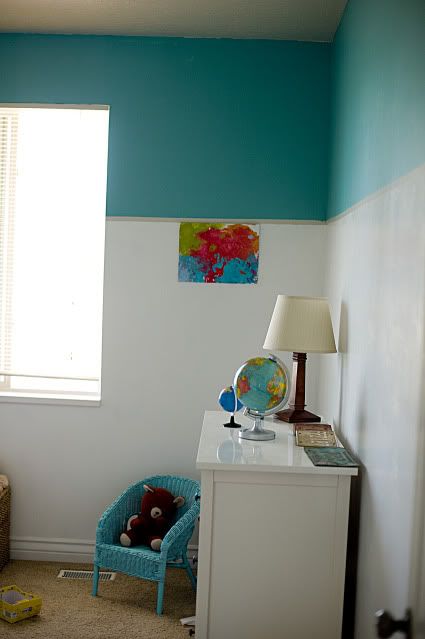
And now here is his new room!

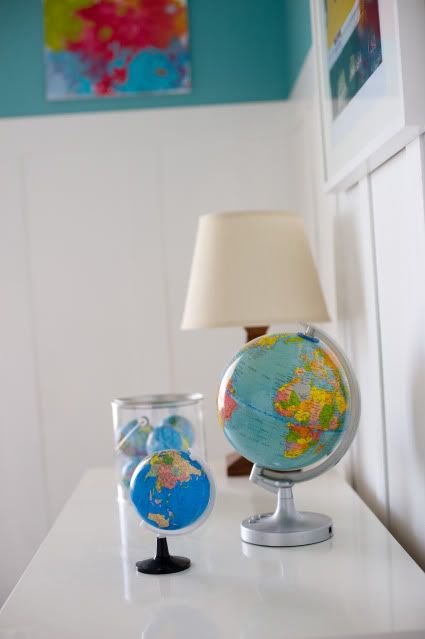
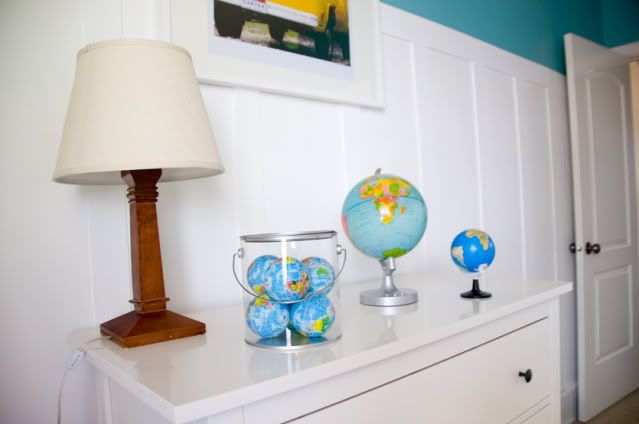
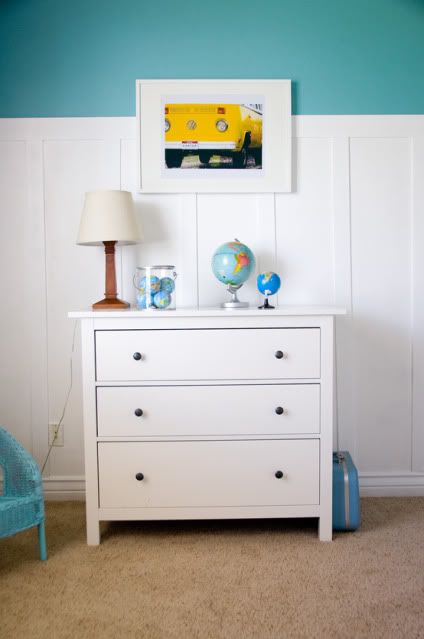
He has a fascination with globes, so I wanted to find a way to incorporate those, and the colors go so well with what I had in mind for his space.

The board and batten turned out to be no big deal, I'll share the details in a later post.

Trimming the windows always makes a huge difference. I'm a big fan of thick white mouldings, I go gaga for trims.


The "hippie bus" was in a parking lot of a nearby museum when I was on an outing with the boys one day. Lucky for me, I had my camera with me, so I took some detailed pictures (looking like a crazy person out in the rain with a big DSLR camera in the rain). I knew immediately I would use this one in his room.


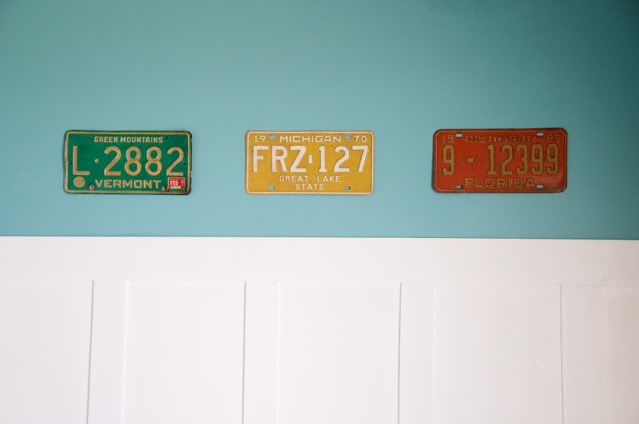
I found all of the License plates on ebay. I bought them purely for their colors, I didn't even care which states they where. They are one of my favorite parts of his new room.


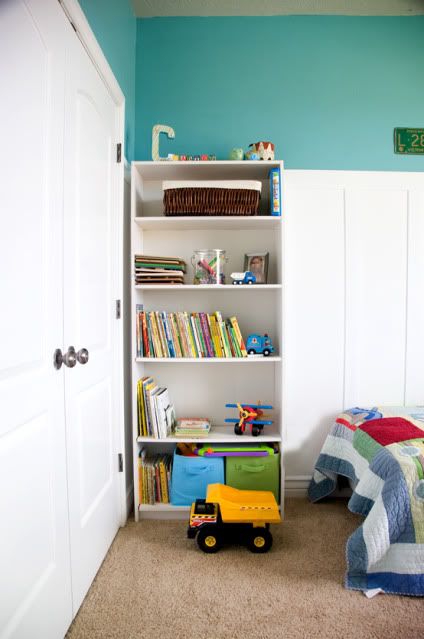
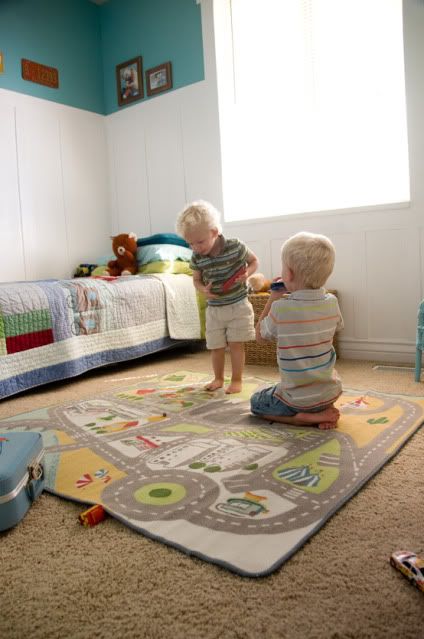
One of my biggest goals throughout the process was to not forget that a little boy lives here. A little boy plays here, this is his space, and more than being a pretty room, it needs to function for him. I happily embrace toys on the floor and all around. I don't care if he moves things around and does his thing in here. So I tried to leave all of his things accessible to him. I did put the puzzles with smaller pieces up high, mostly so his baby brother doesn't come in and loose parts to games, or eat them. :)


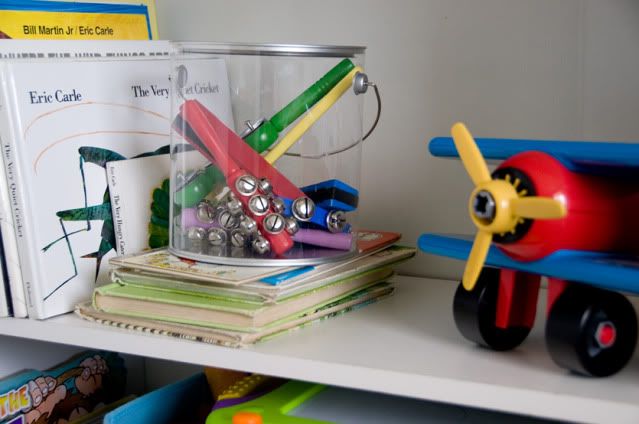
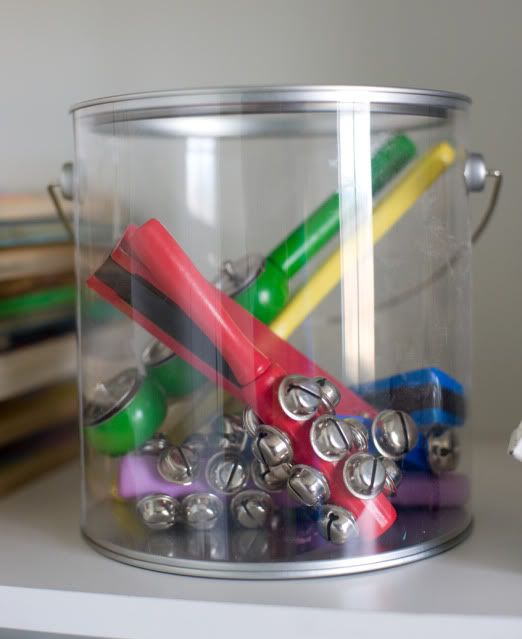
I decided to move these instruments down to a lower shelf so he and his brother can just play with them whenever they want. I love nothing more than to hear them making music and being the crazy little fellas that they are.

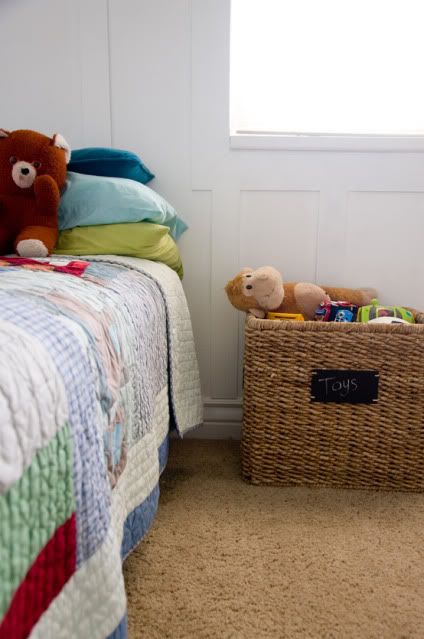
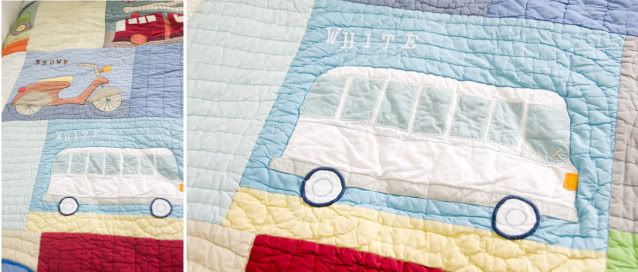
The bedding is from Land of Nod, I've loved this set for a while now, but I wanted to be so careful not to make his room too theme-y. I found the quilt on ebay for $55. It's originally over $150, so I think I did pretty well on that!


We had to add some fun vintage items that belonged to my husband and I when we were little. "Scotty Bear", the bear on his bed, was my husband Scott's when he was a little boy. We found him in a box in the garage shortly after we moved in. He had been in our basements in our previous homes. It was a good find.
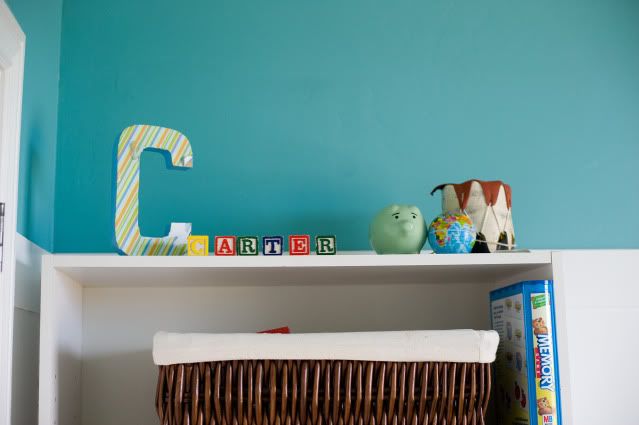
Carter loves Scotty Bear. The little blocks on top of the bookshelf also belonged to my husband as a little boy. The Native American drum on the bookshelf was mine, from a family vacation when I was just about the age he is now, as well as the vintage suitcase I remember taking to sleep at my grandma's house. He now uses it for matchbox cars storage, both of our boys love to lug it around with the cars inside.


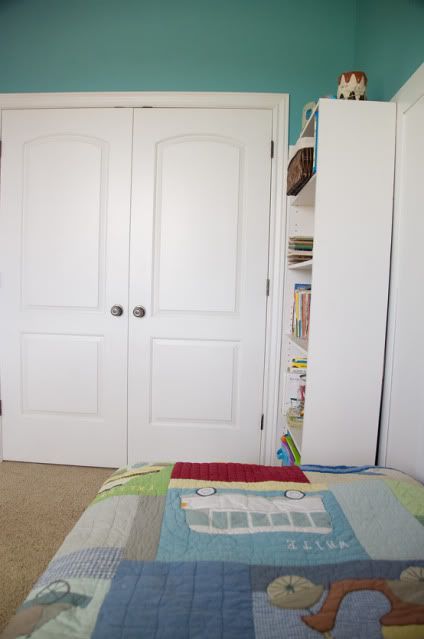
The bookshelf needs tweaking again, now that I moved his bucket of instruments and some other things down, it's a little bare up on top, and I'm contemplating some window treatments, but for now I'm calling it good enough.

The most important part is that it's a colorful and fun place to play, because really what else matters? And he loves it! The first day it was all finished he kept telling anyone who would listen "my mom painted on my wall. my mom painted it special for me." I think it passed the Carter test! :)
Most of the time this is what it will be looking like:


And in reality, it's gonna be a whole lot worse.

And I'm just fine with that!

Sunday, July 25, 2010

master bedroom {the bedding}

I have decided rather than just show you the master bedroom when it's all done I'll show the process I've been going through.

ta da!!

We've lived here for 9 months now, and it's flown by, but in some ways I can't believe it's taken me this long to make our bedroom cozy.

We have two VERY active little boys, ages 2 and 3, our days are crazy and hectic, and we need a calm and serene space that is just for us.


I decided to start with the bedding.

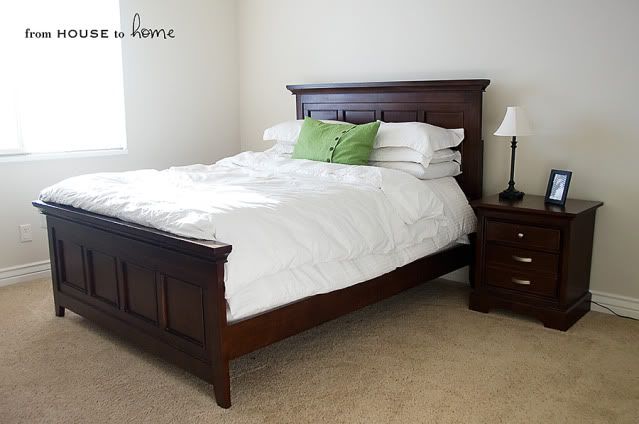
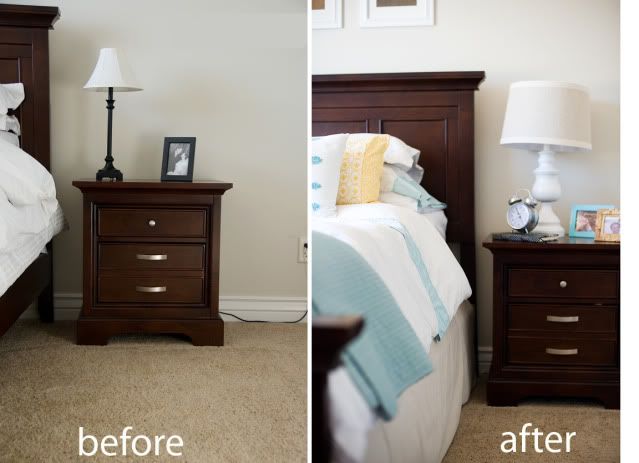
Here's my before:


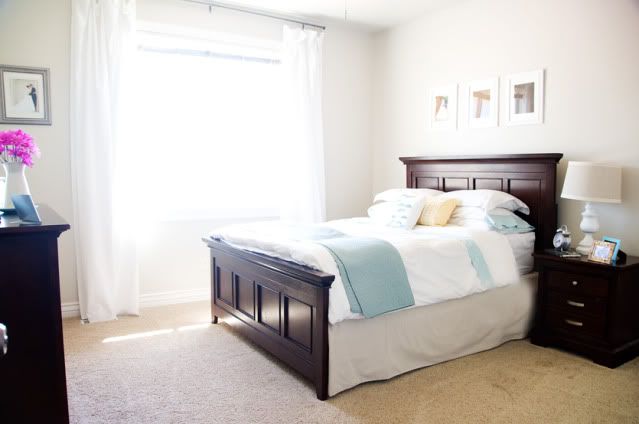
I knew I wanted to keep the basic white duvet, I love the simplicity of it, but I decided to go with a spa blue/ light aqua color to accent and a tiny bit of mustard yellow to set it off.


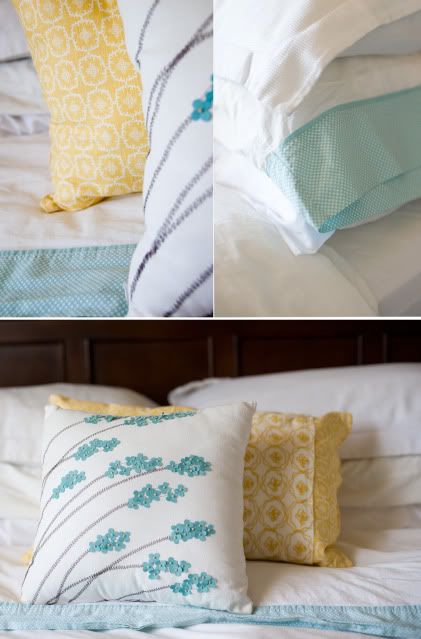
I have issues with bedding that looks too matchy, like a bed in a bag. I definately didn't want that, so I found the coverlet on sale at Bed Bath and Beyond, the poppy pillow is also from BBandB. I made the yellow pillow from place mats and cloth napkins I found at Target, just because the pattern was perfect. Seriously. Cloth napkins.


I felt that because the furniture sort of leans traditional and masculine I wanted the bedding to be soft, feminine and young. We are, after all, still in our 20's, but not for long! :) I just didn't want an old persons room when we are still young.
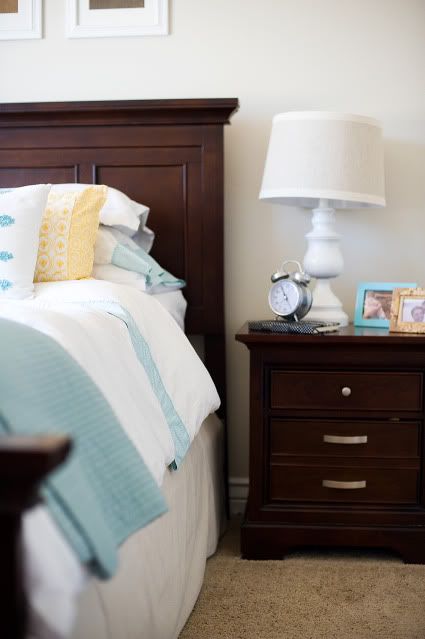
I found these great sheets at Target. They are Springmaid (Target has awesome bedding right now, by the way) They are all white with an aqua/polka dot border. I fell in love the minute I saw them! They are a bit unexpected, with the dark wood panel bed especially, but I love that about them. The first few nights I was literally giddy crawling into them.


I think we managed a nice balance between feminine and masculine, and it's a place where we can both relax and feel comfortable.


I made some simple white curtains out of the same fabric I used for my slipcover, 100% duck cotton.


And we trimmed the windows, which made a huge difference (to me).

The things left on the list are:
*paint (I'm thinking a gray toned neutral that will make the whites pop a bit more
*framing my salvaged mirror (you might be able to see it sitting on the dresser, we removed it from a bathroom wall in or old house during a remodel and I've had it all this time, trying to figure out what I wanted to do with it.
*make prints for the frames above the bed
*find a small but comfortable chair (white or gray) I really want one like this beauty:

image via JustaGirl, via Freckles Chick.

Tuesday, June 29, 2010

a peek at the progress


The big boy's room is painted!

The color turned out just as I imagined. It's yummy and I love it!

The next step is the board and batten wainscot on the wall. That might take us a little while. All of our hubby powers are being used up on putting a back yard in so I'll probably move on to something else inside before we finish, but I can hardly wait to get this one done!

I've been a sporatic poster, but I assure you I'm still here, plugging along with my projects when I have a free minute. :)

Also, I entered a photo of my boys in a summer photo contest at Better Homes and Gardens! The Theme for the contest is "Home:It's Where Life Happens."

This is my first time ever submitting a photo to a contest. :)

If it's not too much trouble, and if you like the photo, would you all mind just clicking over to the link and clicking the "like" button to vote for my photo?? Shameless, I know, but thanks!


BHG PHOTO CONTEST

Thursday, April 22, 2010

fabric day!

"Hallo... It's fabric day!"
(As said by FRONK from one of my favorite movies, Father of the Bride Part 2)


I announced this to my husband  one day last week when he came home from work (yes, of course I said it in my Fronk voice). I had taken the boys out fabric shopping and I came home with loads of sample pieces.

(Note to self: fabric shopping + 1 three year old + 1 [almost] two year old= chaos.)


This is what I'm planning on doing with all of this fabric:


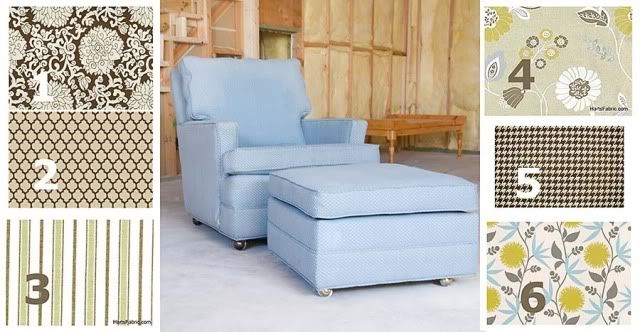
I picked this chair and ottoman up from a classified ad. ($30 for the set!)

I've been looking for a re-upholstery candidate  for over a month now and was delighted to find this one, it's in great shape, the cushions and frame are all good, it just has faded fabric and a tear in the ottoman. I plan on teaching myself how to upholster on this baby. I'll let you know how that goes.:)


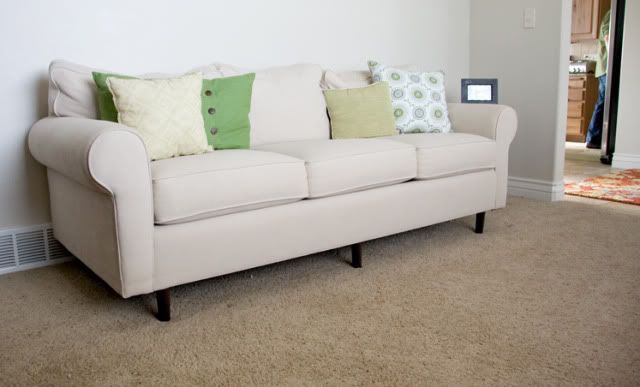
I love it's shape, and it's a good size for my living room. The couch in that room is kind of off white:


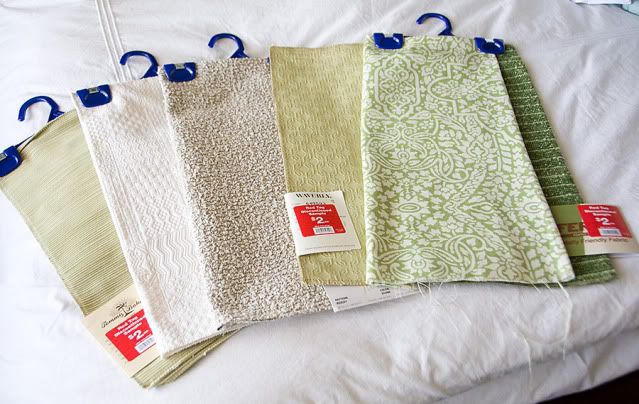
So I'm deciding between those fabric choices (or something completely different) for the chair. I don't want a "stuffy" formal living room. I want it to be casual and inviting.

Any opinions on these fabric choices? Which ones do you like the best?

My other ongoing project right now is the master bedroom.

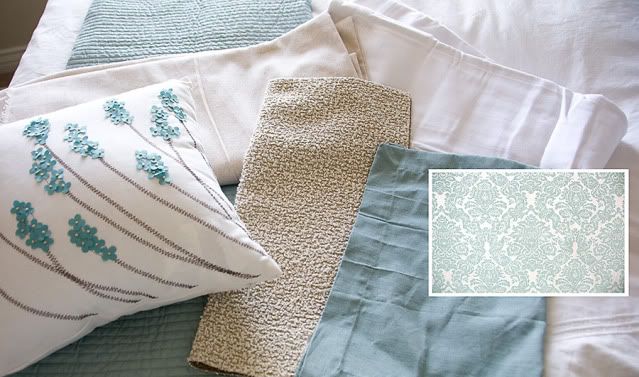
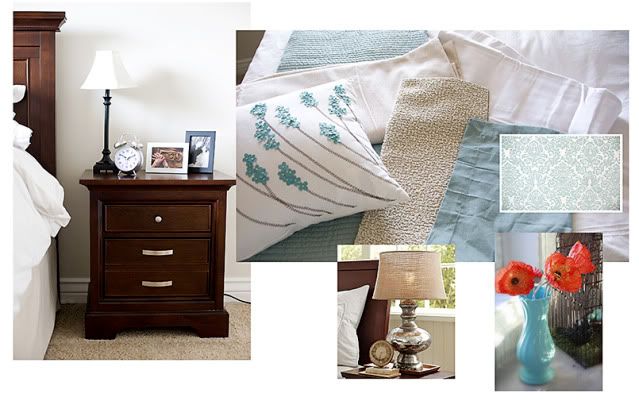
Here's what I've come up with for fabrics:


All of this will be against the backdrop of my white duvet cover.

Here's where I'm going with it:


I have most of it pulled together and was really hoping to get some sewing done, but my hubby has been out of town on business so it's just me holding down the fort with my little guys. (I don't know how single moms and dads do it, but those of you who do are AMAZING! I don't think I would do it very well, it's hard hard work!)

On this fabric hunting expedition, I also found all of these!

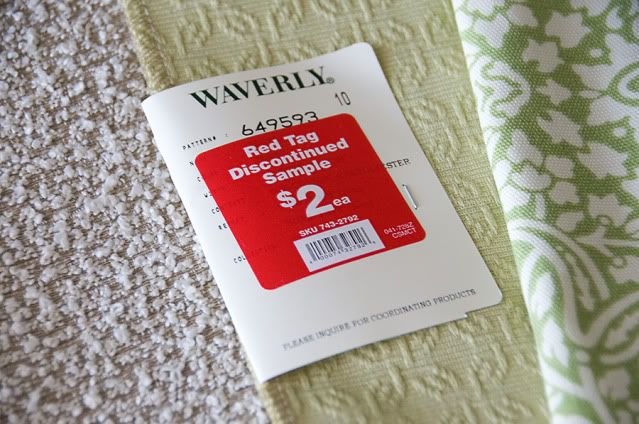
discontinued sample fabrics at JoAnn. They are already surged and the perfect size for pillow forms. All you have to do is attach two of them together or use a different fabric you already have as a backer.


And at $2, that makes for a pretty inexpensive and easy pillow form!

Now I just need to get sewing (and upholster-ing!)