Showing posts with label kids spaces. Show all posts

Friday, February 11, 2011

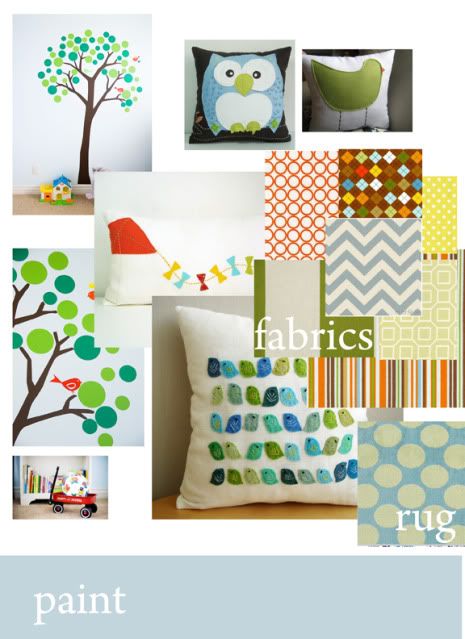
{baby boy nursery} idea board

We found out a few days ago that our little one is a boy! He has two big brothers who are thrilled beyond words and can't wait to meet him and start loving him!

I had a lot of fun last night creating this little idea board for our little fellas room. The paint and the tree will stay the same, I'm planning to add in a lot of color with other things, bird pillows (etsy) to go with the birds in the tree on the wall, I found the little kite pillow(also etsy) and plan to make one similar to sit on the toy box under the window, and lots of bright and happy fabrics (tonic living and hawthorne fabrics mostly). I know it looks like a random sampling of fabric, but I want it to all go together without looking straight-from-the-store matchy.

This is just the first round of ideas, a jumping off point if you will, but I'm liking that it will be a bright fun place for him to rest and play. I can't wait to get started! (After we get this basement out of the way, which is making huge progress of late !)

It's a lot of the same colors as Owen's previous room, but now that he's been moved in with big brother, this room is the toy room until we get a new one set up downstairs. I really wanted to keep the tree, but we'll change it up with new bedding and some new colors to make it his own little place.

Friday, August 6, 2010

big boy's room!

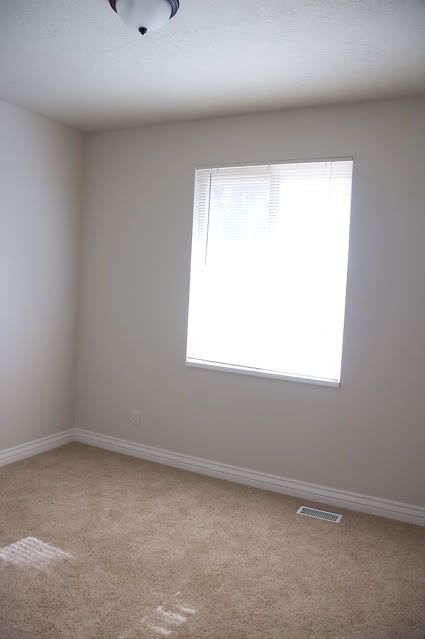
here's the before...


and just to be fair, this was before we moved in obviously, but still... very ordinary beige room.

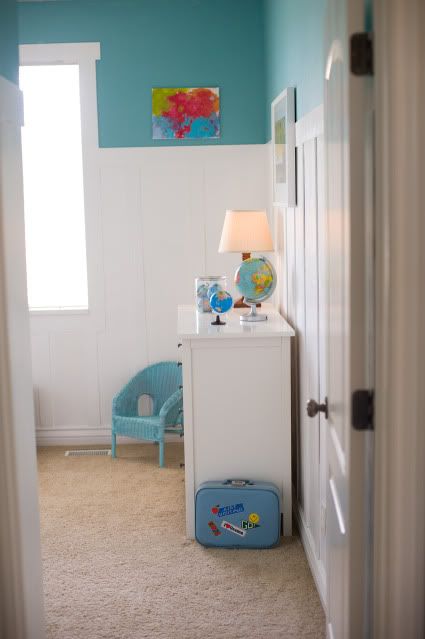
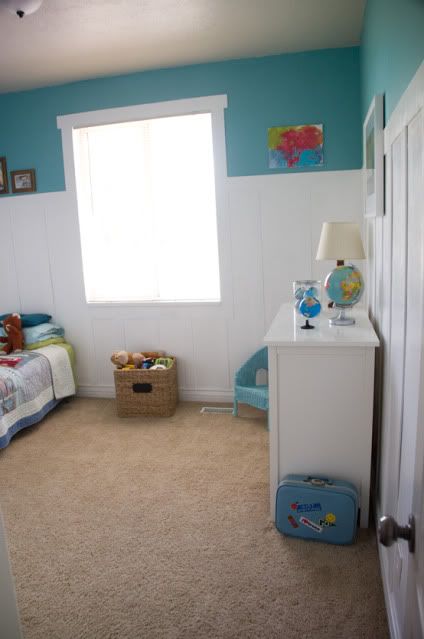
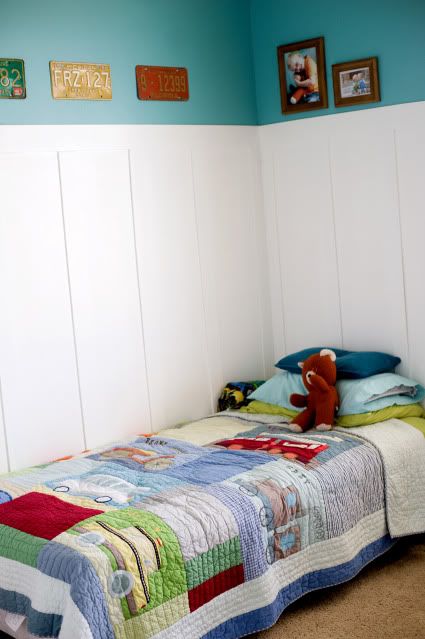
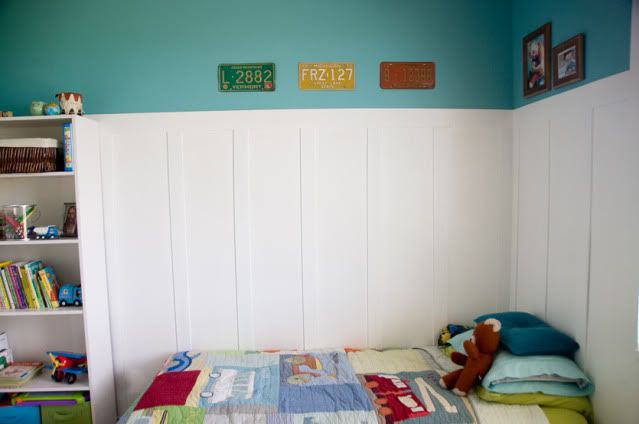
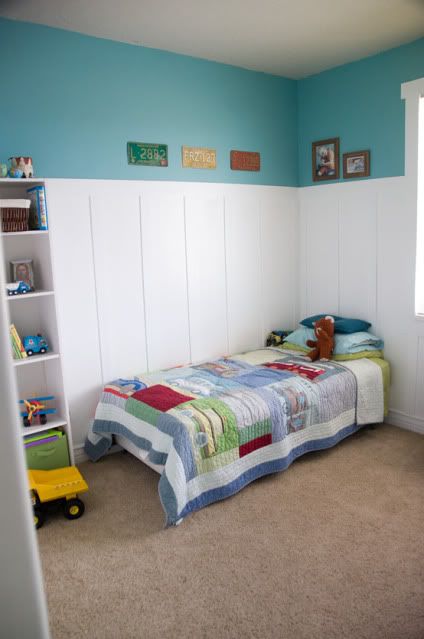
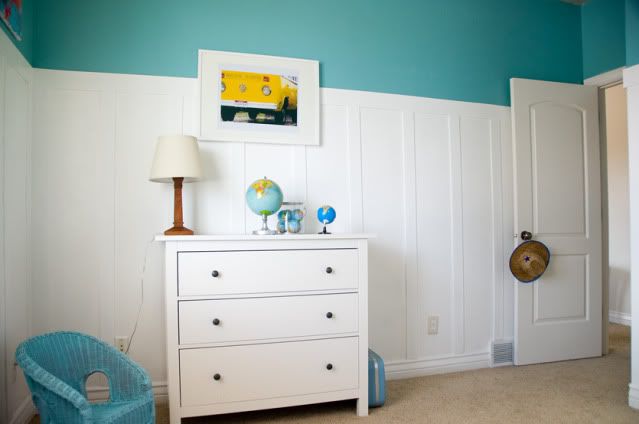
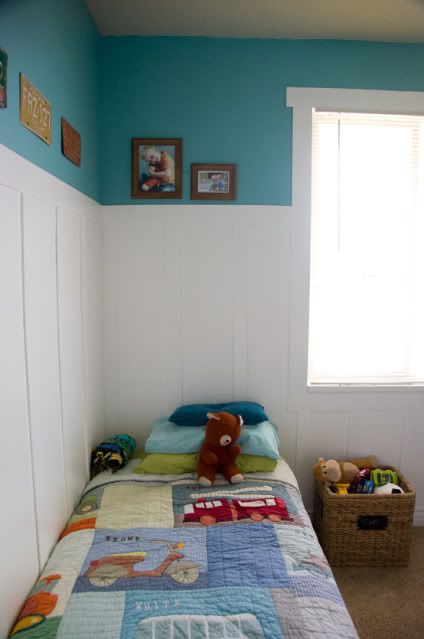
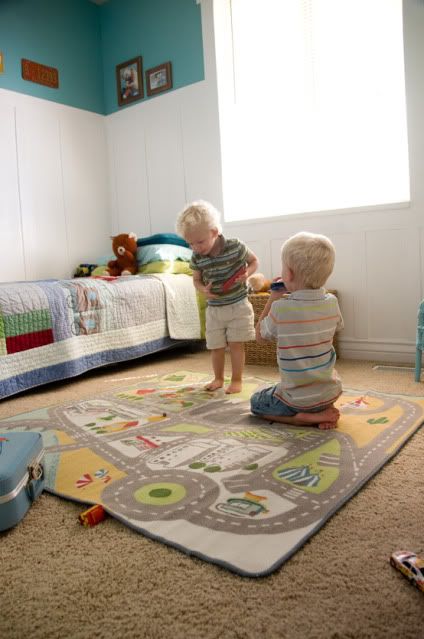
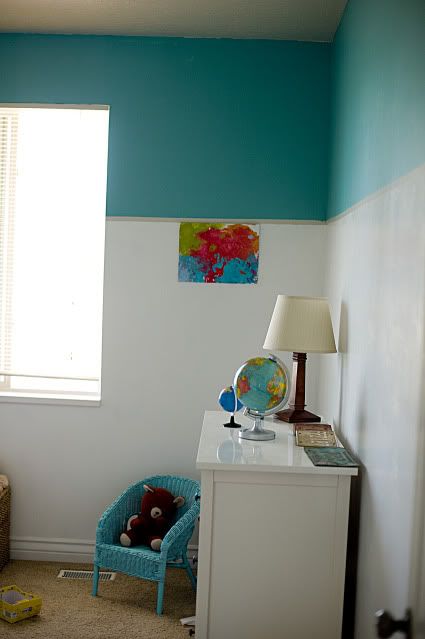
And now here is his new room!

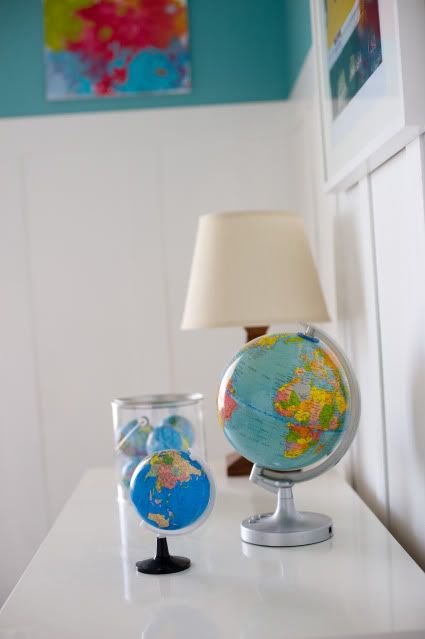
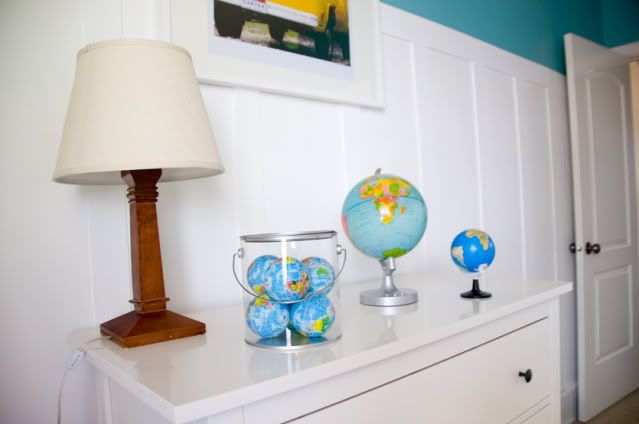
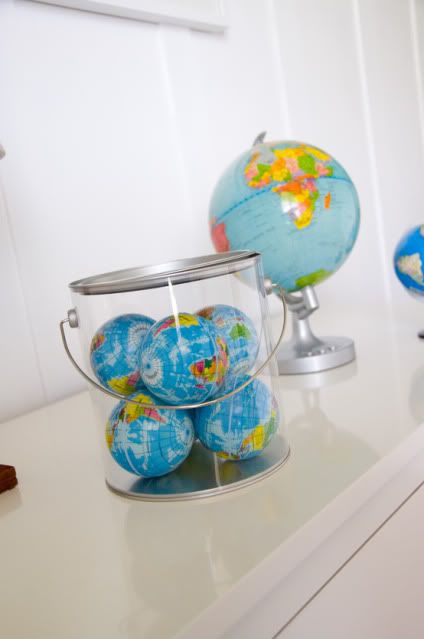
He has a fascination with globes, so I wanted to find a way to incorporate those, and the colors go so well with what I had in mind for his space.

The board and batten turned out to be no big deal, I'll share the details in a later post.

Trimming the windows always makes a huge difference. I'm a big fan of thick white mouldings, I go gaga for trims.


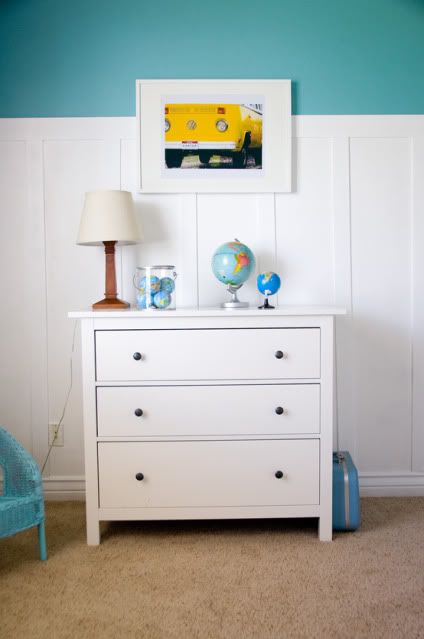
The "hippie bus" was in a parking lot of a nearby museum when I was on an outing with the boys one day. Lucky for me, I had my camera with me, so I took some detailed pictures (looking like a crazy person out in the rain with a big DSLR camera in the rain). I knew immediately I would use this one in his room.


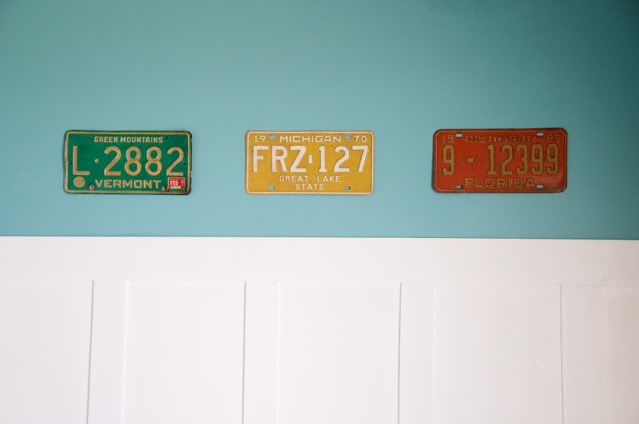
I found all of the License plates on ebay. I bought them purely for their colors, I didn't even care which states they where. They are one of my favorite parts of his new room.


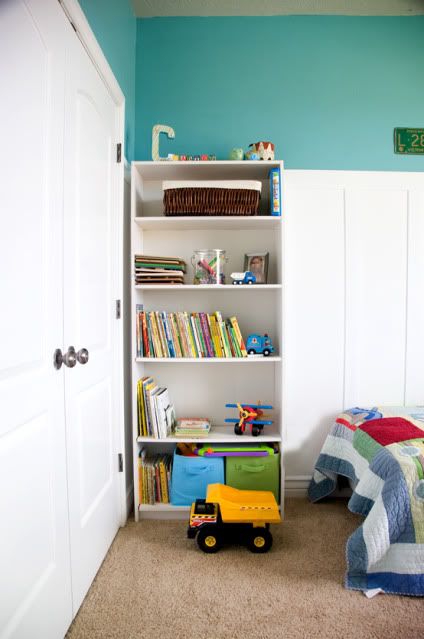
One of my biggest goals throughout the process was to not forget that a little boy lives here. A little boy plays here, this is his space, and more than being a pretty room, it needs to function for him. I happily embrace toys on the floor and all around. I don't care if he moves things around and does his thing in here. So I tried to leave all of his things accessible to him. I did put the puzzles with smaller pieces up high, mostly so his baby brother doesn't come in and loose parts to games, or eat them. :)


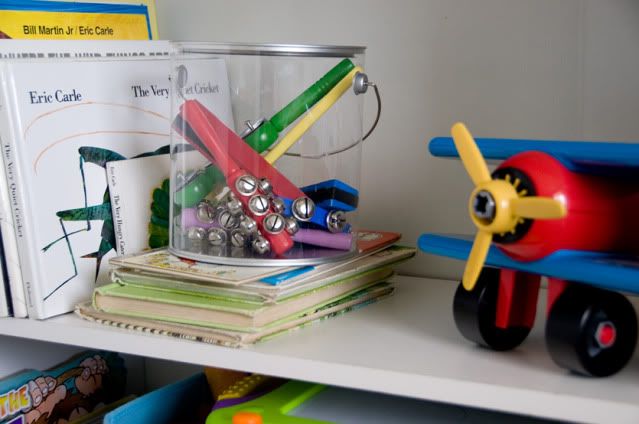
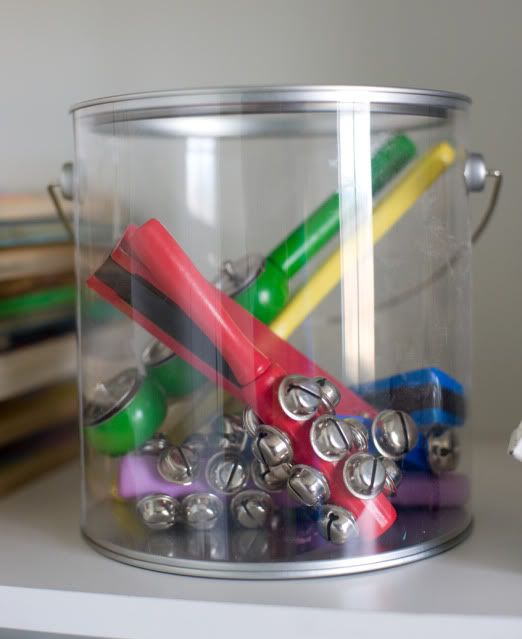
I decided to move these instruments down to a lower shelf so he and his brother can just play with them whenever they want. I love nothing more than to hear them making music and being the crazy little fellas that they are.

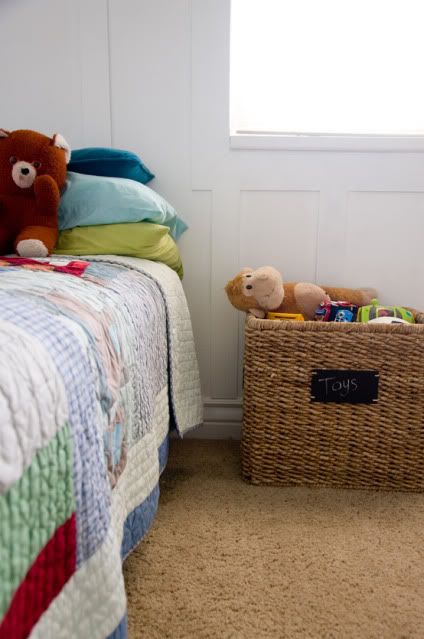
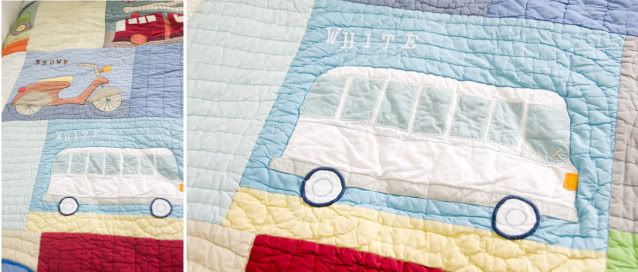
The bedding is from Land of Nod, I've loved this set for a while now, but I wanted to be so careful not to make his room too theme-y. I found the quilt on ebay for $55. It's originally over $150, so I think I did pretty well on that!


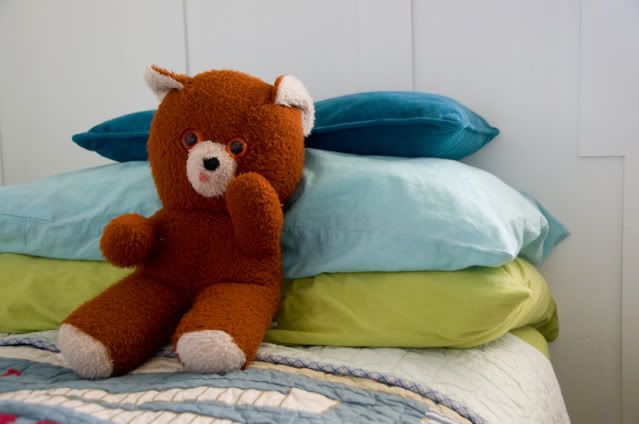
We had to add some fun vintage items that belonged to my husband and I when we were little. "Scotty Bear", the bear on his bed, was my husband Scott's when he was a little boy. We found him in a box in the garage shortly after we moved in. He had been in our basements in our previous homes. It was a good find.
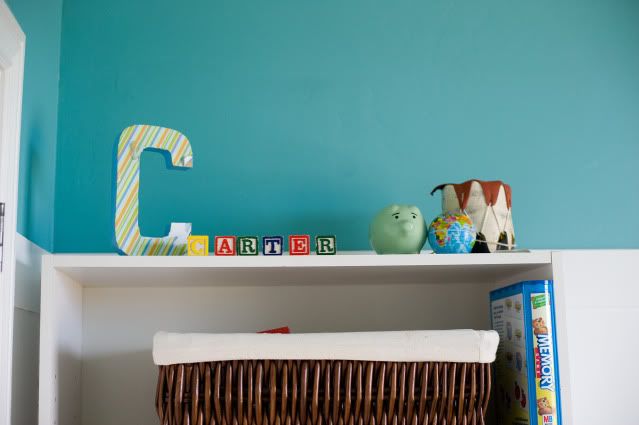
Carter loves Scotty Bear. The little blocks on top of the bookshelf also belonged to my husband as a little boy. The Native American drum on the bookshelf was mine, from a family vacation when I was just about the age he is now, as well as the vintage suitcase I remember taking to sleep at my grandma's house. He now uses it for matchbox cars storage, both of our boys love to lug it around with the cars inside.


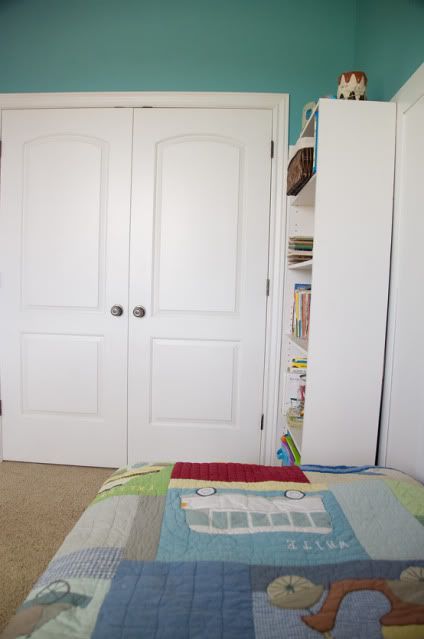
The bookshelf needs tweaking again, now that I moved his bucket of instruments and some other things down, it's a little bare up on top, and I'm contemplating some window treatments, but for now I'm calling it good enough.

The most important part is that it's a colorful and fun place to play, because really what else matters? And he loves it! The first day it was all finished he kept telling anyone who would listen "my mom painted on my wall. my mom painted it special for me." I think it passed the Carter test! :)

Most of the time this is what it will be looking like:


And in reality, it's gonna be a whole lot worse.

And I'm just fine with that!

Wednesday, July 28, 2010

kids canvas art


I've had some email questions about the art work in my kids rooms and how we did it.


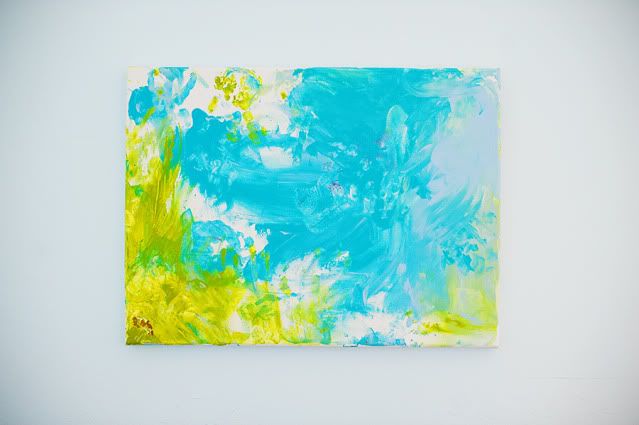
I love these little paintings that my boys made almost a year ago.
They are a fun meaningful piece art that I'll treasure forever.

Summer time is a good time for this activity!

Here's the post from my family blog with the detials:


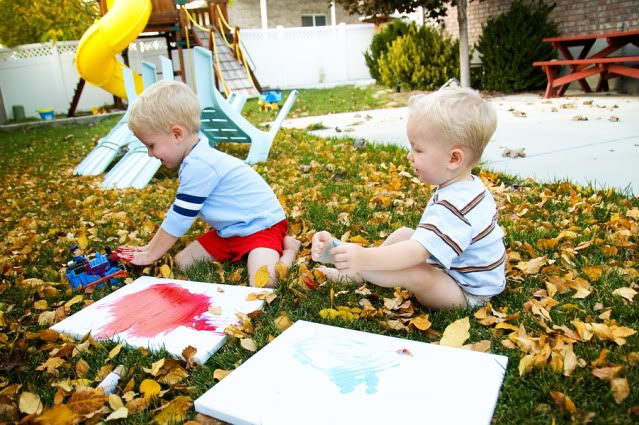
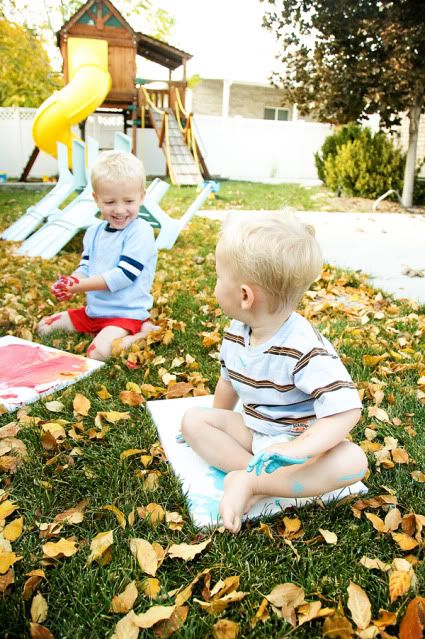
I put the boys to work making finger paintings (I think it was Tuesday, the last nice warm day. I think they really enjoyed themselves. I learned some things about their art making preferences...


Some people like to paint their favorite toy, Thomas. Poor Thomas had to have a wash down, just like the little painters when this activity was finished.


And some people like to paint with their diapered bottom. Owen for example, came up with this revolutionary technique...


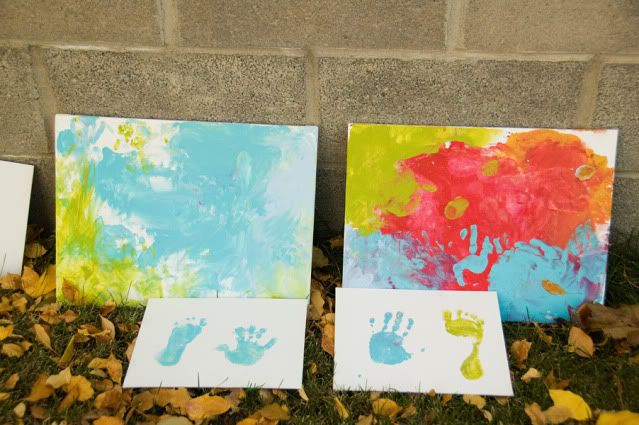
The Result:


Owen Maxwell Black and Carter Scott Black originals!
(Owen's on the left, Carter's on the right.)
Complete with original artists feet and hands paintings as well, to hang in the bathroom for kicks... because it thrills me beyond anything to see their little hand and footy prints.

If you look close you may even see the pretty leaf in the bottom corner that Carter stuck to his. It dried that way and it actually looks pretty cool!

Materials:
acrylic craft paints or kid friendly paint(washes of with soap and water)
artists canvas. (I got mine at JoAnn when they were 50% off)

I would do it in a big area, like outside on grass where it won't matter if they make a mess.

I did put them directly into the tub after this. :)

Tuesday, June 29, 2010

a peek at the progress


The big boy's room is painted!

The color turned out just as I imagined. It's yummy and I love it!

The next step is the board and batten wainscot on the wall. That might take us a little while. All of our hubby powers are being used up on putting a back yard in so I'll probably move on to something else inside before we finish, but I can hardly wait to get this one done!

I've been a sporatic poster, but I assure you I'm still here, plugging along with my projects when I have a free minute. :)


Also, I entered a photo of my boys in a summer photo contest at Better Homes and Gardens! The Theme for the contest is "Home:It's Where Life Happens."

This is my first time ever submitting a photo to a contest. :)

If it's not too much trouble, and if you like the photo, would you all mind just clicking over to the link and clicking the "like" button to vote for my photo?? Shameless, I know, but thanks!


BHG PHOTO CONTEST

Thursday, February 25, 2010

under the stairs playhouse thoughts

We are in the process of finishing our second basement.

We finished our last one just months before moving. I didn't even have it decorated yet. We are a couple of crazies, that's for sure.

We had this great little "playhouse" under the stairs in our old house.


... and we loved it. I built those shutters all by myself... no man powers involved. I used the nail gun and everything. I was pretty proud of it. I wasn't finished with it. I had plans to make it look like a real house, a little lantern on the side by the door, a little mail box, an adress on the side, you know... oh and by the way, where was I going with all of that crazy color on the walls?

I was going here:


I was thinking the gold-ish color on the walls was fun with the dark brown couches, red love sac, colorful pillows and the blue play area. I think I'll go a different route this time. This was fun, but not what I want this time around.

Anyway, I digress...

We're talking about playhouses today. Under the stairs playhouses.


We're going all out this time. Our contractor is a neighbor who does really great work, and he's really good with "seeing" the big picture in my head. We are on the same page with the house. He's even going to make it pop out a little for dimension and we'll do the finish work on it ourselves with shutters and shingles and everything.

We talked about possibly making it look like a barn...


or just going for it with the house look.

(and please, let's not laugh at my drawings, all right? I know it looks like something my three year old drew, but this is just how I think.)


I'm feeling it with the house.

In searching for inspiration, I didn't find anything exactly like I was looking for, which in a way is good, it will be it's own original thing, but I just had to share some great things I fell in love with during my search...

I came across this AMAZING attic renovation with this little cutie:


images from Tiny Decor Blog

I can't even believe how cute that is! What kid wouldn't love that? It's so realistic! I love the cedar like wood shingle siding, the white trim, the door is amazing. And those cute little window boxes with the flowers and everything. Very cute. It's like a little cottage.


What I ended up liking the best was this post from one of my favorite blogs, hooked on houses. And decided on a simple little house like this:


surely you see the likeness... no?


Although this is an outdoor playhouse, it could easily be made to fit into our space. This is a starting point.

When I showed this to the contractor we started thinking of ways to change it even more.

I noticed this old house on my way to the gym a while ago, and I've always been curious about it, but it popped into my mind when designing the playhouse. This shape would work well. And I like the green siding with white trim... only ours would look, how shall we say, less abandoned?


hmmm... I'm not sure if we have enough space there, but I plan on talking to him about that for sure.

It's going to be great.


The framing is pretty much done down there. The electricians and plumber are finished for now, but will be back after drywall. The last step before insulation and dry wall is knocking out the wall by the stair way to open it up and make it feel all bright and airy. So we will be taking this wall out and adding balusters and a beam for support instead.

Here's what it looks like right now:
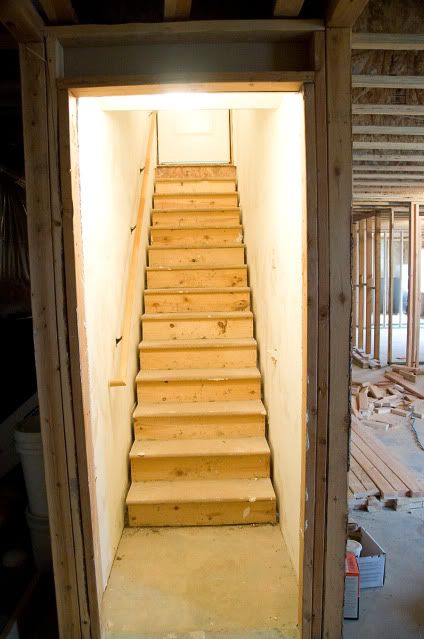


And we are planning on opening up the stairway to have balusters like these:

image:meadowbrook farm

only the post on the end will be load bearing and go all the way up to the ceiling, but we plan on trimming it with molding to make it look like part of the stairs.

The playhouse will be in the large space of wall that's left to the right of the stairs.

I can't wait to see the final result... and I'm a bit nervous. I'm leaving town tonight to run a relay race in Arizona with my sister in-law. Hubby is home with the boys, and I'm sure they'll have lots of fun, it's hard for me to leave my babies! The contractor is coming while I'm gone to finish up, so I'll come home to that wall knocked out and the house framed in. I hope they make it how I want it, and I'm excited to come home to see the result!


As we're going along we are falling in love with our little house.