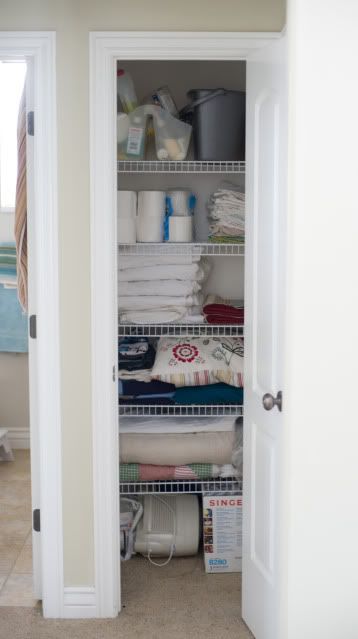
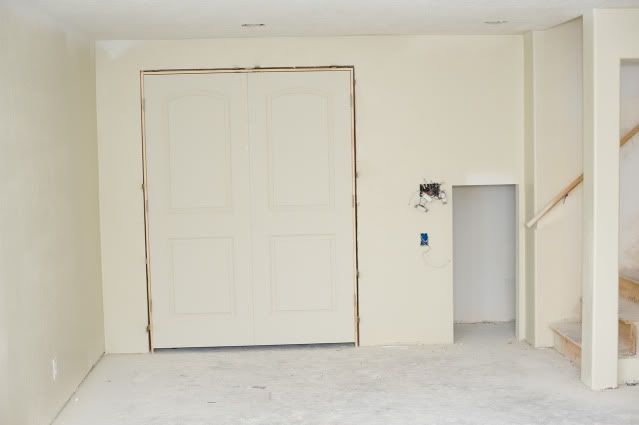
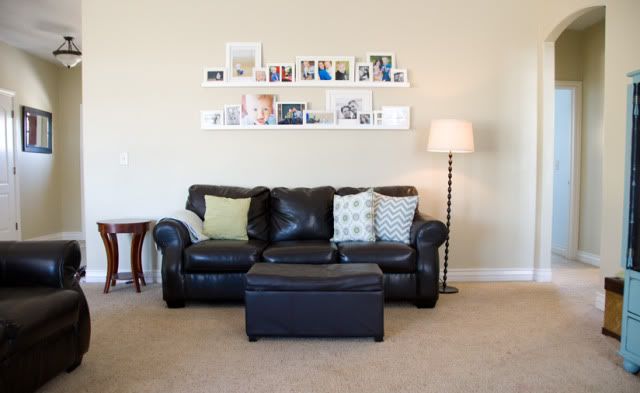
Just so we're all on the same page, here's the before:

this was taken right after we moved in, we just kind of put things somewhere until we could get to making this room how we really wanted it. It drove me crazy the whole time, still does, but I really wanted to do the kids bedrooms first, and I wasn't sure about what I really wanted in this room anyway.
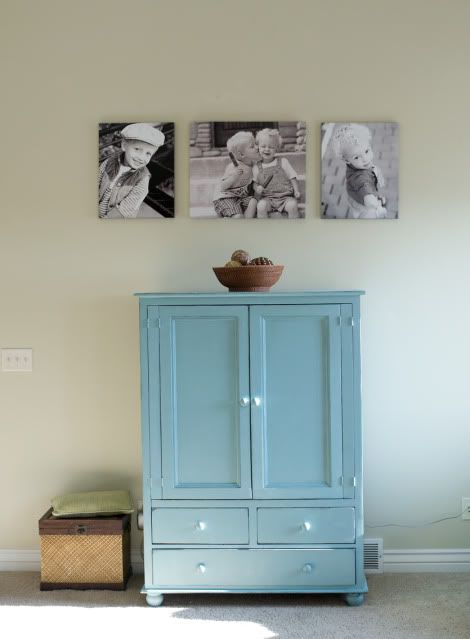
I played around with ideas of a gallery wall, something along the lines of this little ditty I photshopped...

But some "man" made a design error when this house was built and guess where my thermostat is?
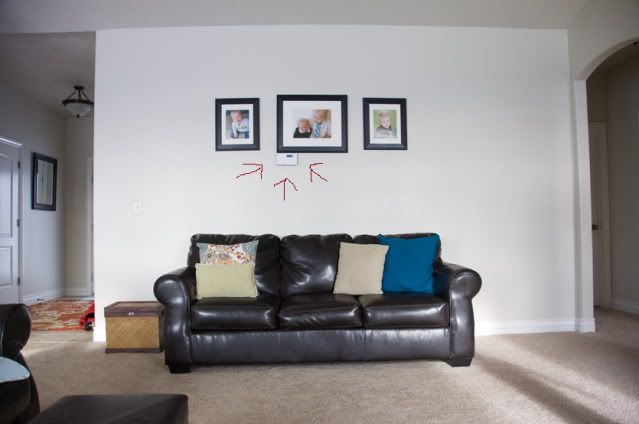
Wow, I'm telling you, a man must have done that! Poor planning. I noticed this the first time we looked at the house and we thought about moving it, but in the end, I just wanted to find a simple solution and move on.
After much thought, I decided that ledges where the way to go above the couch.
I bought the ikea ledges and was so excited to put them up, but they looked too small and a little dorky, I should have taken a picture, but I didn't. We needed super long ones, and the Ikea by our house is out of them. Next option, I looked at the Pottery Barn version, it would have cost a lot, so after looking at them closely, my hubby and I decided it would be a piece of cake to DIY our own version, so we did.
All you need is 3 pieces of MDF per shelf. We went with 6 foot lengths, because they would fit perfectly above our sofa.
So it's one 1x2, a 1x3 and a 1x4. It only cost about $8.50 per shelf!
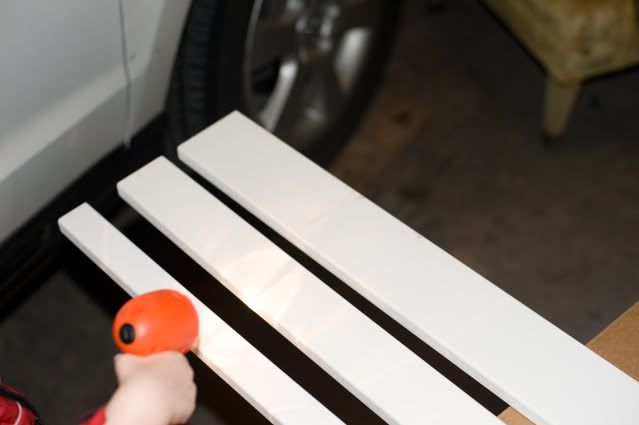
If you're super lucky, you'll have a little helper like ours who will shine his lil' flashlight on your project. :)
This took less than 15 minutes to assemble. The widest one goes on the back, the smallest in the front. We lined them up flush and used a nailgun to secure everything. They were already primed, so all they needed was a little bit of paint, which we already had on hand.
To secure them to the wall, we used 4 screws per shelf, lucky for us they lined up on studs in the wall, then we went along with the nail gun, using 16 gauge nails (big boys!) and made sure it was good and tight. It's not going anywhere! We made sure to mount it a little higher, so it wouldn't be a temptation for little fellas to grab at the pictures and hurt themselves.
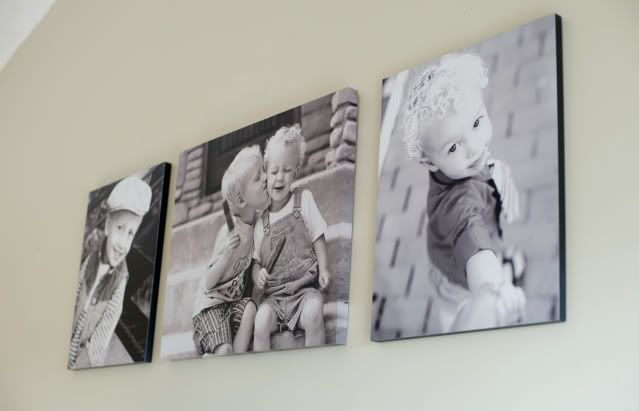
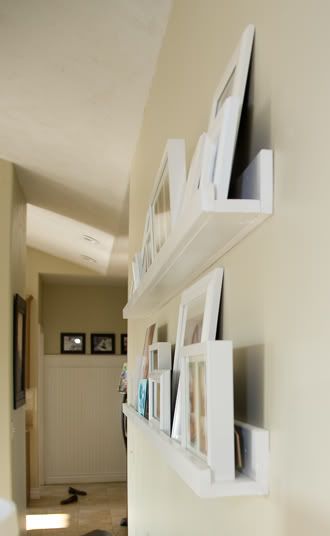
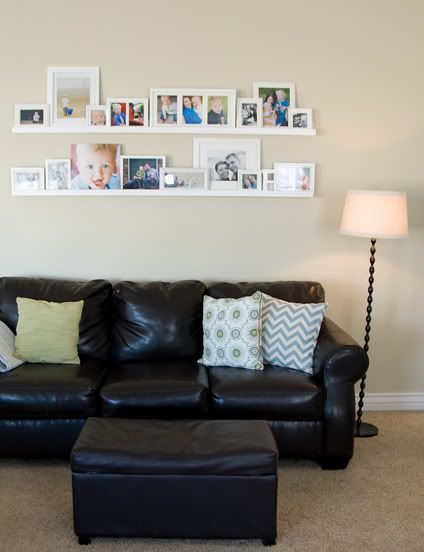
Here's our finished product!
I love it! It makes me happy every time I look at it! I chose to mix black and white with color photographs because I'm a bit of a color photo junkie, the photographer in me works hard to make colorful fun images, I would be sad if every picture in my family room where black and white.
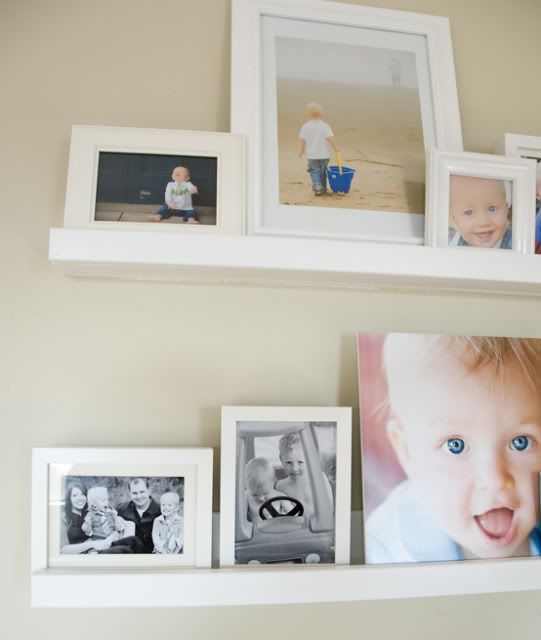
I'm really happy with how this wall turned out, it puts the "family" in family room, it feels a lot more inviting and it makes me happy to have a wall full of happy family memories, I wish I could have fit more pictures, but it's borderline overcrowded as it is!
This project was worth much more than the $17 it cost! (Technically $17 plus some frames, most from Ikea, many I already had.)

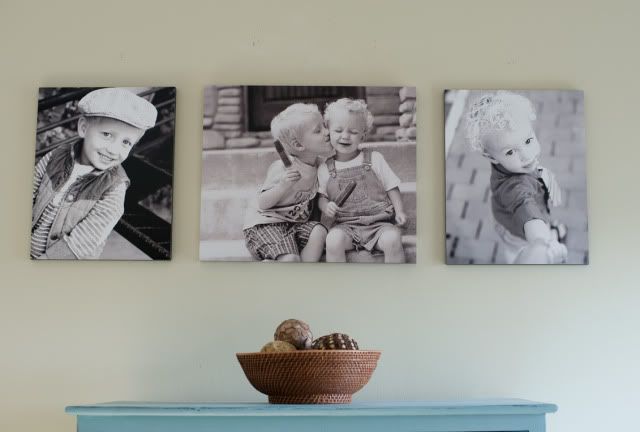 I went with three large prints (these all look like canvas, but they are different products that I like better, you don't loose sharpness like you do with canvas.)