Showing posts with label my home. Show all posts

Thursday, April 21, 2011

basement progress update: post # 954... or something like that

An explanation of sorts: I'm having to press the pause button on my whole life right now. Long story short- On Thursday, April 21, I started going into pre-term labor (my other two were early as well) upon arriving at labor and delivery found that we had a premature rupture of membranes, which means the water had broken and I was slowly leaking fluid. I was only 25 weeks at the time, so it was really scary. They got my contractions stopped, pumped us full of antibiotics and now I'm here on hospital bed rest until my baby boy is born. We are hoping that's not any time too soon. I'm having a hard time being stuck here, unable to care for my kids and my home, but it's important that I give this baby more time to grow so he can be healthy. So here we wait. My hubby is doing an amazing job of holding down the fort, we have lots of help from family, friends, and neighbors and we're going to be okay. I'm married to a most amazing man, who visits me once sometimes twice a day, is working from home and taking care of our kids most of the time, and holding our little family together. We have gained a lot of strength through prayer and appreciate any prayers offered in Baby Noah's behalf. He is strong and so far looking well and healthy.

Meanwhile, on the home front, the work has continued on the stairs. I had actually prepared a blog post that morning I ended up in here, to update the progress and obviously never finished it, so I'll attempt to do what I can from here, with what pictures I have available. Carpet is scheduled for this week and it's making me a little bit crazy that I won't get to see it all until after the baby is born and I get to come home.
---------------------------------------------------------------------------------------------------------------

So here is what I intended to post about 10 days ago...
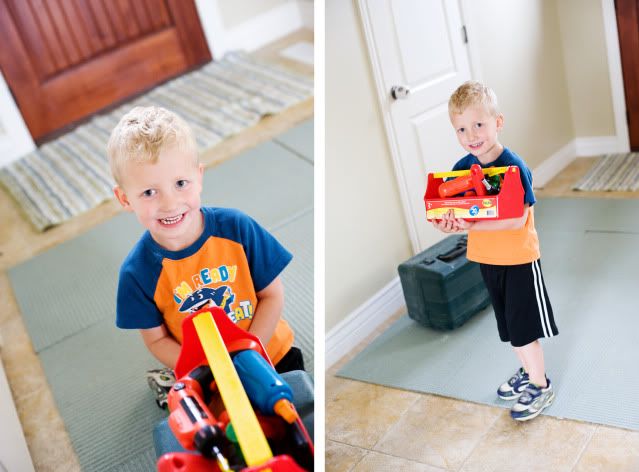


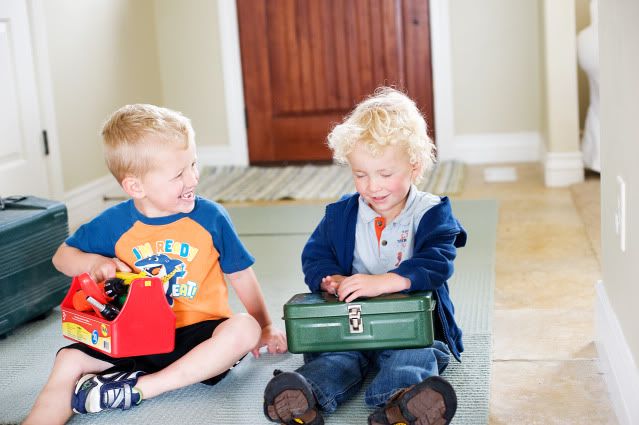
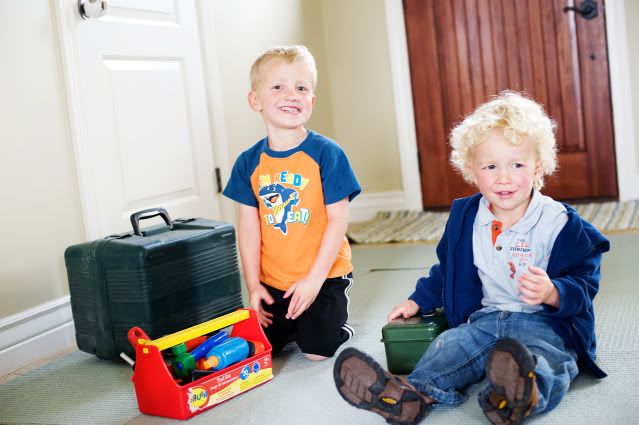
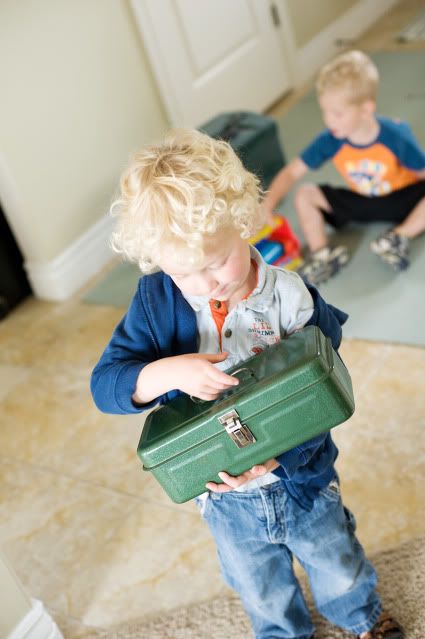
This is what I walked in to find while Scott was getting his tools rounded up last week to go down and work on the built-in shelf in the basement family room. The boys saw him gathering his stuff and quickly ran to get their tools too.

Scott and I were talking before bed the other night about how we've always had some big house project going on since we bought our first house, 9 months after we were married. We wasted no time ripping up the flooring in that house, re-doing bannisters, moldings, doing our first nursery, painting every wall in every room, painting the kitchen cabinets white, getting rid of blue counter tops, putting in a back yard, a garden... the list goes on. Then in our second house, it was our first basement finishing project, and a few upstairs things, but mostly downstairs. We finished that basement a few months before putting the house up for sale and moving on (because we're nuts) and then came this house. Our second basement finish in just over two years. Not to mention the endless projects upstairs, the painting, the bead board, the trims, the kids rooms, the shutters, the door, the yard... You get the idea. Talking about it made us tired to think about it. It might be insane, but we're just happy working on things together. I've said before that we often feel like the Pioneers. Always building, always working, making things work and getting it how we like it, then moving on and starting over. We say it jokingly, because I guess we get some strange fix out of all of it.

The whole point is that for the first time in over 6 years of house tweaking, I think I've finally found the one project that I'm just so tired of that I can hardly stand it... and that is this basement. I'm so tired of it I could seriously cry. We're so close, and have been for like a month now. We've had some crazy delays and it's just the last tiny bit left, but it seems like it's taking forever. Our stair parts where delayed by nearly two weeks because the parade of homes is coming up and the mill that makes the trim parts was really slammed with orders, the wood flooring for the office was on back order and had to come from China, it took forever, little things like that have really made what should be the home stretch feel like a marathon.

Last week we had some good progress, however. The door that goes downstairs got ripped out, and the stair parts came (hallelujah!) and the stair work finally started!

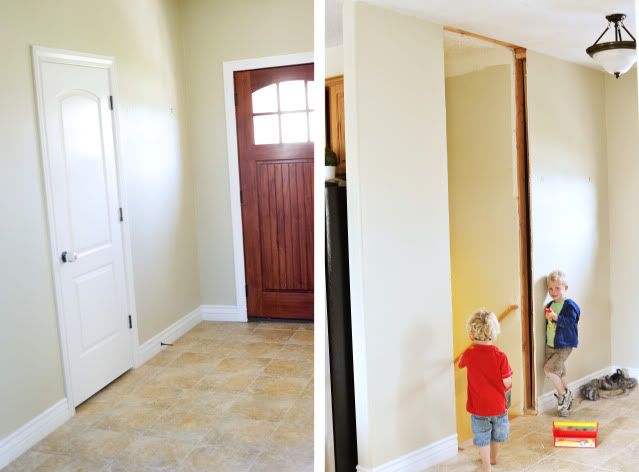
The first thing was the demolition of that door going down to the basement. We're going for "light, bright and open" and that door just doesn't fit the bill. By the time these stairs are finished and spiffied-up it would be a shame to hide them behind that door.
so... down it came! Don't worry, it's going to look great when it's all done, but being in construction mode is always ugly.
The boys sat at the top of the stairway and talked our neighbor-contractor's ear off for most of the afternoon that first day. They asked questions, but mostly told him he was making a big mess and that he was going to be in big trouble for "breaking" the walls and stairs. I heard him tell them "Sometimes you've gotta make a big mess before you can make it look pretty!" Carter didn't buy it, but I like the thinking behind that... pretty much the story of our lives.
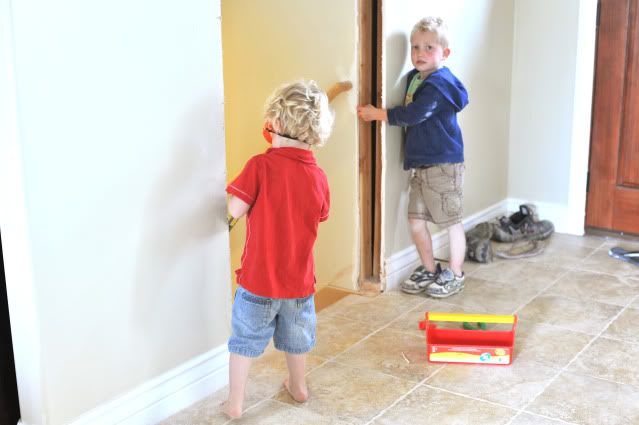
They busted out their tool boxes and goggles and went to "work" right along with him. It cracks me up to hear them chattering his ear off.
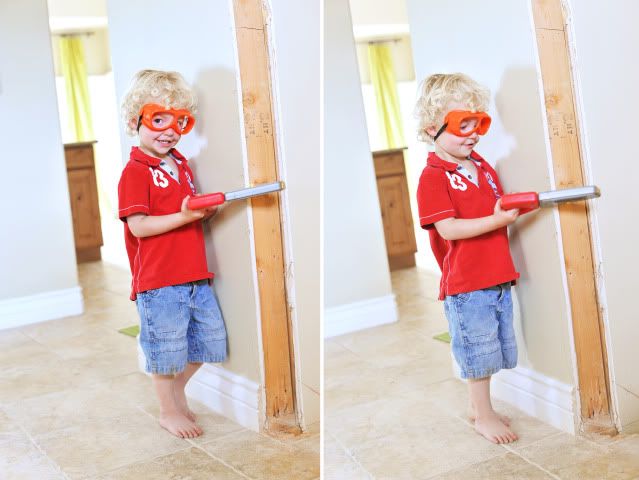
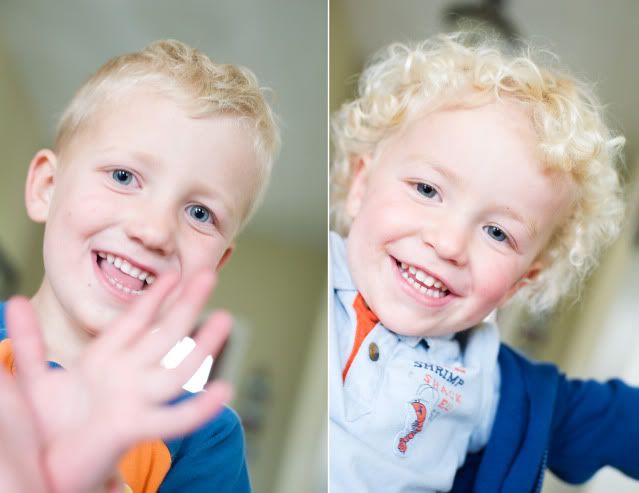
My little workin' men have been having a ton of fun with all of this.
Here's a little in-progress peek at the built in that Scott's been slaving away over.
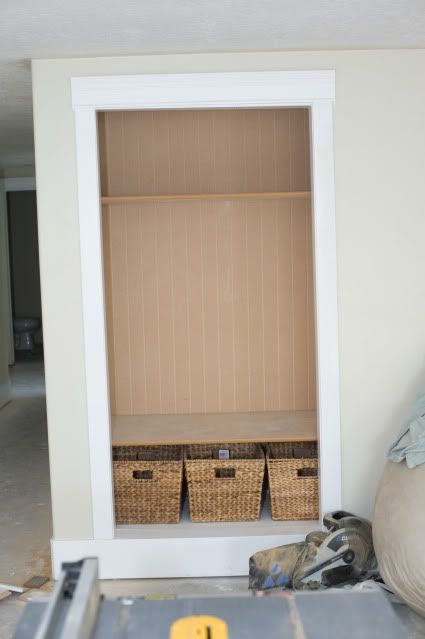
I had been picturing these baskets in the bottom, so he put that bottom shelf in first just to accommodate them. I plan on putting extra blankets and pillows in them for comfy movie nights in the family room. There will be two more shelves in the middle, the shelves and sides will be crisp white and I'm thinking about using some of my left over armoire paint for the beadboard back, just to make it pop a little. I can always paint it white later if we don't like it, but I can see it in my head and I think it will be great.

We officially ordered and paid for the carpet last week, it should be in any day. As soon as those stairs and the banisters are in, we're good to go with the carpet. Hopefully we'll wrap this all up in the next few weeks.


UPDATE:

Remember the before:
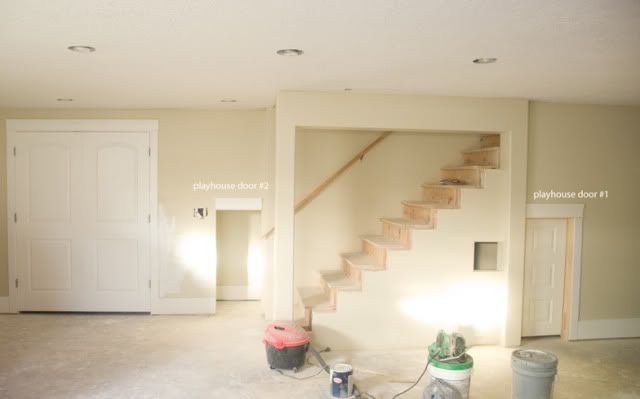

And here's what has been done while I've been here in the hospital:
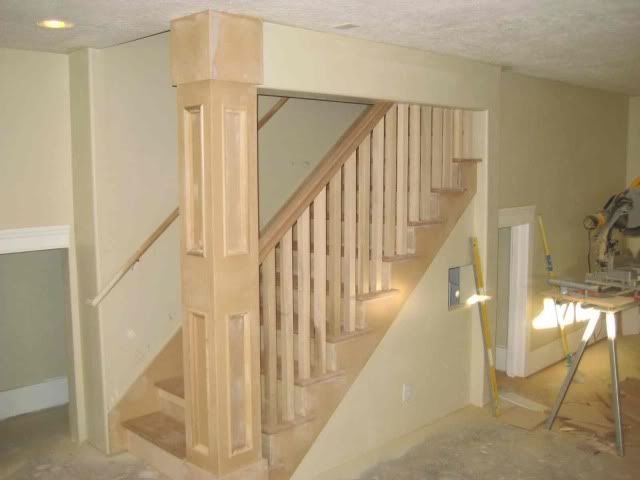


Eeek! I'm so excited that it's making me crazy! The treads are gorgeous cherry, they will be stained dark, the trim pieces and banisters will be white. I'm loving it so much! My husband sent a bunch of pictures to my phone and I can't get the rest of them to work with blogger, if I were home it wouldn't be a big deal, but for now this will have to hold everyone over... not that you were all on pins and needles over this like I have been, but ya know.

We're so glad that we had this part hired out, with everything going on, it's so nice to know that work is still being done and that this basement will get done one way or the other. We had planned to do the painting and staining on our own, but decided that under the circumstances it was best to just get it done quickly and get that carpet in, since it's sitting in a warehouse ready to go.

I'll continue to update from here as much as I can, and it's kind of ironic that I'm not going to get to see it in person for a while, but it brings me comfort to have the project winding down. I need to get out of here and set up Baby's room, but it looks like that's not going to happen for a while.

Friday, April 8, 2011

custom slipcover


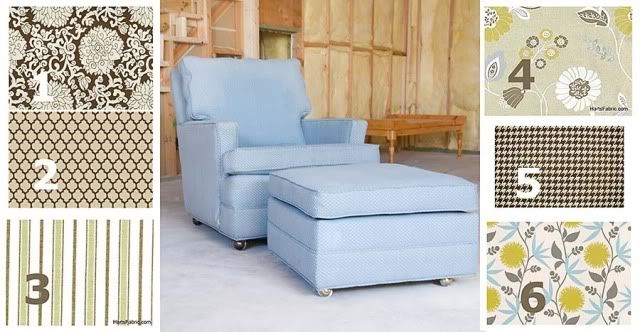
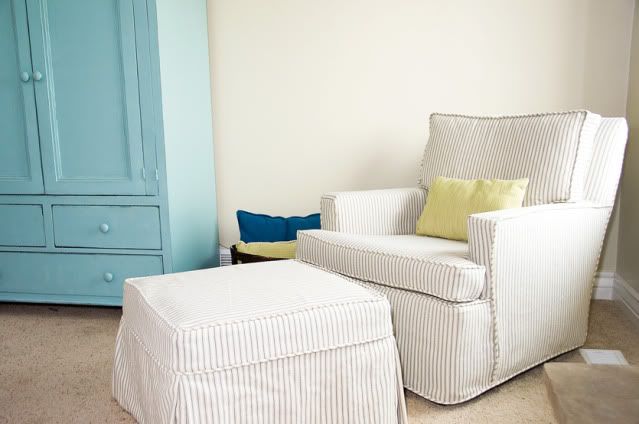
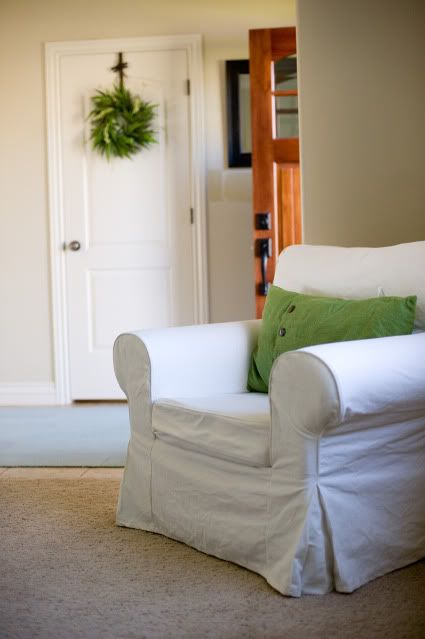
Remember that great chair that I found last spring? You know, the one I planned to learn re-upholstery on? It's still one of my goals to learn to reupholster, however, I kind of wanted that thing finished, and with all that's going on right now I didn't see that happening any time soon.

Besides, I had no idea what fabric I wanted, and since I'm famous for changing my mind (seriously, ask my husband!) I decided that a slipcover would we a great way to go... I tried making my own last spring and it turned out "ok" but not great. And it kind of gave me a headache.
In a random google search I found Shelley (Custom Slipcovers by Shelley) and decided to turn my chair over to her!

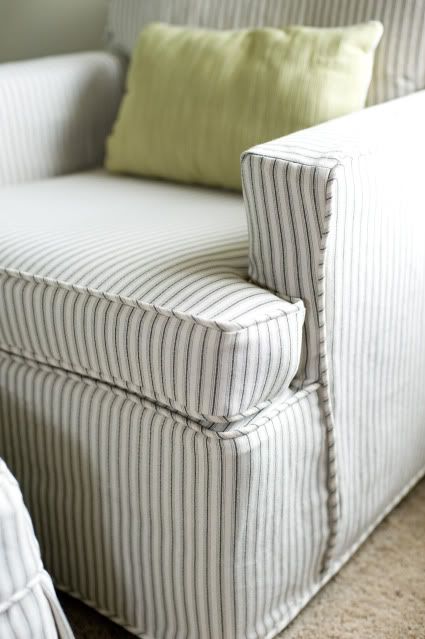
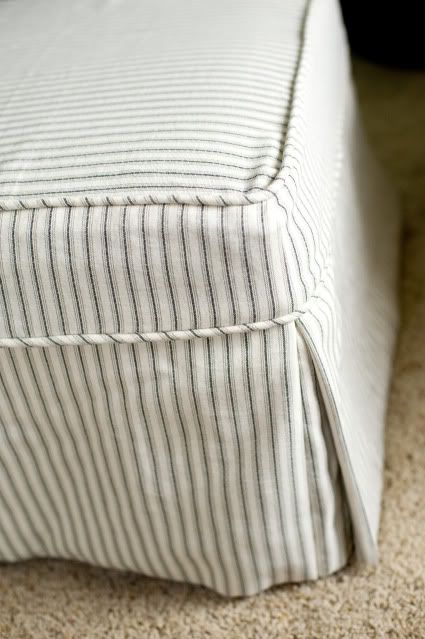
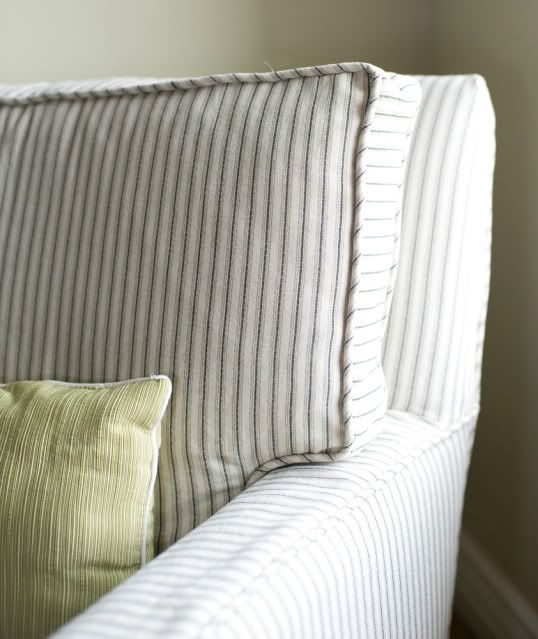
I found a cute pin stripe fabric that will go with anything (the stripes are charcoal gray and if you look close one of them has a bit of blue-ishness in it.
And here it is!


To say I'm in love with it would be a total understatement! I'm so happy with how it turned out! I'm such an impatient sewer, I would have gone crazy attempting something like this, it was so nice to just turn it over to her and not worry about it.

This chair was supposed to go in the basement, I still might do that, it would look so cute with sectional, but I'm loving it in the upstairs family room right now.

We have one more little makeover coming to it, in the form of some pretty new wood legs to replace the dated wheels. It's going to look even cuter!

Check out Shelley's blog for more of her amazing transformations! Pure slip covering genius!

Friday, April 1, 2011

office peek and our pillow picks...

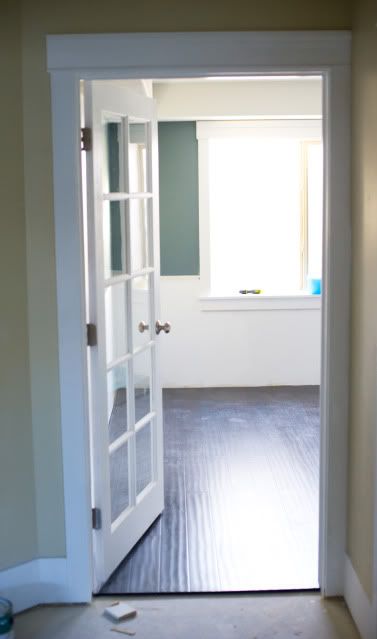
Progress news! We found the prettiest bamboo about a month ago that was exactly what we wanted for the office floor... the bad news- it was out of stock and it comes from China, so it took about a month to get here. The good news is it came in this week and Scott got right to work laying it...
It's beautiful! Slightly distressed and hand scraped, we love it! He's done a great job putting it down, all that's left are two rows you can't see in the picture on the far right of the room and the closet.

The other good news is that the carpet installer came and got an official measurement yesterday. As soon as the stairs are done we're ready to get the carpet installed. We're waiting on a few stair parts to arrive and then we should be good down there. If all goes well, we're looking at maybe another week or so. WAHOO!!!

And now back to the pillow talk...

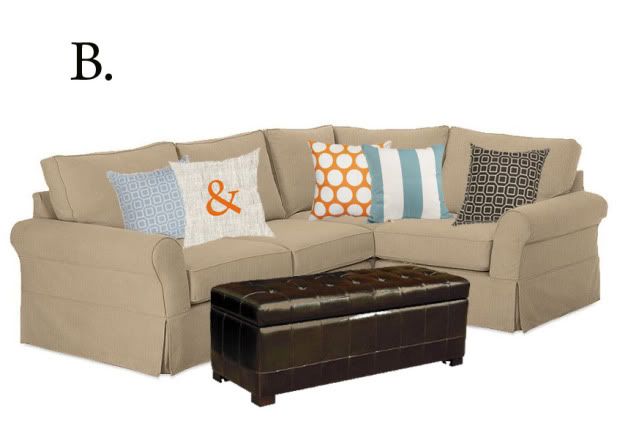
I was so surprised to see the poll so heavily weighted to one choice. Not surprisingly, it was the one we liked the best too...


Yep, it's the orange, blue, brown combo! Reassuring to know a lot of you liked it too! I still like those bold red stripey pillows a lot, but might have to find some other place to use them. :)

I designed the red/blue/bold stripey scheme first, then for fun threw that orange one together. I was surprised when we both really preferred the orange. I wasn't really thinking we would go orange, but it works beautifully with that shade of blue, it's nice and warm, a little unexpected and just the dose of fun that our young family needs.

As for the votes, we had a little problem with our poll... for some reason it re-set itself yesterday, like started over at zero sometime late morning, so I don't know the exact number of votes, but I can say that when I saw it Wednesday and Wednesday night, B was winning by a lot. We were somewhere around 50-ish votes and B was winning with about 70% of the vote. This morning we're at 44 votes- 8 votes for A, 28 votes for B and 11 votes for C. Wednesday it looked like A was in second place, so I really wish we had the numbers for all of the days combined, but it's safe to say that choice B won with between 60%-70% of the vote for both of the days that it was counting.

Some of you mentioned you wanted to know the choice I didn't like at all... for me that was choice C. and it wasn't that I didn't like the pillows, because I really like the more rectangle pillows and the monogram pillow of course as well, I think it just didn't appeal to us because we're so "blue and green" everywhere upstairs in our main living area that I'm trying to do something different in our space in the basement. The blue is about the same blue I've used throughout the house, so it ties it in with the colors upstairs, but the orange is something new, and we like that!

Now I've got to get those fabrics ordered and get to work! :)

Thanks for humoring me and playing along! It was fun to hear from many of you, and fun to see what you prefer too!

Monday, March 21, 2011

monogram pillow

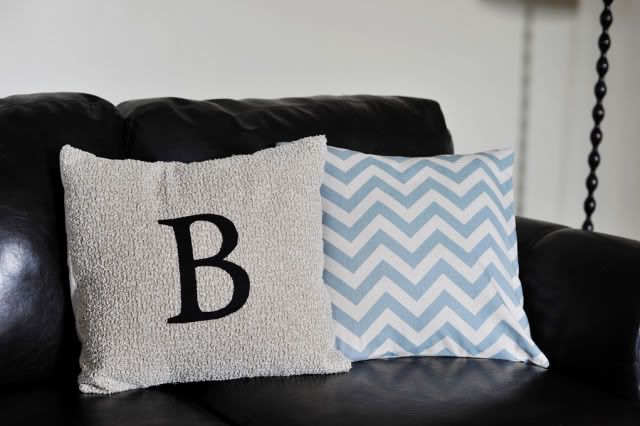
I never met a monogram I didn't like. I might possibly be obsessed, we have the letter B all over the house, but it's fun and it makes me happy, and my preschool age boys love it too! They like to trace this pillow over and over with their little pointer fingers. :)

Here's the quick how-to for those who would like to try working with an applique!

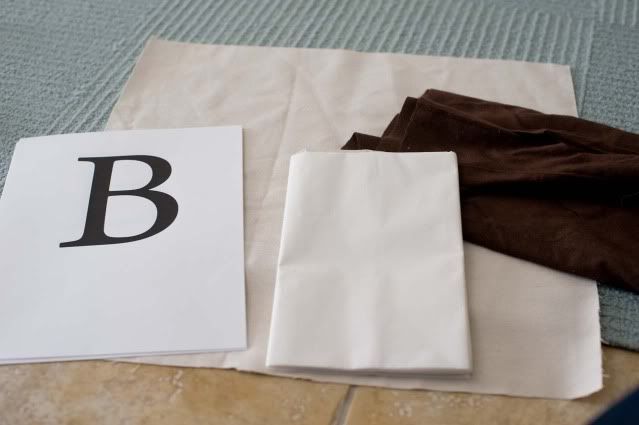
#1. What you need....

Print out a letter in a font you like and a size you like (I put mine on cardstock).

Felt- any color. Mine is black and the fabric I chose was a natural colored textured fabric. Burlap is cute, but not very cuddly.

Fusible webbing- wonder under or other.

A pencil, some fabric scissors, and an iron.

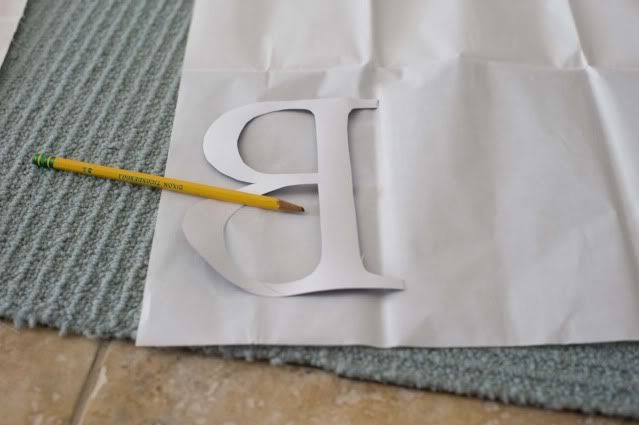
#2.
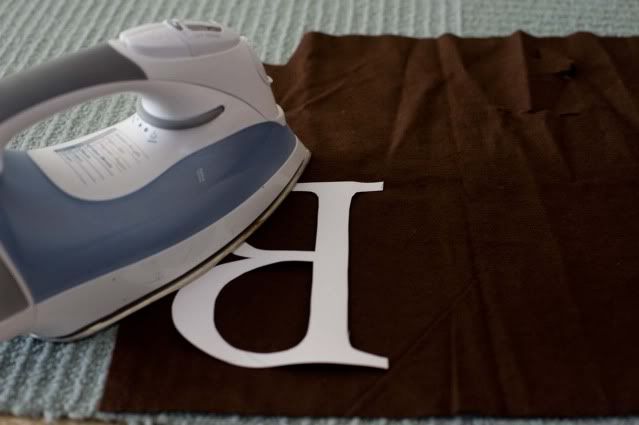
Cut out the letter, trace it backwards and upside down onto the fusible webbing. Make sure it's wrong side down, picture it like this, you want the sticky side to be the side that touches the felt, the backing peels off.

#3

Set the paper template aside. Now I'm working with the "B" that was traced from the fusible webbing, NOT the cardstock letter. Do a rough cut, a rectangle or whatever, around the letter you traced onto the webbing. Now it's ready to iron. You don't have to peel anything off for this part, when it gets hot, the adhesive in the webbing will stick to the felt.

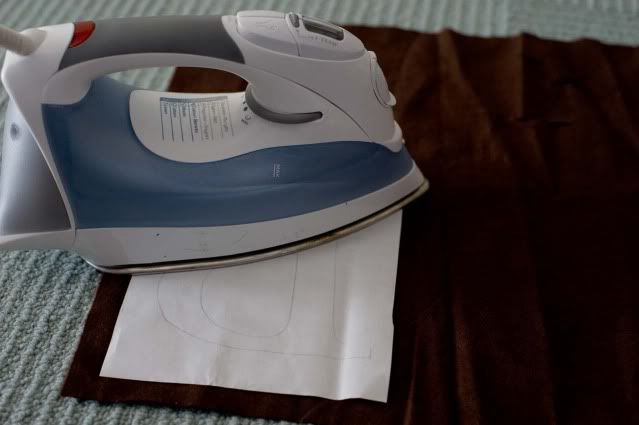
#4.
Iron the webbing. Follow the directions on the package, make sure to hold the iron on the webbing for the recommended amount of time.

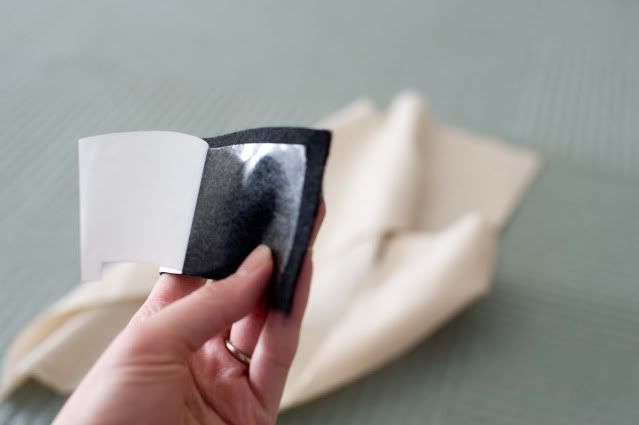
#5
The next step is to cut around the traced letter. The felt is now adhered to the letter. So felt on one side, the backing of the webbing where you traced is on the other side.
It will look like this when you peel it off. Peel the backing when you're sure that you've cut your letter out as close to perfect as you can get it.

#6
Position the felt letter on the fabric. (It might help to use some spray adhesive to stick it temporarily until it gets ironed on, you will be ironing from the back side of the fabric and it might be hard to tell if the letter has shifted or if it's still centered where you want it).

#7.
Iron from the back side of the fabric. Make sure to leave the hot iron on the area for as long or longer than the directions say. Mine took forever.

#8
Done! You might want to make sure that your applique is adhered everywhere, if not you can re-iron and stick it down good. That's the top part, from there it's just a matter of sewing the pillow cover. I chose to do envelope enclosure back so it can be removed for washing. I change my pillows out so often that it's just not sensible to sew the pillow form all the way into the pillow for me. It's nice to be able to easily change or wash them without loosing the whole pillow or taking it apart.

Enjoy! I have one more of these in brighter colors planned for my other couch, and a few more accent pillows ready to sew as soon as I get the time and energy to get it done! Spring always makes me feel like changing out my pillows.

Happy Monogramming!

Wednesday, March 2, 2011

basement progress update!

*Don't forget to scroll down and enter the CSN Stores giveaway, it ends on Thursday morning!*

We had a really productive, basement lovin' weekend! I'm just now getting around to sharing all of the stuff going on, but the good news is, most of the trims are cut, nailed and caulked. We have a ton of painting to do, but we can handle that! We still need to go carpet shopping, and our stair treads and banister parts have been ordered and work on that should start in the next few weeks (we hired that part out).


The playhouse now has a cute little door, we're re-working the plan for the play house a little, I'm not sure exactly how it's going to look when it's finished, but I think it will be fun. Notice the little doorway on the left, that doorway leads into a little hallway like a "tunnel" that connects into the main area of the playhouse, the kids already love running around in circles, in one door and out the other. We put little lights inside the tunnel area and everything (It's hardly a tunnel though, an adult can stand up straight and walk through it, but the boys think it's magical and that's all that matters!)

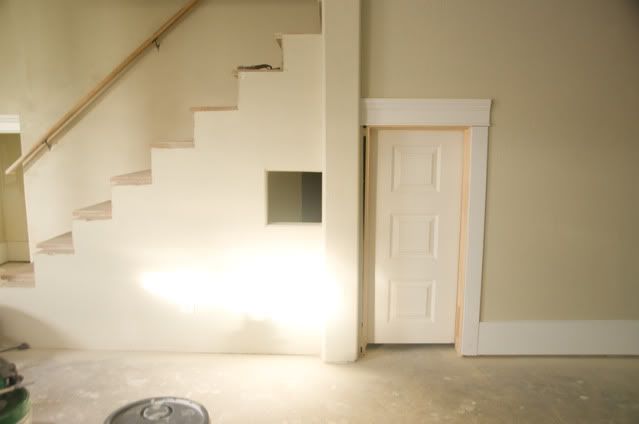
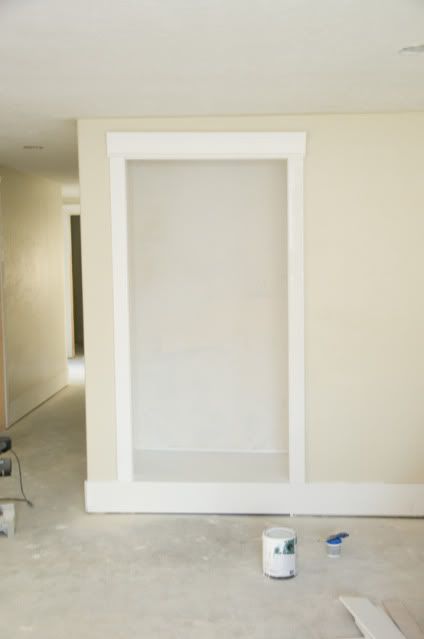
Scott has been hard at work adding craftsman details, and everything is going to be light and bright. This little built in was a last minute whim, it was supposed to be a closet with a door, but it's on the same wall that our TV will be on. We decided to turn it into a built in shelf and I'm so happy that we did! Scott built a base and trimmed it out, next come the inside shelves. I'm deciding if I want the back painted white like the rest of it, or if I want to do something fun with color on the back... it could be really great. Thoughts?


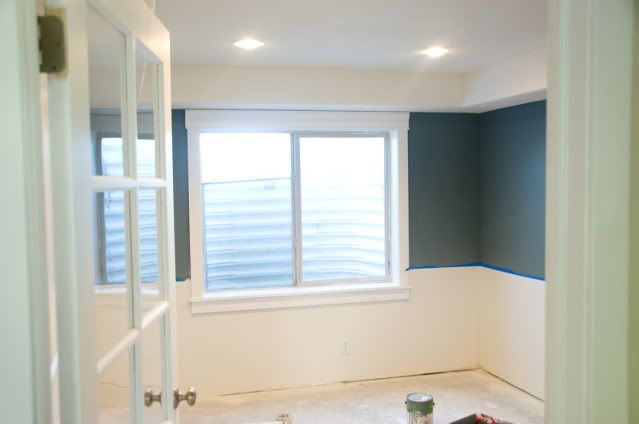
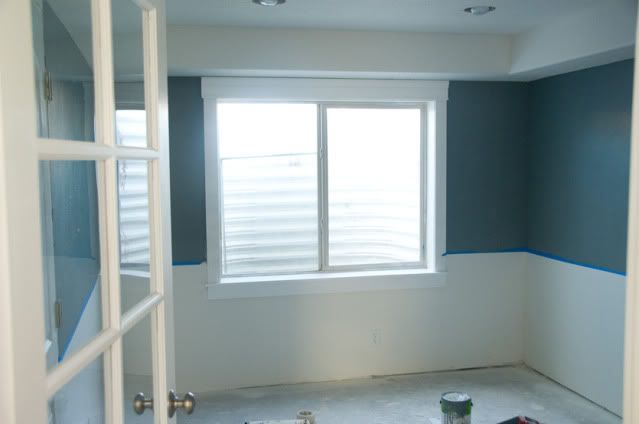
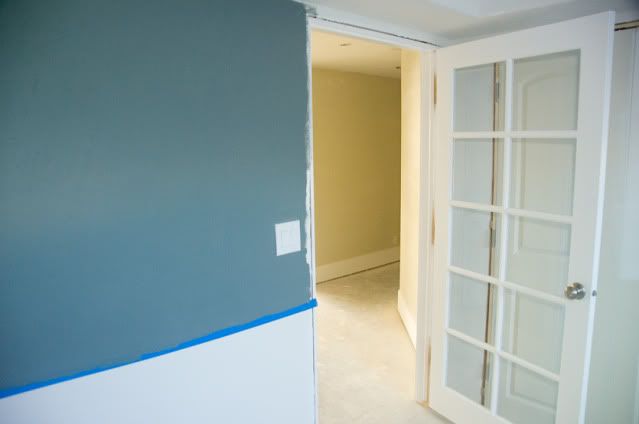
The biggest change down there has been the office. We took the covering off the glass door (details on that in another post) and taped off the area where the wainscot will be (I promise we measured, and it is on a third, although in this picture it kind of looks like half, I promise it's not) and selected a paint color and painted the top part of the wall.

Are you ready for this?


Waaaahhhh!!! It's way out of my comfort zone, I usually go for light bright neutrals, but I'm really liking how it's looking! The color is Martha Stewart School House Slate. We mixed it in Olympic low VOC eggshell finish. I freaked out when Scott put the first swipe on the wall, remember my painters remorse problem? In our first house I learned quickly that I really don't go for darks or even midtones. I like light paint. This kind of made me twitchy as I watched it go onto the wall. I don't know why the turquoise in Carter's room didn't bother me, it's a bright color, so I wasn't as nervous, but this is super dark for me. Lucky for all involved, I have zero painters remorse this time, I really love the color!

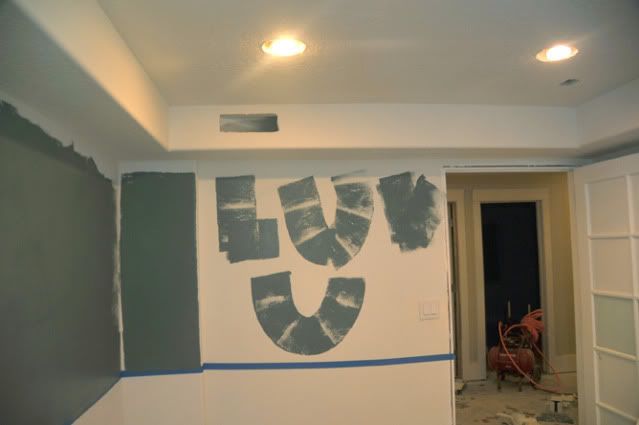
We spent Friday night down there, Scott painted while I peeled that horrible protective stuff off the glass doors. At one point, he tapped me on the shoulder and pointed to the wall behind me. I looked up to find this:
What a guy. :) We always feel a little nerdy when we admit to people that working on a project is as good as a date night for us, but it really is. We both really enjoy building things and making our house better for our family, and we have a fun time talking and laughing about silly stuff while we do it.

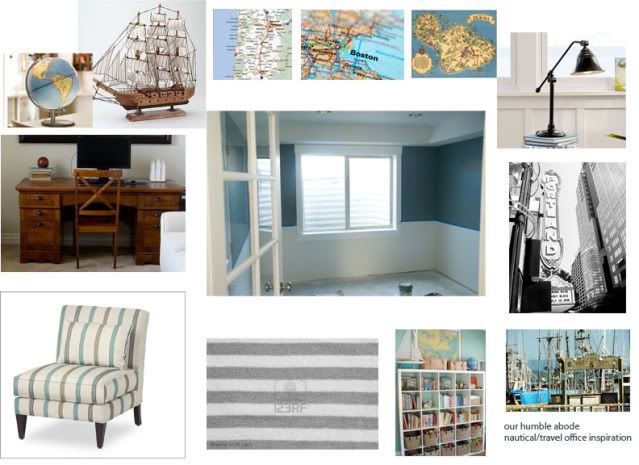
The plan is this: We are laying dark bamboo on the floor, we'll keep the same desk we have upstairs and I plan on bringing in some grays, lots of whites and who knows what else to accent it with, but here's a little idea board I threw together to kind of show where we plan on going with this:


A tiny bit nautical, but not overwhelming nautical. We want to display some pictures and maps from our favorite trips and vacations on the walls.

Here's the big question though. We are thinking we should paint the ceiling a muted down version of the wall color, a kind of grayish blue, just so it's not such a harsh transition between the dark slatey blue walls and the pure white ceiling, but at the same time, I kind of like the clean white ceiling and Scott is talking about doing some fancy trim work like this:


Which would be de-lish. If we did that, we would probably do a light gray toned paint inside the boxes to make the trim work pop. That's something we can add later though. Right now we just need to get to the carpet phase before I go mad.

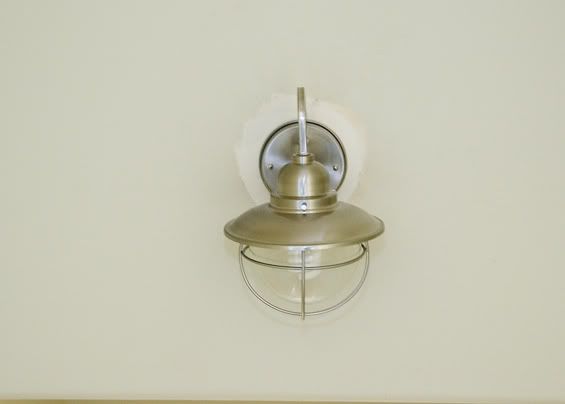
The last and smallest detail is that we took out an ugly wall mounted globe light in the stairwell and replaced it with this beauty:
I'm dying over it. For the first few days I would open the door and just gaze at it (the door will come off as soon as the stair work starts for an open and airy transition to the stairs). We still have to touch up paint around it, but I couldn't bear to leave it out of the basement update.

Anyway, that's what we've got going on down there! When we first saw this house we were over-the-top excited with the potential we saw in the basement, it's a daylight basement, and it really is nice and bright down there, the big windows make it feel less like a basement and more like just another part of the house. We can't wait to get 'er done and start enjoying it!

Friday, February 11, 2011

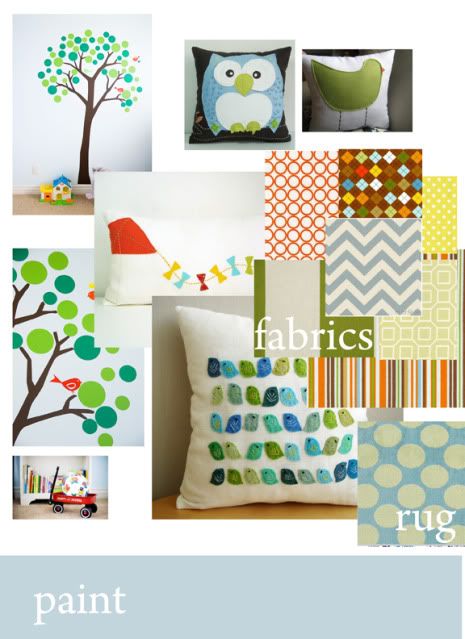
{baby boy nursery} idea board

We found out a few days ago that our little one is a boy! He has two big brothers who are thrilled beyond words and can't wait to meet him and start loving him!

I had a lot of fun last night creating this little idea board for our little fellas room. The paint and the tree will stay the same, I'm planning to add in a lot of color with other things, bird pillows (etsy) to go with the birds in the tree on the wall, I found the little kite pillow(also etsy) and plan to make one similar to sit on the toy box under the window, and lots of bright and happy fabrics (tonic living and hawthorne fabrics mostly). I know it looks like a random sampling of fabric, but I want it to all go together without looking straight-from-the-store matchy.

This is just the first round of ideas, a jumping off point if you will, but I'm liking that it will be a bright fun place for him to rest and play. I can't wait to get started! (After we get this basement out of the way, which is making huge progress of late !)

It's a lot of the same colors as Owen's previous room, but now that he's been moved in with big brother, this room is the toy room until we get a new one set up downstairs. I really wanted to keep the tree, but we'll change it up with new bedding and some new colors to make it his own little place.

Friday, October 29, 2010

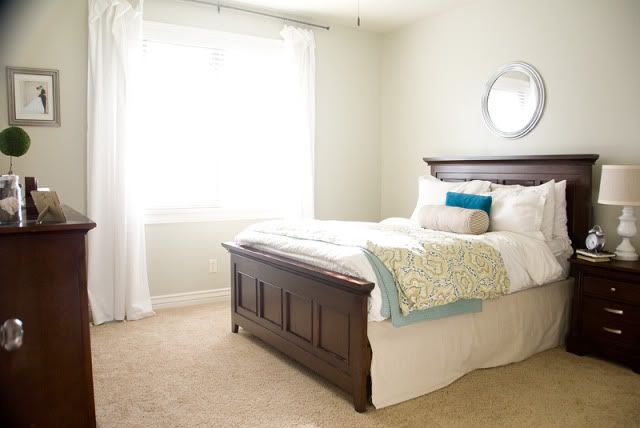
master bedroom paint and odds and ends

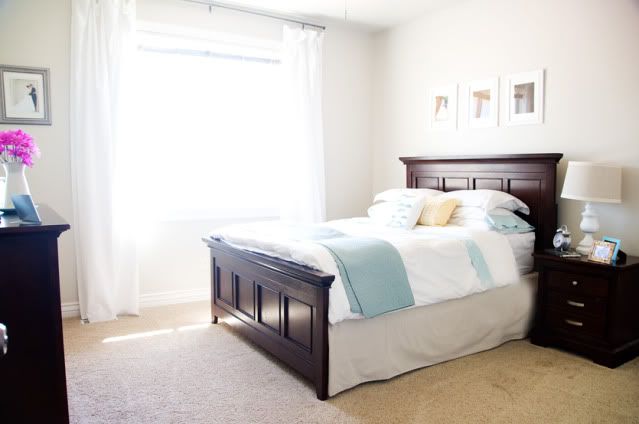
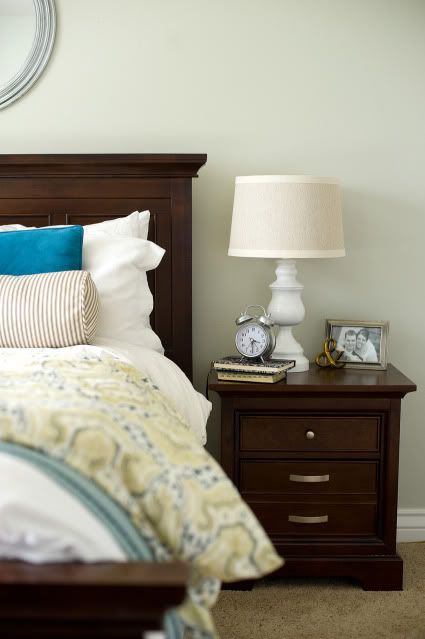
Another room painted! We actually painted this one about 6 weeks ago, but I never posted about it. The color is Valspar Bay Sands, it's a nice soft warmer gray. I wanted a gray that wasn't icey cold, and I didn't want it to have any purple undertones, so this was perfect. I LOOOVE it next to all of the white in the room.

I added the mirror because I felt like we really needed something "shiny" and I'm still looking for a few more shiny things to spiff it up a bit.
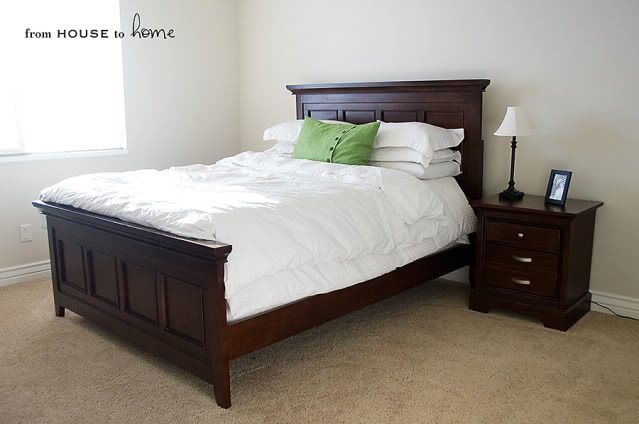
Here it is before...
and here it is WAAAY before... right after we moved in.


We always throw an extra down comforter on in fall and winter, so I decided to add more color and texture by finding a new duvet cover. I think she's gorgeous, I love it.


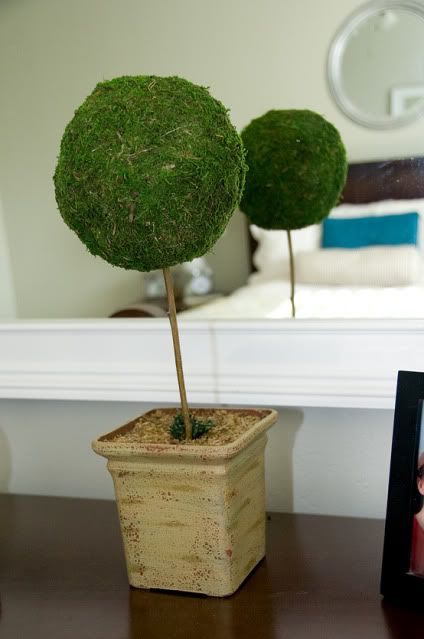
I made this topiary using a (foam) pot thing that I already had. This had something leafy in it, it's been in the pile to donate to the DI for months now, but I dug it out and gave it a second chance. I had to use wire cutters to cut the pretend greenery out of it. From there it was easy, a moss ball and a stick from the yard.

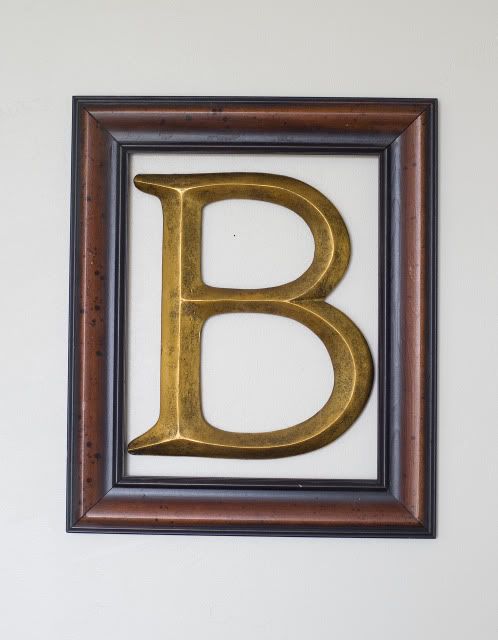
I found the B at Hobby Lobby and just hoped it would be the right size for this empty frame I already had on hand. It was on sale, $3. I thought about painting it, but I kind of like the look of it for now.

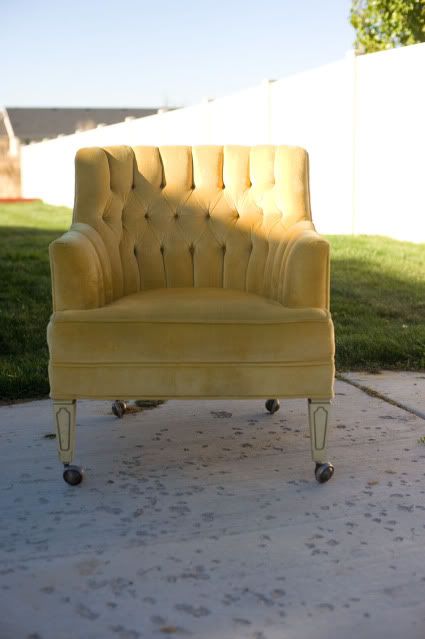
So what's left? I have another night stand that's been on back order that should be here any day, that will help make things a little more symmetrical, and I scored this gorgeous chair from a classifieds ad for only $35. It's perfect, nice and small, lovely mustard colored velvet. Tufted buttons on the back...

Imagine it with new dark wood legs, if you please. :) I have plans for this baby.

I used it in our family pictures a few weeks ago, see, she's already part of the family!

The only problem is that even after steam cleaning it, it smells like old grandma mixed with stale smoke. Nasty! It's living in the garage until I can figure out what to do with it. Any suggestions? The guy who did the cleaning even sprayed a sanitizing and deodorizing spray on it, and it's better than it was, but I just can't put it in my bedroom smelling funky like it does.

I really want to find a way to keep it, so I'll try any reasonable suggestion. Throw 'em at me!

So pretty much that's it. The other nightstand and the chair, and then I'll really be "finished" in there, although I'm never really finished, but you all know what I mean, right? :)

Today is our official ONE YEAR housiversary! One year ago today, we were packing up our old house and saying goodbye to neighbors and friends and moving everything to a new county and new town. We are so happy to be here, we feel so at home! I have a little celebratory post planned, so come on back and visit and celebrate with us! :)


Friday, October 8, 2010

family room {painted}

I know, it's about time! We finally painted the family room! What was the hold up? Well, for starters the master bedroom isn't finished, but it's oh so close, I'm waiting for something on back order, so what's a girl to do? How about start on something new? Yep, sounds like a plan!

Remember how I have a really hard time deciding on paint colors? No? Well, I do.

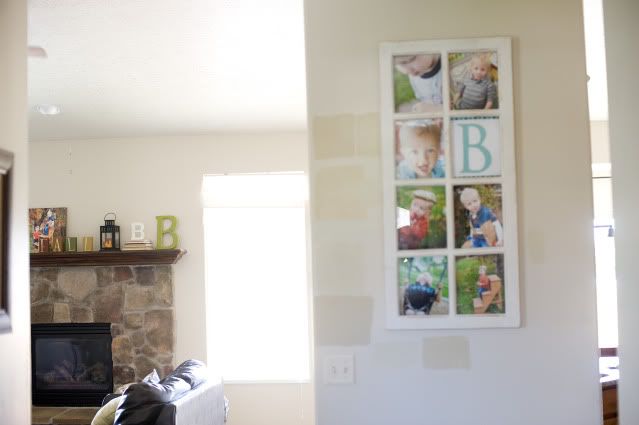
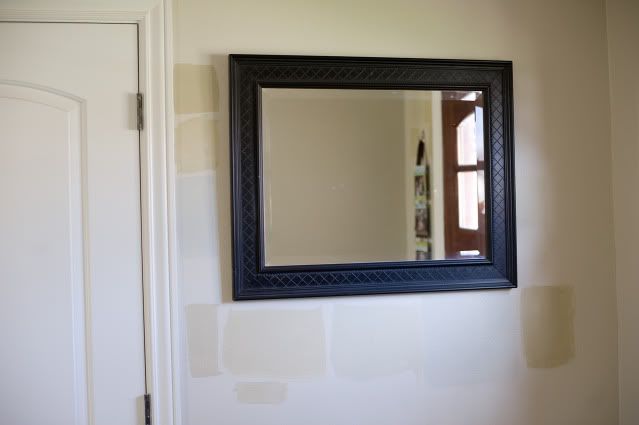
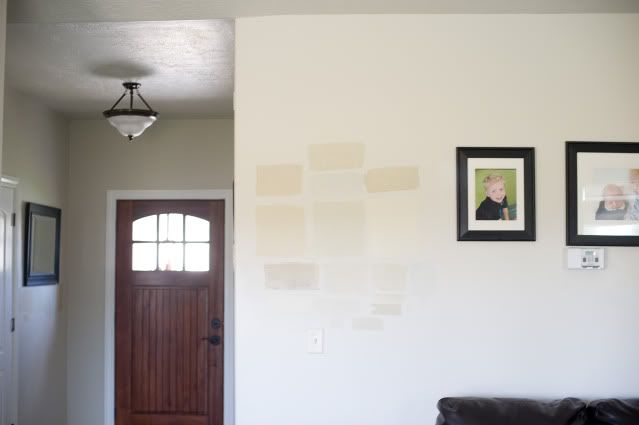
For the last 5 months I've bought tiny paint samples and painted squares on every single wall involved and judged how it looked in every light...

because I'm obsessive like that...

and because I've been known to have painters remorse, which is akin to buyers remorse, only receipts and returns don't cut it when you just know you've painted something the wrong color. It can be very disheartening, I tell you.

So I changed my mind again and again and then moved on to other things while I let myself have some more time to think about what I really wanted, because if I wasn't finding it, it was possible it was because I didn't even know what I wanted.

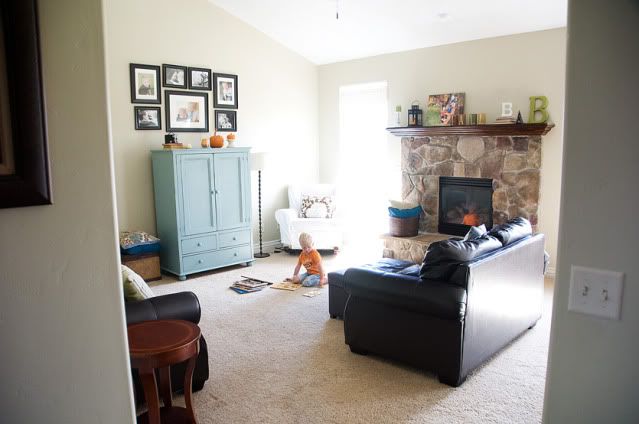
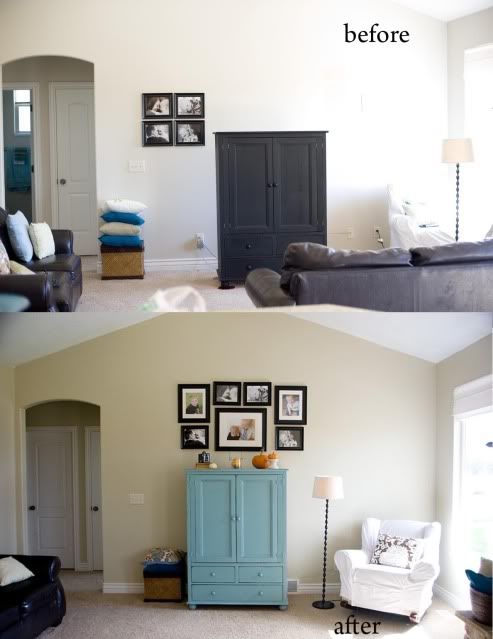
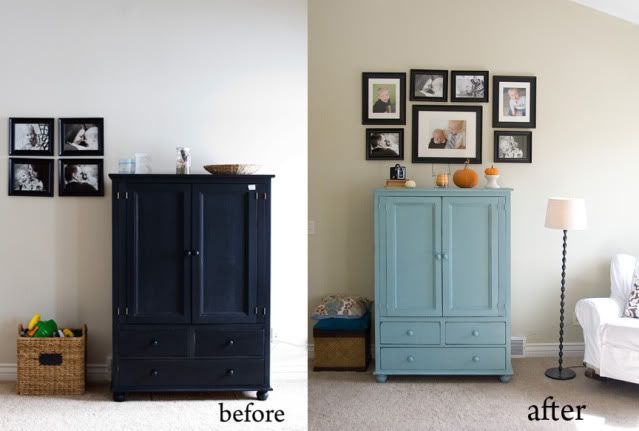
I wanted a neutral that was warm, but not too yellow-y, had a little bit of green undertone, not the pink undertone that our builder beige had in certain light, something that would wake up the space without fighting with every thing in the room for attention, and something that was subtle and soothing... In the end, I ended up making my own paint color using a paint my neighbor had in her home that I love and a few of my sample paints. I painted it on a piece of a board and then took it to Sherwin Williams a few weeks ago during the 40% off paint sale, and the nice girl at the counter color matched it for me. True Story. If you want my paint color, it's called Mindy Green (she chose the name) and it's at Sherwin Williams. I should have thought up a nice name for it, but she put me on the spot and I didn't know what to call it, so she got creative and named it herself. But don't be fooled, it's really not green. It's more like this...

(just keepin' it real, this is what a family room is used for, FAMILY, so it would have been ridiculous to make him move his puzzles so his crazy mom could take a perfect picture.)

I have more prints that I've ordered for this wall, and I can't wait to show you the wall behind the couch when I get finished with it!

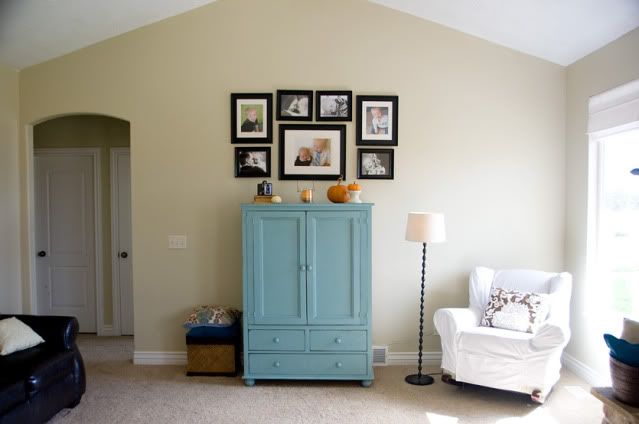
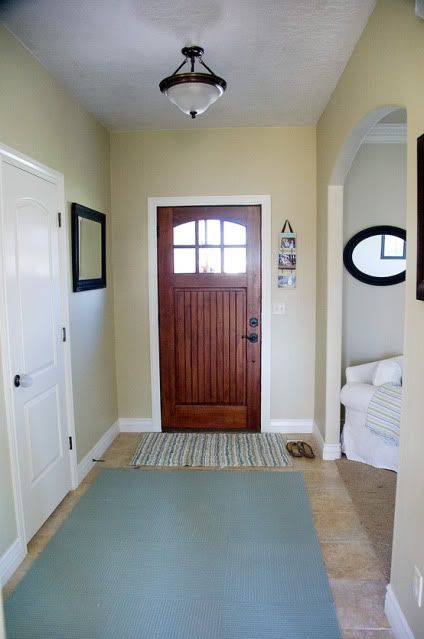
The entry got the same paint. I'm very very happy with how the color turned out. We also painted all of the ceilings white. They were formerly the same color as the walls, and it's just a personal preference, but I like a nice clean white ceiling. White gives the eye a place to rest, and I love the contrast of white trims and ceilings and doors with painted walls.
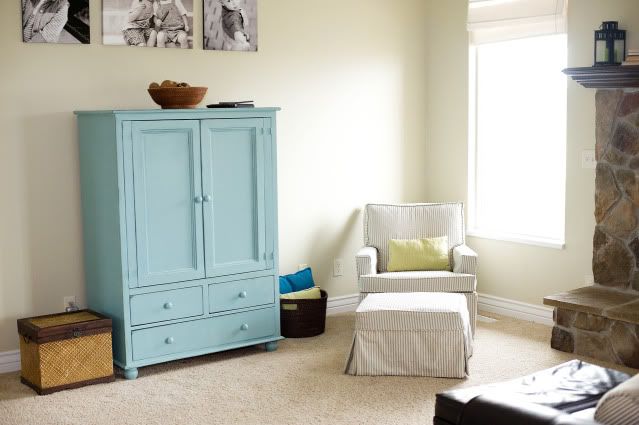
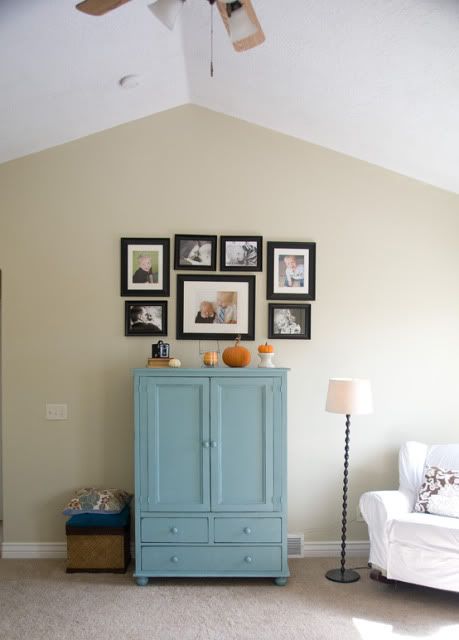
I decided to just work with the height with our vaulted ceilings and make a grouping of photos that take up a lot of the space above the armoire. At first I worried if I went too high with it, but as we've lived with it for about a week now, I find it makes the room seem bigger, because it accentuates the tall walls. I'll be adding to this and hopefully it will be looking more complete.


It's not perfect, and I'm not even close to finished, this is round one. I've got plans for the wall behind the couch, that's round two, but it will really become what I have in my head when the basement is finished and these couches move downstairs. Then the fun will begin! [insert evil laugh here.]