Showing posts with label little projects. Show all posts

Monday, March 21, 2011

monogram pillow

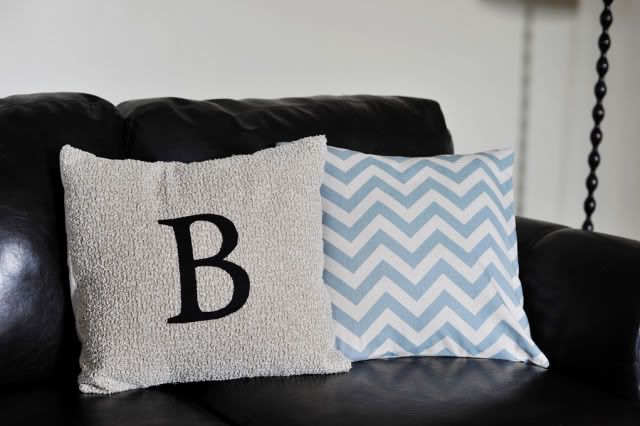
I never met a monogram I didn't like. I might possibly be obsessed, we have the letter B all over the house, but it's fun and it makes me happy, and my preschool age boys love it too! They like to trace this pillow over and over with their little pointer fingers. :)

Here's the quick how-to for those who would like to try working with an applique!

#1. What you need....
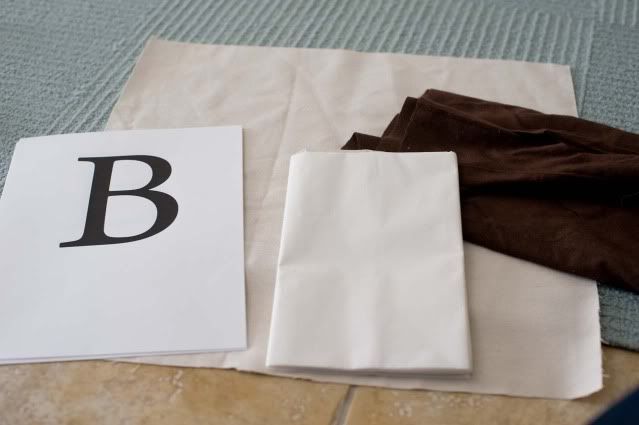
Print out a letter in a font you like and a size you like (I put mine on cardstock).

Felt- any color. Mine is black and the fabric I chose was a natural colored textured fabric. Burlap is cute, but not very cuddly.

Fusible webbing- wonder under or other.

A pencil, some fabric scissors, and an iron.

#2.
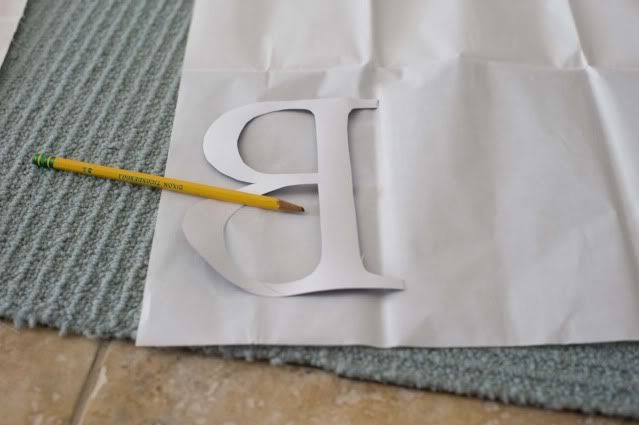
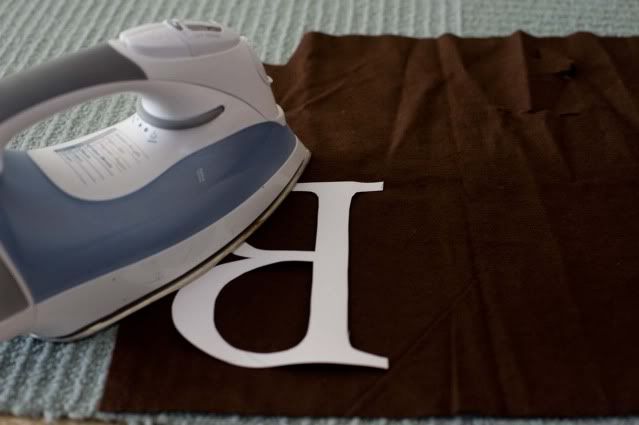
Cut out the letter, trace it backwards and upside down onto the fusible webbing. Make sure it's wrong side down, picture it like this, you want the sticky side to be the side that touches the felt, the backing peels off.

#3

Set the paper template aside. Now I'm working with the "B" that was traced from the fusible webbing, NOT the cardstock letter. Do a rough cut, a rectangle or whatever, around the letter you traced onto the webbing. Now it's ready to iron. You don't have to peel anything off for this part, when it gets hot, the adhesive in the webbing will stick to the felt.

#4.
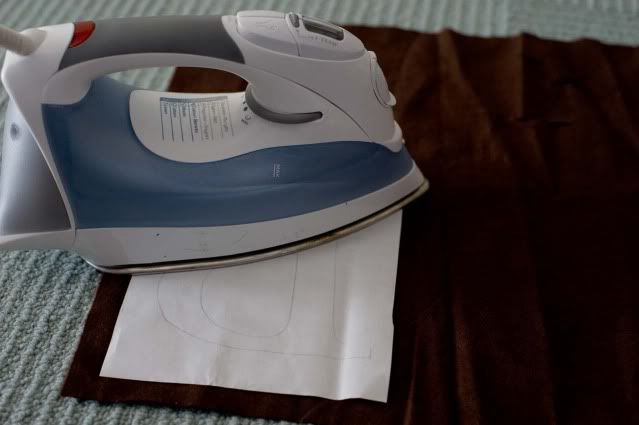
Iron the webbing. Follow the directions on the package, make sure to hold the iron on the webbing for the recommended amount of time.

#5
The next step is to cut around the traced letter. The felt is now adhered to the letter. So felt on one side, the backing of the webbing where you traced is on the other side.
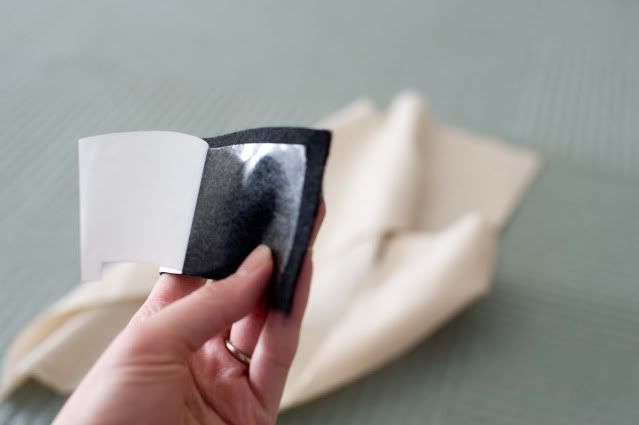
It will look like this when you peel it off. Peel the backing when you're sure that you've cut your letter out as close to perfect as you can get it.

#6
Position the felt letter on the fabric. (It might help to use some spray adhesive to stick it temporarily until it gets ironed on, you will be ironing from the back side of the fabric and it might be hard to tell if the letter has shifted or if it's still centered where you want it).

#7.
Iron from the back side of the fabric. Make sure to leave the hot iron on the area for as long or longer than the directions say. Mine took forever.

#8
Done! You might want to make sure that your applique is adhered everywhere, if not you can re-iron and stick it down good. That's the top part, from there it's just a matter of sewing the pillow cover. I chose to do envelope enclosure back so it can be removed for washing. I change my pillows out so often that it's just not sensible to sew the pillow form all the way into the pillow for me. It's nice to be able to easily change or wash them without loosing the whole pillow or taking it apart.

Enjoy! I have one more of these in brighter colors planned for my other couch, and a few more accent pillows ready to sew as soon as I get the time and energy to get it done! Spring always makes me feel like changing out my pillows.

Happy Monogramming!

Friday, January 28, 2011

photo ledge and wall gallery {completed!}

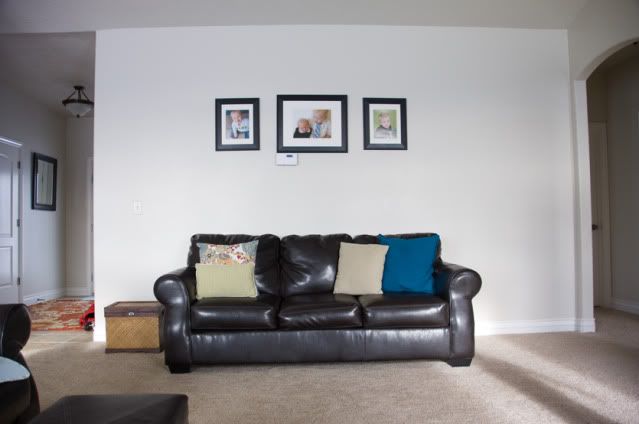
Just so we're all on the same page, here's the before:
this was taken right after we moved in, we just kind of put things somewhere until we could get to making this room how we really wanted it. It drove me crazy the whole time, still does, but I really wanted to do the kids bedrooms first, and I wasn't sure about what I really wanted in this room anyway.

I played around with ideas of a gallery wall, something along the lines of this little ditty I photshopped...
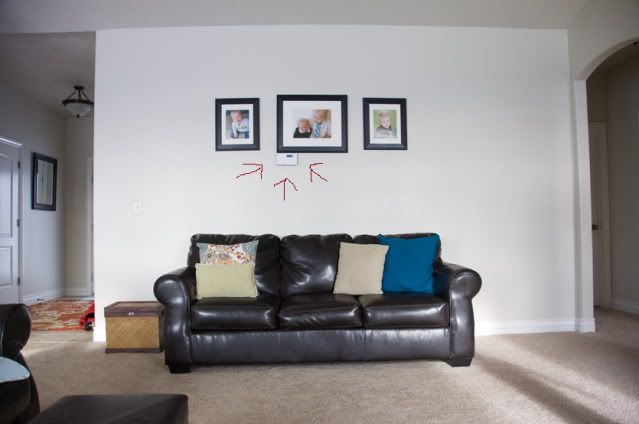
But some "man" made a design error when this house was built and guess where my thermostat is?

Wow, I'm telling you, a man must have done that! Poor planning. I noticed this the first time we looked at the house and we thought about moving it, but in the end, I just wanted to find a simple solution and move on.
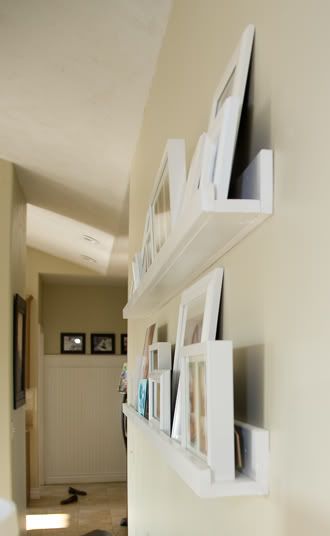
After much thought, I decided that ledges where the way to go above the couch.

I bought the ikea ledges and was so excited to put them up, but they looked too small and a little dorky, I should have taken a picture, but I didn't. We needed super long ones, and the Ikea by our house is out of them. Next option, I looked at the Pottery Barn version, it would have cost a lot, so after looking at them closely, my hubby and I decided it would be a piece of cake to DIY our own version, so we did.

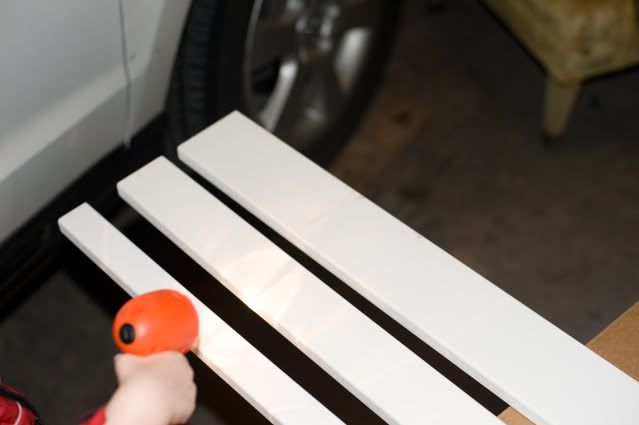
All you need is 3 pieces of MDF per shelf. We went with 6 foot lengths, because they would fit perfectly above our sofa.

So it's one 1x2, a 1x3 and a 1x4. It only cost about $8.50 per shelf!
If you're super lucky, you'll have a little helper like ours who will shine his lil' flashlight on your project. :)

This took less than 15 minutes to assemble. The widest one goes on the back, the smallest in the front. We lined them up flush and used a nailgun to secure everything. They were already primed, so all they needed was a little bit of paint, which we already had on hand.

To secure them to the wall, we used 4 screws per shelf, lucky for us they lined up on studs in the wall, then we went along with the nail gun, using 16 gauge nails (big boys!) and made sure it was good and tight. It's not going anywhere! We made sure to mount it a little higher, so it wouldn't be a temptation for little fellas to grab at the pictures and hurt themselves.

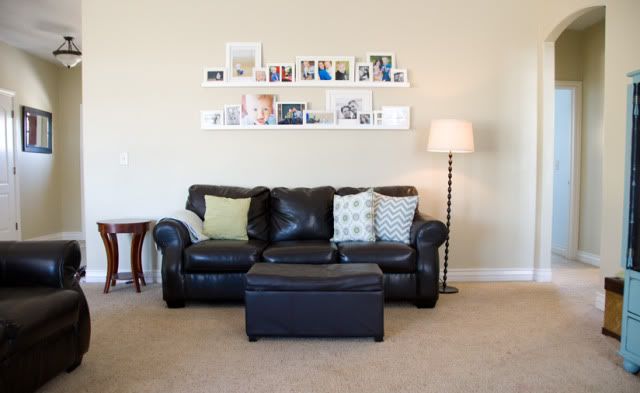
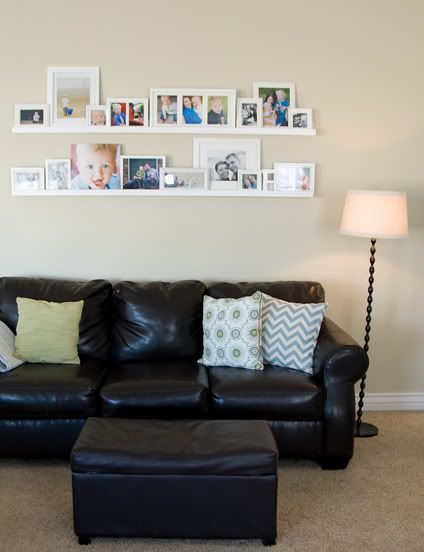
Here's our finished product!
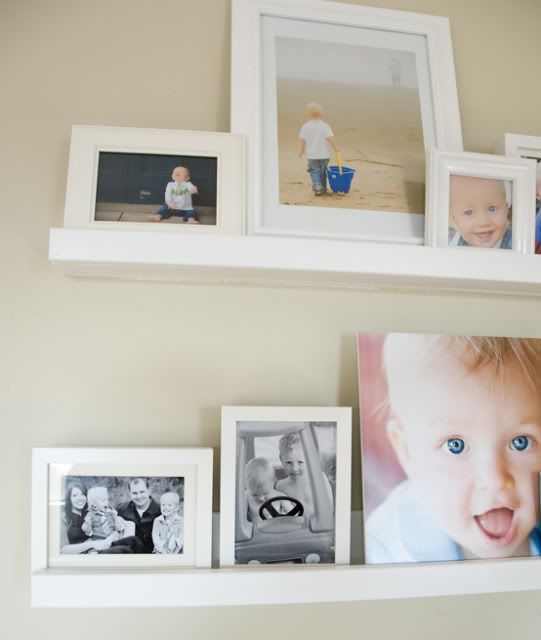
I love it! It makes me happy every time I look at it! I chose to mix black and white with color photographs because I'm a bit of a color photo junkie, the photographer in me works hard to make colorful fun images, I would be sad if every picture in my family room where black and white.


I'm really happy with how this wall turned out, it puts the "family" in family room, it feels a lot more inviting and it makes me happy to have a wall full of happy family memories, I wish I could have fit more pictures, but it's borderline overcrowded as it is!

This project was worth much more than the $17 it cost! (Technically $17 plus some frames, most from Ikea, many I already had.)


Sunday, September 26, 2010

salvaging a mirror


We did a bathroom renovation in our last house, and removing this sheet mirror was a task. It got all chipped and broken in the corners, but was in good shape everywhere else. Because of it's size I really wanted to see if I could salvage it. And it kind of made me sick to think of tossing it into a landfill.

So I found some chunky MDF molding that I really love and gave it a try.


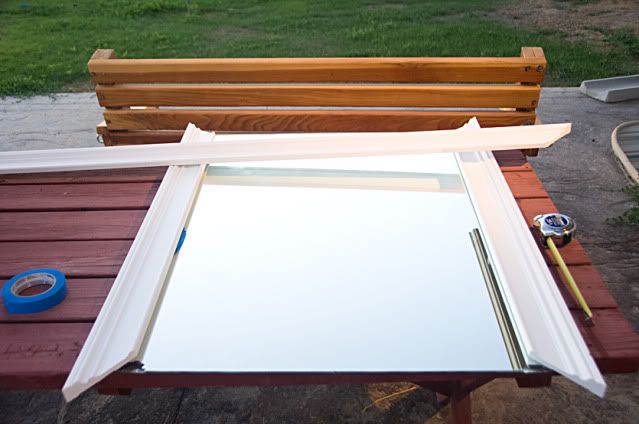
My hubby cut a piece of plywood that was just smaller than the mirror and we used epoxy to stick them together (for the purpose of having a good stable surface for mounting it to the wall). We then made measured and made miter cuts to frame the mirror with the trims. Once they were all matching up just right, we used gorilla glue to stick them to the mirror. I used heavy cans of tomatoes and other home canned veggies to hold it all in place on our picnic table while it dried overnight.

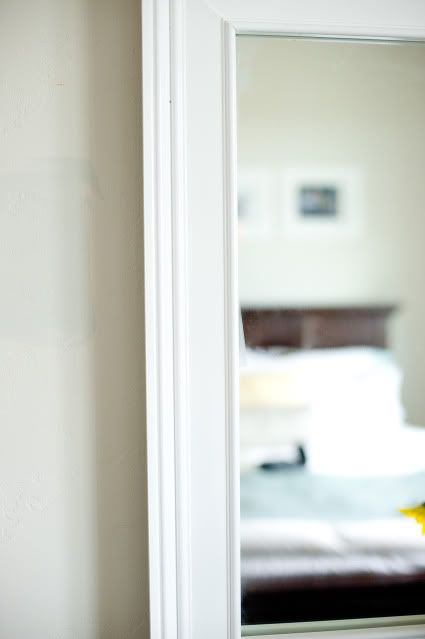
The next day I masked it off and spray painted it a nice soft white.


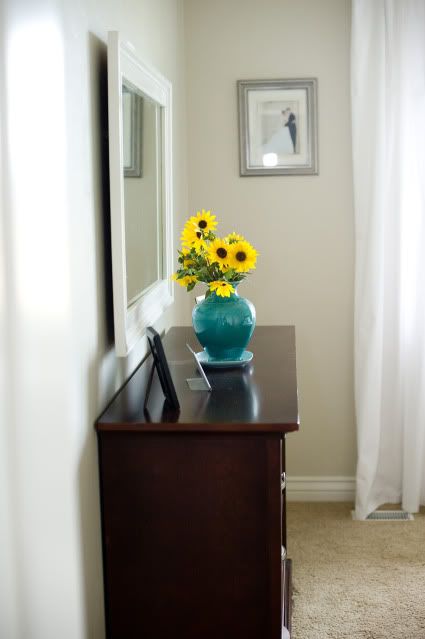
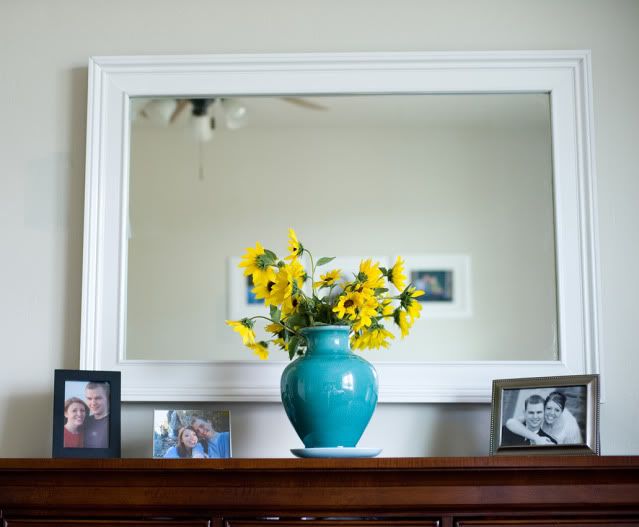
The last step was hanging it. We used D rings and hooks rated at 40 pounds each, just to be on the safe side.


I'm happy to say it actually worked, and the total cost to us was about $15! I don't know if I could have found a deal like that anyway, but it makes me happy that we gave something broken a new life.

Wednesday, August 18, 2010

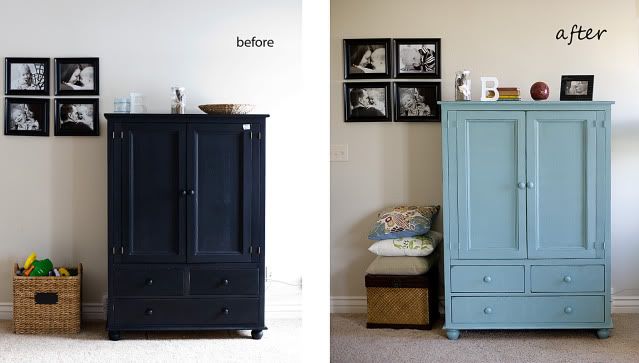
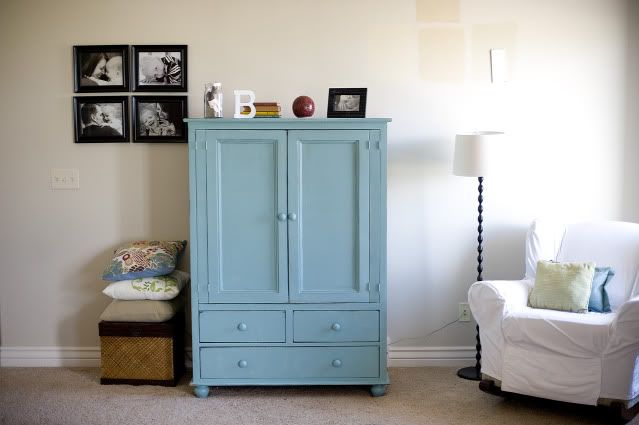
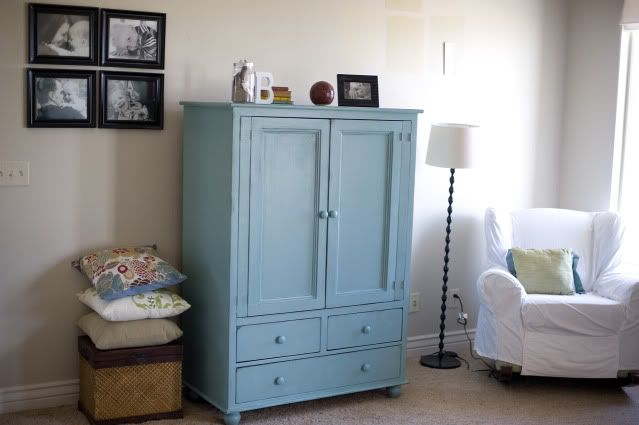
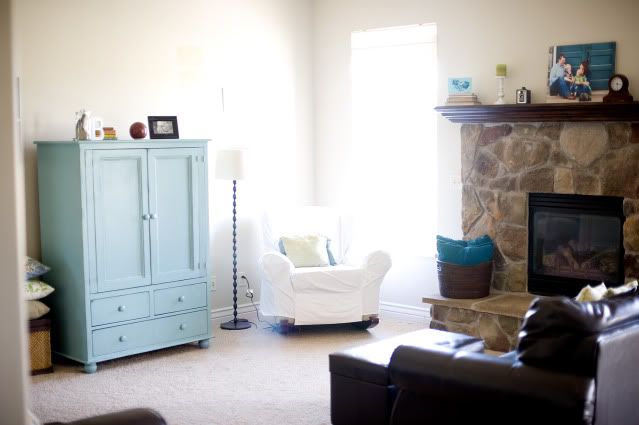
[painted armoire] before & after


Yes, I finally did it!


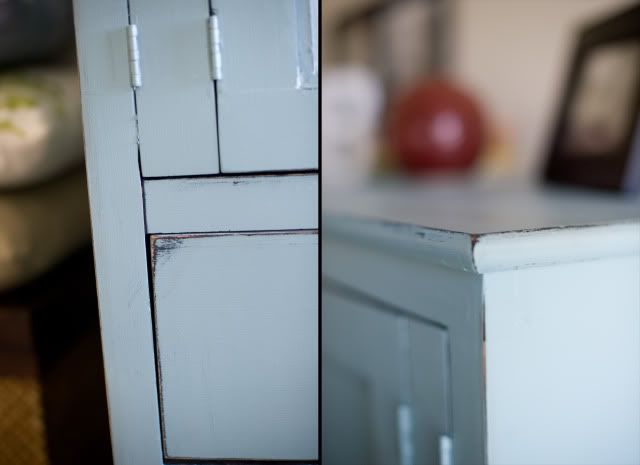
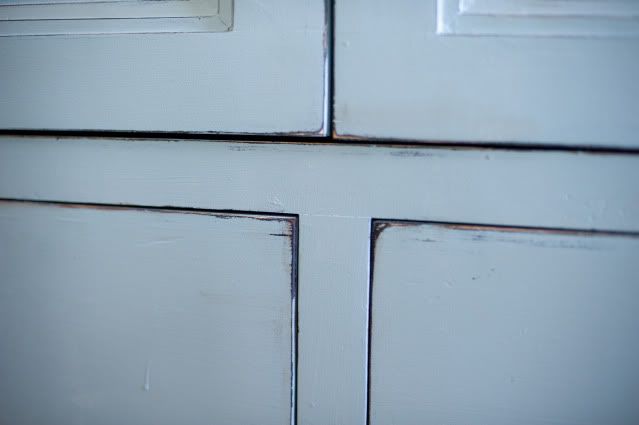
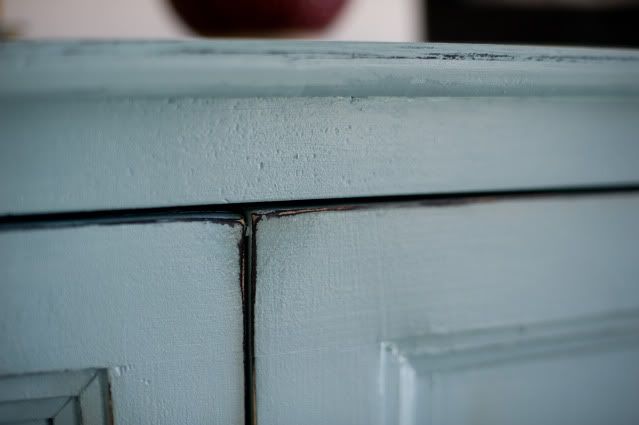
I did some light distressing on it, I used 120 grit sandpaper and just did it by hand. I tried to rub the places I thought would have been worn over time if it were an old piece. The edges, the corners, the little parts that rub together when the doors open and close. The distressed parts may have turned out to be my favorite of the whole thing.


I love how the bottom coat of black paint peeks through in some places. I took some walnut stain and did a tiny bit of glazing in some of the corners and distressed places. I used a wet rag and the tiniest amount of stain and rubbed it in key places to make it look a little bit older, rather than a freshly painted piece.

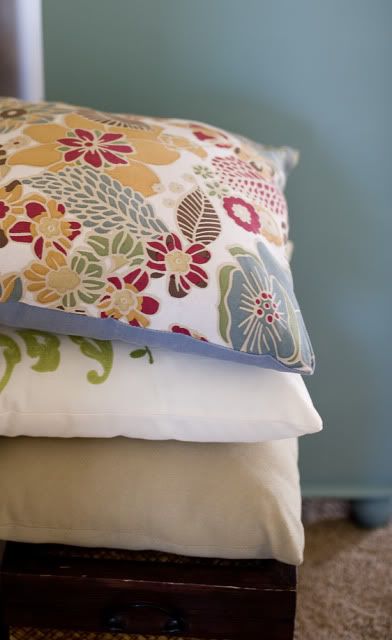
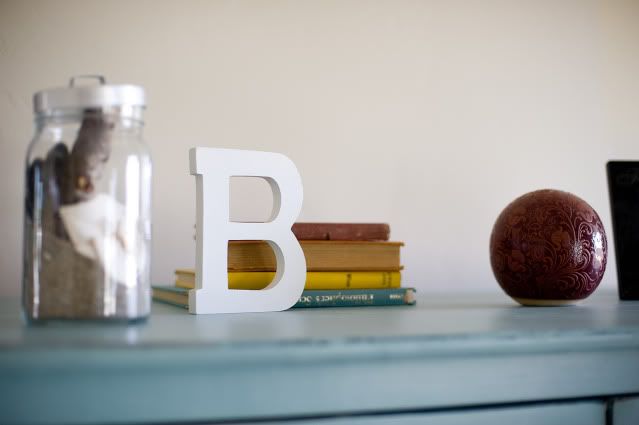
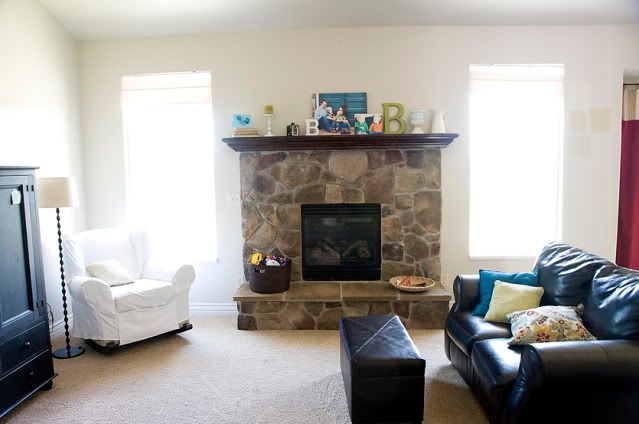
I rounded up some more colorful accent pieces and pulled out some of the reds in my pillows.


It makes the family room look way more fun.

I didn't hate the black, infact, I liked it, but with our dark brown couches I just felt like all of the dark stuff was sucking the light out of the room, and sucking the life out of me!


What I love about a piece like this is that it's perfect for family life. I'm not going to stress out about my boys driving their cars on it, or opening and closing the doors over and over, because it's supposed to look "lived in". When the day comes that I decide to change up my colors and phase out my blues, greens, aquas and turquoise, I can paint it another color, or white, and it will look great with layers of paint showing through in the distressed places.

I'm pretty happy with the way it turned out! There's nothing a new coat of paint can't fix!

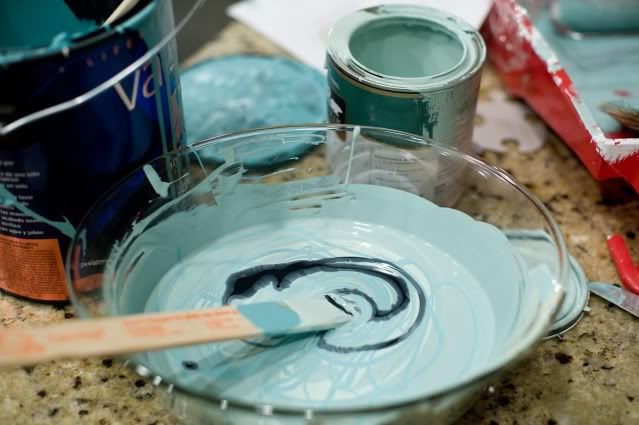
And here's the disclaimer. I did, in fact, make my own custom paint color. I chose a color I thought was perfect (Behr Marina Isle) and I put the first brush sroke on and could tell immediately it was way too light. It almost looked baby blue next to the black. WRONG color! I panicked for about 3.5 seconds, then I remembered the turquoise paint I used in my big boys room, and added some of that and some black and a little bit of tan so it had a more gray or dirtier look to it. It turned out just right!

Sunday, August 15, 2010

[a simple pillow]

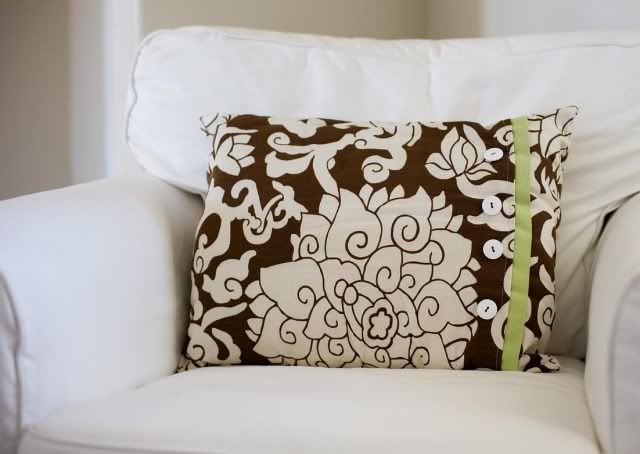
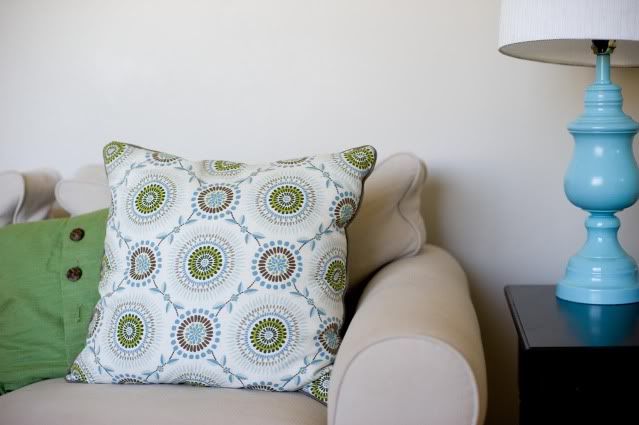
My name is Mindy and I am a pillow-holic. It's a sickness I have. I have so many pillows I can't even display them at once. Some are functional, some are nice to look at, but I can't seem to get rid of any, and I'm always adding to the collection.


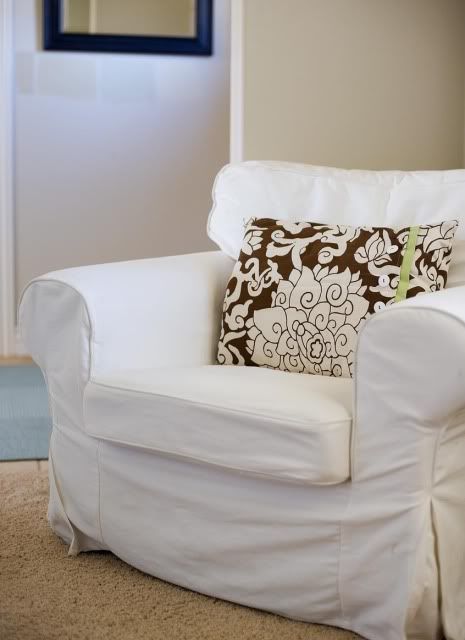
I found this great fabric a few months ago while looking for a good re-upholstery option. I fell in love with it, and I finally decided what to do with it.


I love how it coordinates with the pillows on the couch.

This is in my "informal" formal living room. :) It's not even the next room on my list, but I couldn't help but change up the pillows a bit.

And because I have decorating ADD, I jumped ahead of myself and did things out of order again. I really just need to finish our Master Bedroom, but I decided to do something else on Saturday instead. It may or may not involve the armoire (seen here) in the family room.


And I cannot admit or deny that I may have mixed up my own paint color (if in fact I did, it was surely out of true necessity , a.k.a. I picked the wrong color!)

The good news is all I have left to do is some distressing and I should have a little sumpthin' sumptin' to show you in the next few days.

And then maybe I'll get back on task... maybe.

Wednesday, July 14, 2010

another lamp re-do and old treasures

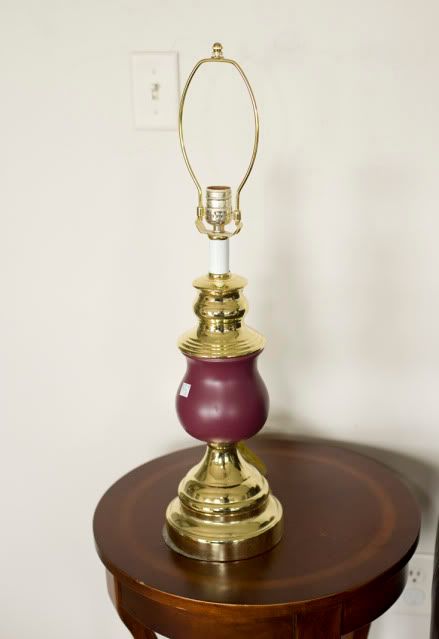
I found another great curvy lamp, it's almost identical to my last one, except this one didn't have the maroon center that the other one had, it was completely brass.

I did take a before picture, I just can't find it in my files right now, so this will have to do.

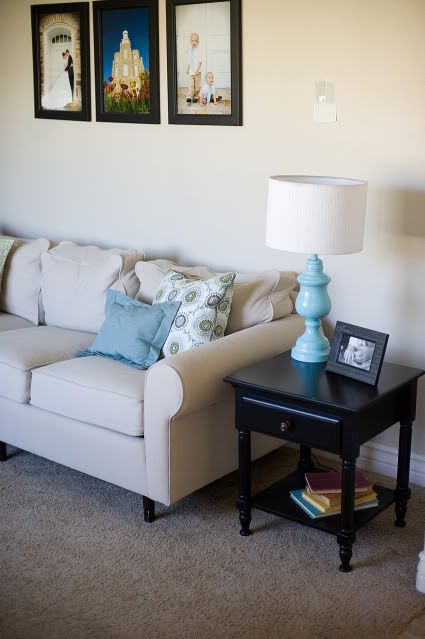
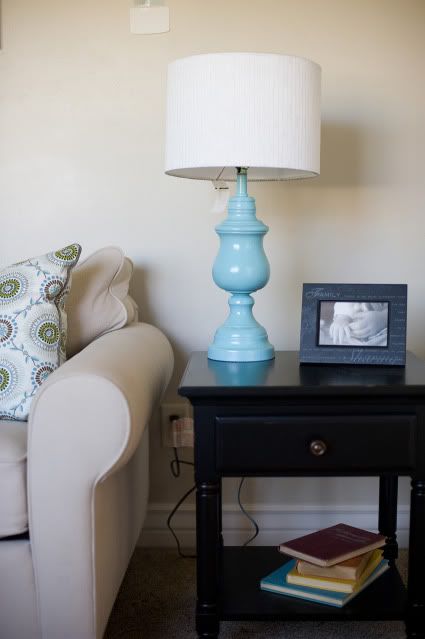
I used regular white primer and Krylon's Ocean Breeze


and this was the result:


I found the shade at homegoods, and I love it for it's texture, it has a nice vertical ribbing pattern, I'm not sure if you can see in the picture, but it was cheap, and it's well made. I think it's perfect for the lamp!


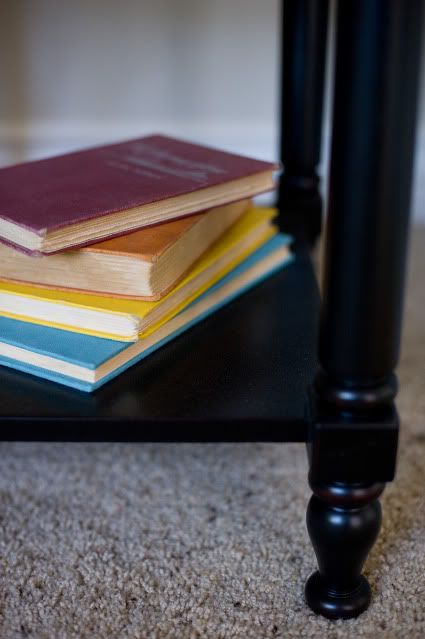
Another great thing you may notice gracing the side table is this great stack of books I brought home from my mom's house. She has a shelf full of great old books, and I've raided her collection a few times, I don't know how I missed these beauties. I love the colors together and it's got me thinking about adding some muted reds, bright yellows and pretty oranges to the living room and the rest of the house.

We've done some major projects outside, and I can't wait to get them finished... I'll be sharing them soon, and my master bedroom is so close to being finished it's making me crazy. Maybe I'll just have to show it in progress.

Happy Summer!

Tuesday, June 22, 2010

mantle: walnut-ified.

I felt like something just wasn't right with the fireplace from the first time we saw this house. Pretty sure it's just a matter of personal preference, but the Hubbs and I just don't love the light wood so much... I don't really know why, and it doesn't bug me when other people use light wood, I just don't like it for us. That's okay, I think.


Here's the before:


And the after:


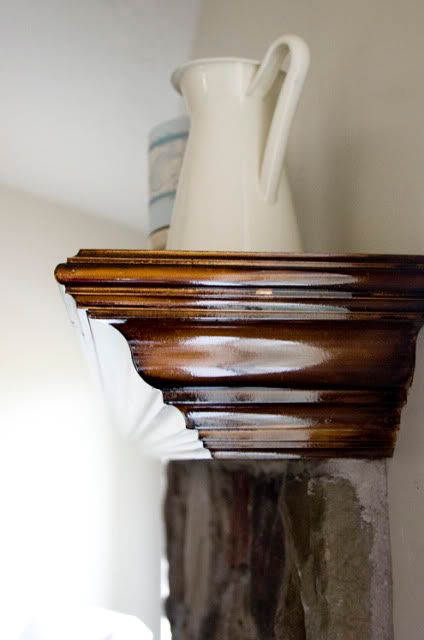
I like it so much better! I don't know why I put this off for months, it wasn't nearly as involved as I imagined it would be.

All I did is sand it lightly (very lightly) and then masked off the area around it so I didn't end up with walnut blobs on my walls. And then stained away. I used Minwax Dark Walnut as the stain. It took like a week to dry, so I probably should have sanded it more before staining so it could soak in better (according to my husband) but I'm impatient and just wanted to see the result. :)

An hour or so of actual work and 7 days of drying later, this is what we ended up with. I'm happy with it. Stain isn't nearly as intimidating as I thought it was!

Sunday, June 13, 2010

re-made lamp

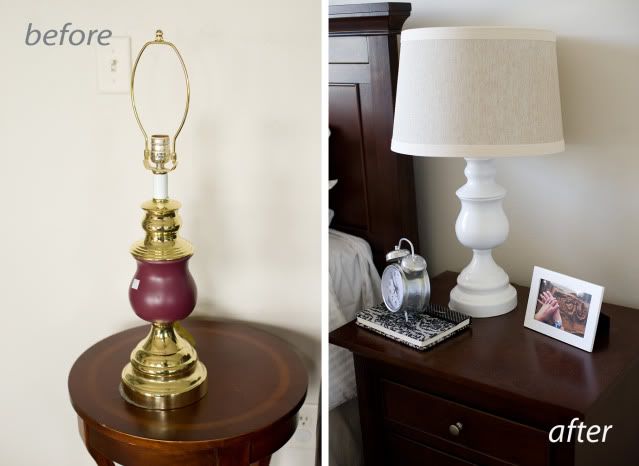
Can you imagine my excitement when I found this baby at the D.I.?!? (utah's version of salvation army or goodwill)


I scooped it up and carried it home for a mere $7!

I couldn't wait to show my husband, Scott, when he walked in the door from work.

He stared at me in kind of a funny way.

He tiled his head to the side.

He said "Um... that's nice,Sweetie... I can imagine you have some kind of big plan for it, right?" Then he smiled at me the way he does when he's thinking I'm kind of nuts. That's why I love him.

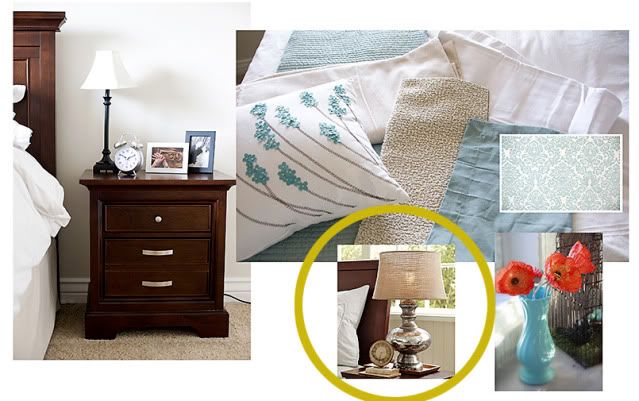
Anyway, this brass and burgundy lamp had all of the makings of a shapely classic, it just didn't know it yet. I planned on making a metal finish like the one I put in my bedroom idea board:

Mercury Lamp: Pottery Barn, $259 (I don't think I would ever spend $259 on a lamp, I'm just not that kind of gal, but I do like it. a lot.)

I even practiced with two kinds of spray paint and came pretty close to that look, a very similar finish, but when I primed this baby that all changed. It looked so good in white that I lost my desire to do anything else with it, so I sprayed a nice coat of glossy white (rustoleum makes a line that has an upgraded sprayer, it went on super fine and left a perfect finish, not a single blob, smear or run!)

I found the shade at Target, I think they work quite well together. It's different than I planned, but I love it more than I imagined!

Can you believe that brassy and burgundy thing turned into this?? Spray paint, people! Love it!


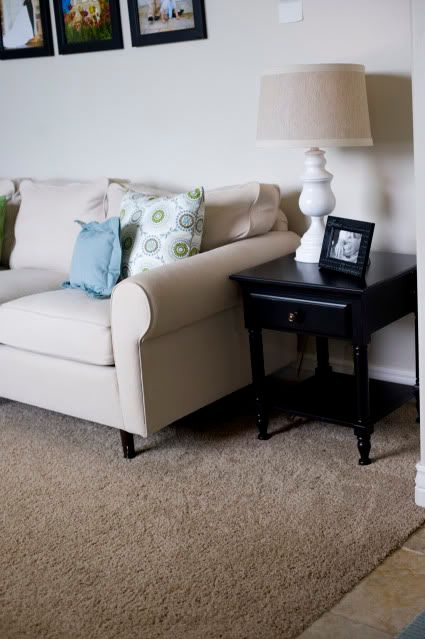
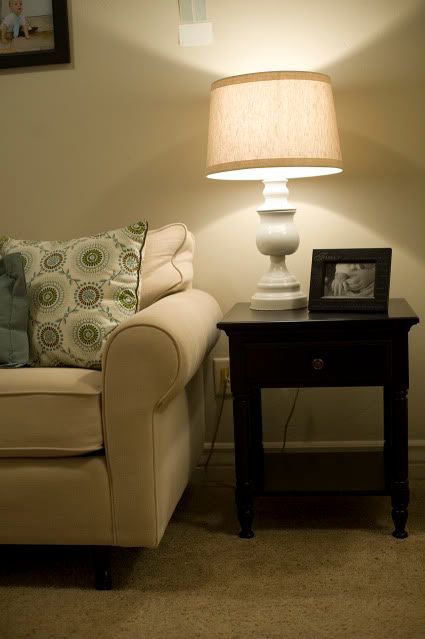
I liked it so much I carried it around the house, trying it out in various places.

It's possible that I'm slightly neurotic.

I for sure want it to go in our bedroom, but I liked it on my (new!) black table in the living room too...


time for a trip back to the D.I. to find another one, maybe I'll do a blue one for my living room!