Showing posts with label family room. Show all posts

Friday, January 28, 2011

photo ledge and wall gallery {completed!}

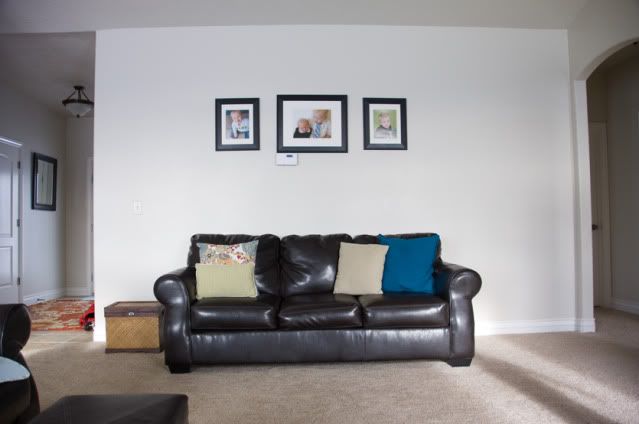
Just so we're all on the same page, here's the before:
this was taken right after we moved in, we just kind of put things somewhere until we could get to making this room how we really wanted it. It drove me crazy the whole time, still does, but I really wanted to do the kids bedrooms first, and I wasn't sure about what I really wanted in this room anyway.

I played around with ideas of a gallery wall, something along the lines of this little ditty I photshopped...
But some "man" made a design error when this house was built and guess where my thermostat is?
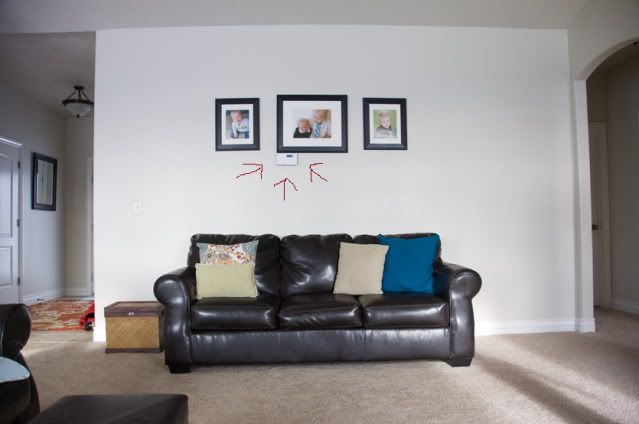
Wow, I'm telling you, a man must have done that! Poor planning. I noticed this the first time we looked at the house and we thought about moving it, but in the end, I just wanted to find a simple solution and move on.

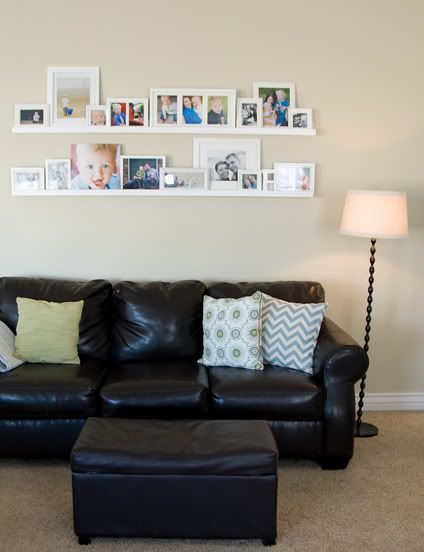
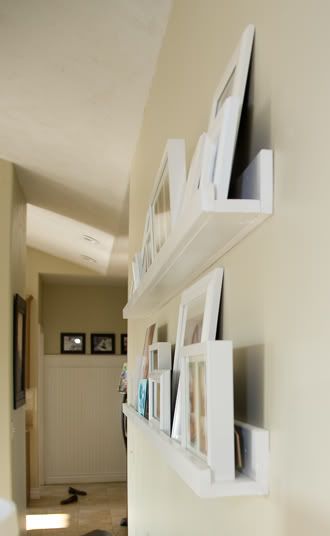
After much thought, I decided that ledges where the way to go above the couch.

I bought the ikea ledges and was so excited to put them up, but they looked too small and a little dorky, I should have taken a picture, but I didn't. We needed super long ones, and the Ikea by our house is out of them. Next option, I looked at the Pottery Barn version, it would have cost a lot, so after looking at them closely, my hubby and I decided it would be a piece of cake to DIY our own version, so we did.

All you need is 3 pieces of MDF per shelf. We went with 6 foot lengths, because they would fit perfectly above our sofa.
So it's one 1x2, a 1x3 and a 1x4. It only cost about $8.50 per shelf!
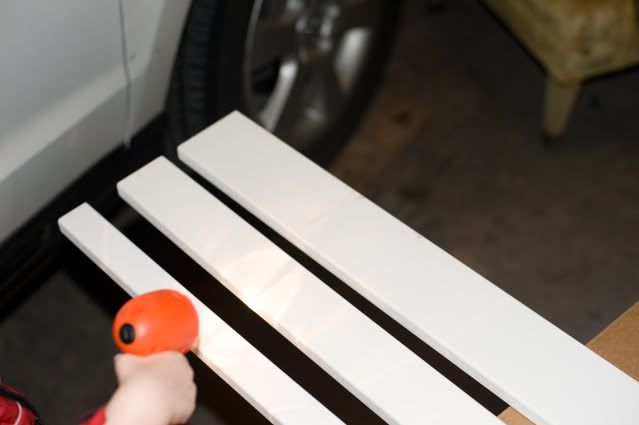
If you're super lucky, you'll have a little helper like ours who will shine his lil' flashlight on your project. :)

This took less than 15 minutes to assemble. The widest one goes on the back, the smallest in the front. We lined them up flush and used a nailgun to secure everything. They were already primed, so all they needed was a little bit of paint, which we already had on hand.

To secure them to the wall, we used 4 screws per shelf, lucky for us they lined up on studs in the wall, then we went along with the nail gun, using 16 gauge nails (big boys!) and made sure it was good and tight. It's not going anywhere! We made sure to mount it a little higher, so it wouldn't be a temptation for little fellas to grab at the pictures and hurt themselves.

Here's our finished product!
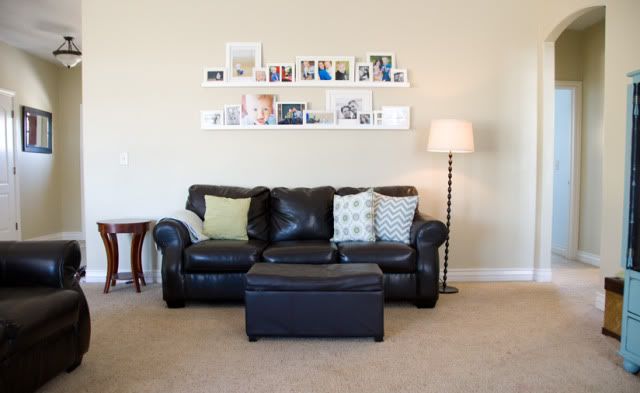
I love it! It makes me happy every time I look at it! I chose to mix black and white with color photographs because I'm a bit of a color photo junkie, the photographer in me works hard to make colorful fun images, I would be sad if every picture in my family room where black and white.
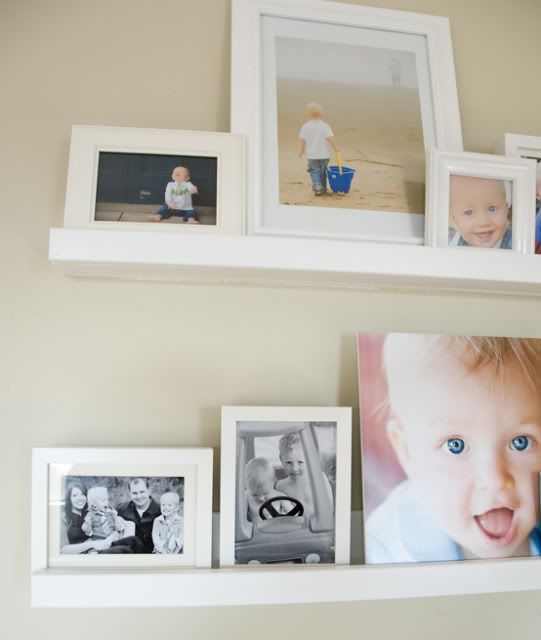

I'm really happy with how this wall turned out, it puts the "family" in family room, it feels a lot more inviting and it makes me happy to have a wall full of happy family memories, I wish I could have fit more pictures, but it's borderline overcrowded as it is!

This project was worth much more than the $17 it cost! (Technically $17 plus some frames, most from Ikea, many I already had.)

Friday, October 8, 2010

family room {painted}

I know, it's about time! We finally painted the family room! What was the hold up? Well, for starters the master bedroom isn't finished, but it's oh so close, I'm waiting for something on back order, so what's a girl to do? How about start on something new? Yep, sounds like a plan!

Remember how I have a really hard time deciding on paint colors? No? Well, I do.

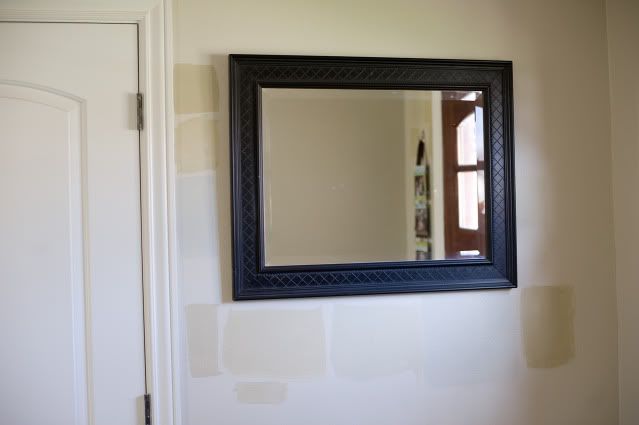
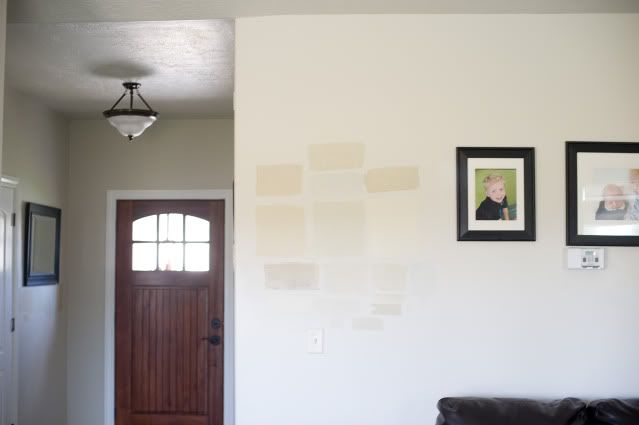
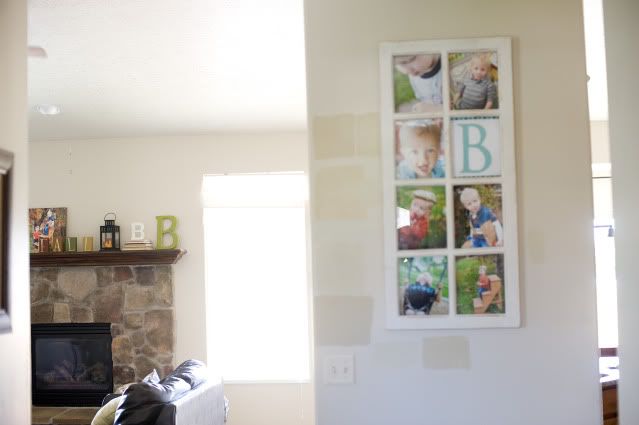
For the last 5 months I've bought tiny paint samples and painted squares on every single wall involved and judged how it looked in every light...

because I'm obsessive like that...

and because I've been known to have painters remorse, which is akin to buyers remorse, only receipts and returns don't cut it when you just know you've painted something the wrong color. It can be very disheartening, I tell you.

So I changed my mind again and again and then moved on to other things while I let myself have some more time to think about what I really wanted, because if I wasn't finding it, it was possible it was because I didn't even know what I wanted.

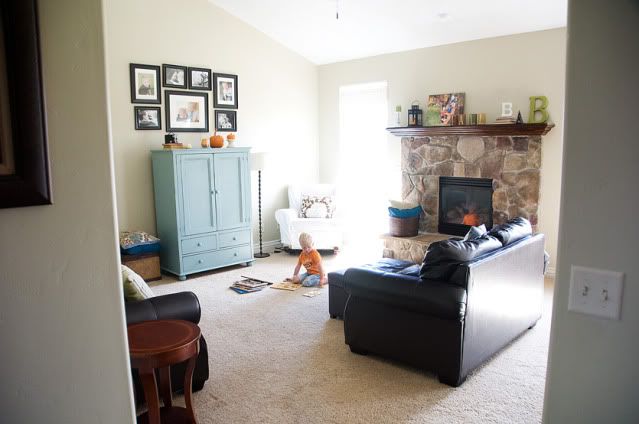
I wanted a neutral that was warm, but not too yellow-y, had a little bit of green undertone, not the pink undertone that our builder beige had in certain light, something that would wake up the space without fighting with every thing in the room for attention, and something that was subtle and soothing... In the end, I ended up making my own paint color using a paint my neighbor had in her home that I love and a few of my sample paints. I painted it on a piece of a board and then took it to Sherwin Williams a few weeks ago during the 40% off paint sale, and the nice girl at the counter color matched it for me. True Story. If you want my paint color, it's called Mindy Green (she chose the name) and it's at Sherwin Williams. I should have thought up a nice name for it, but she put me on the spot and I didn't know what to call it, so she got creative and named it herself. But don't be fooled, it's really not green. It's more like this...

(just keepin' it real, this is what a family room is used for, FAMILY, so it would have been ridiculous to make him move his puzzles so his crazy mom could take a perfect picture.)

I have more prints that I've ordered for this wall, and I can't wait to show you the wall behind the couch when I get finished with it!

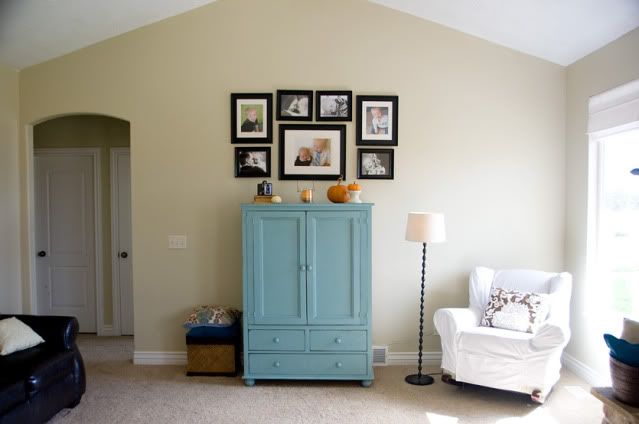
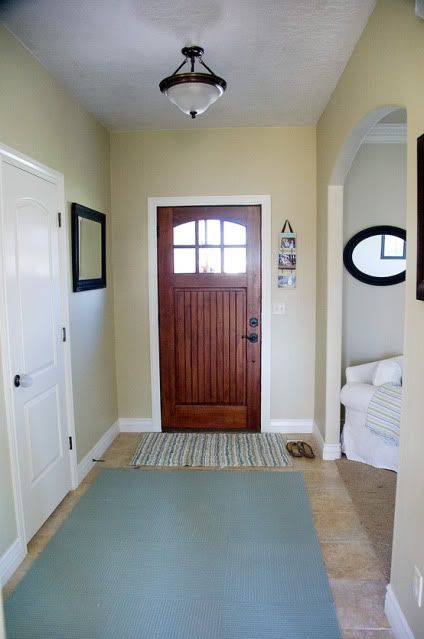
The entry got the same paint. I'm very very happy with how the color turned out. We also painted all of the ceilings white. They were formerly the same color as the walls, and it's just a personal preference, but I like a nice clean white ceiling. White gives the eye a place to rest, and I love the contrast of white trims and ceilings and doors with painted walls.
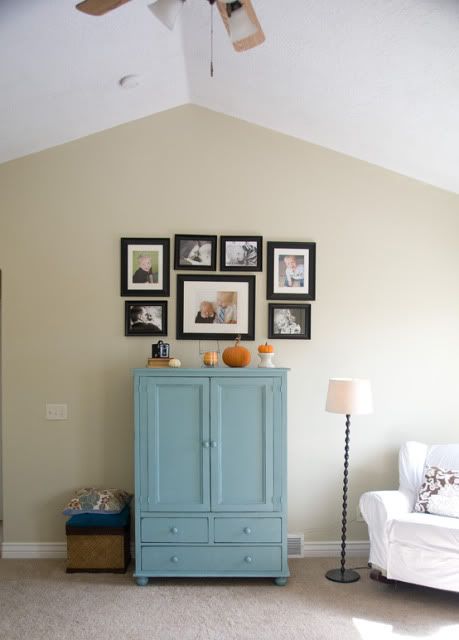
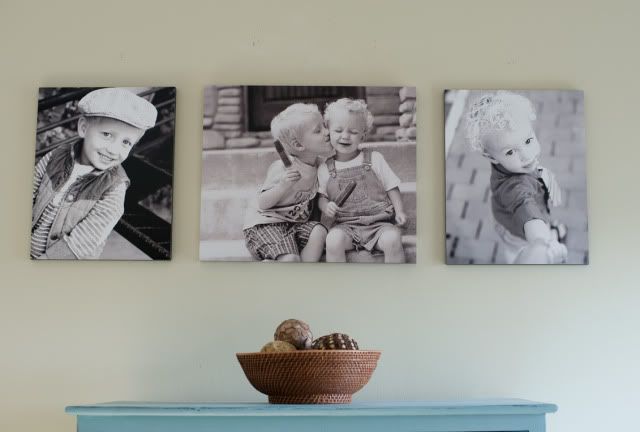
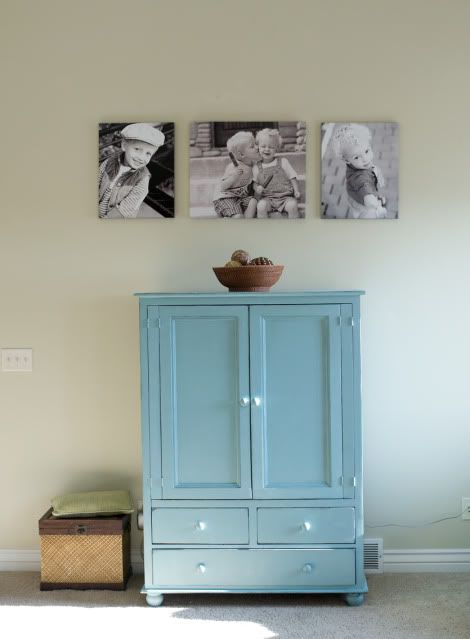
I decided to just work with the height with our vaulted ceilings and make a grouping of photos that take up a lot of the space above the armoire. At first I worried if I went too high with it, but as we've lived with it for about a week now, I find it makes the room seem bigger, because it accentuates the tall walls. I'll be adding to this and hopefully it will be looking more complete.


It's not perfect, and I'm not even close to finished, this is round one. I've got plans for the wall behind the couch, that's round two, but it will really become what I have in my head when the basement is finished and these couches move downstairs. Then the fun will begin! [insert evil laugh here.]

Wednesday, August 18, 2010

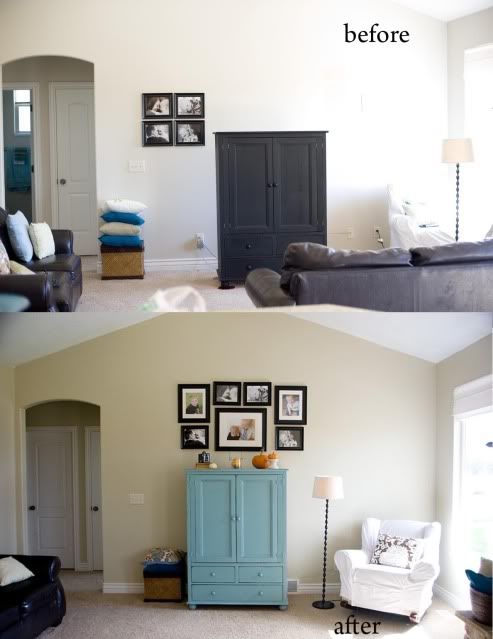
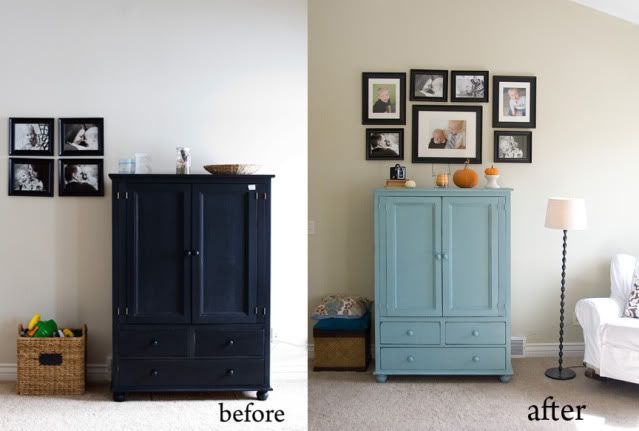
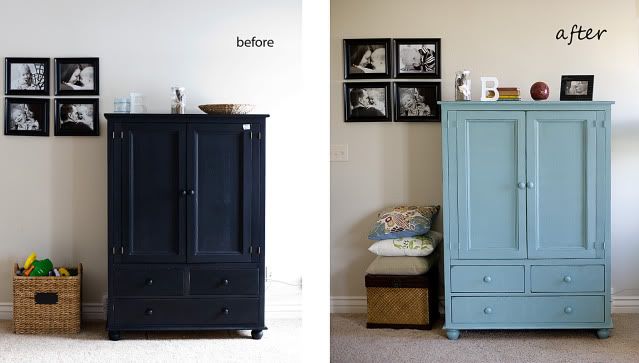
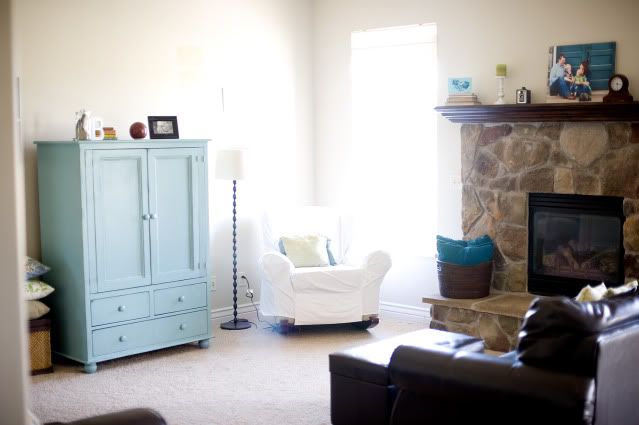
[painted armoire] before & after


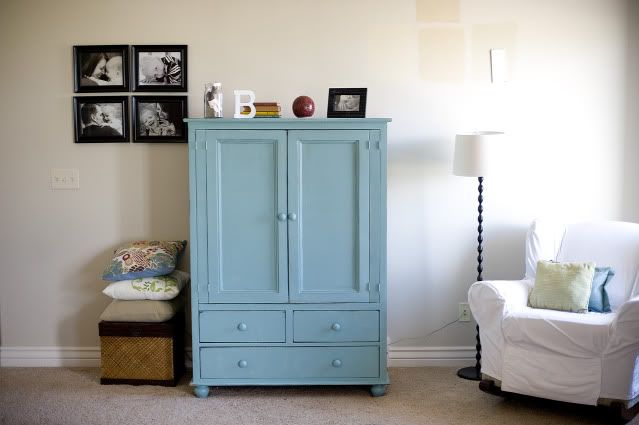
Yes, I finally did it!


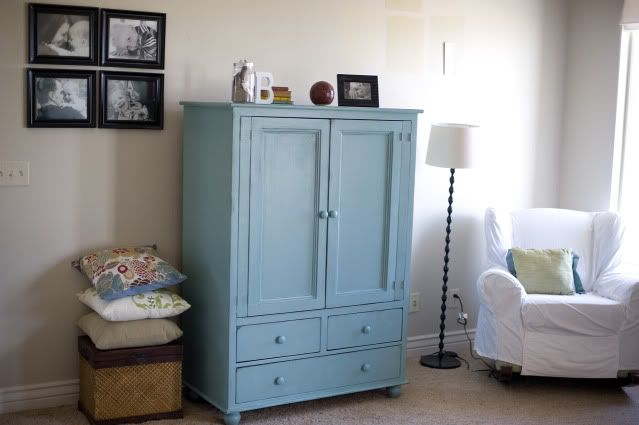
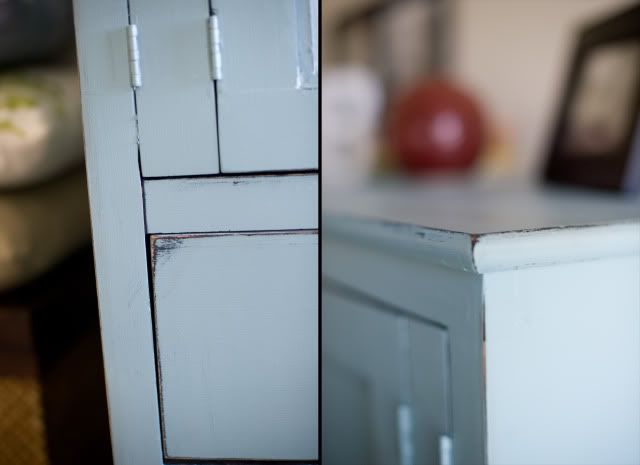
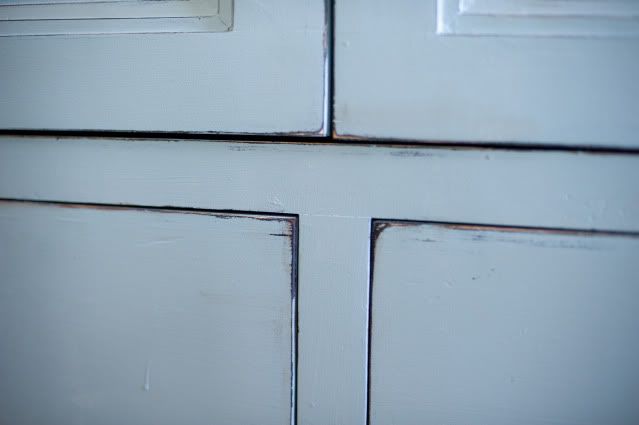
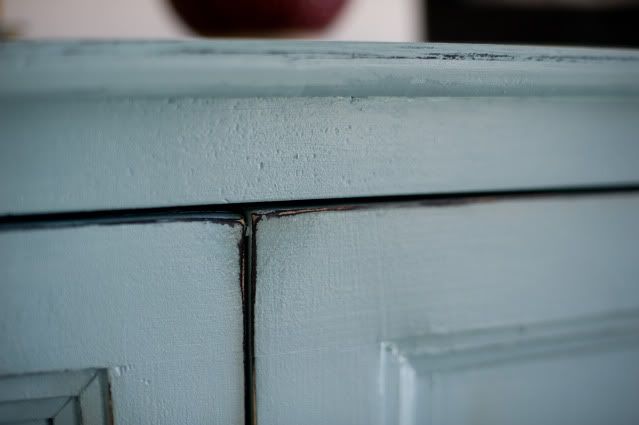
I did some light distressing on it, I used 120 grit sandpaper and just did it by hand. I tried to rub the places I thought would have been worn over time if it were an old piece. The edges, the corners, the little parts that rub together when the doors open and close. The distressed parts may have turned out to be my favorite of the whole thing.


I love how the bottom coat of black paint peeks through in some places. I took some walnut stain and did a tiny bit of glazing in some of the corners and distressed places. I used a wet rag and the tiniest amount of stain and rubbed it in key places to make it look a little bit older, rather than a freshly painted piece.

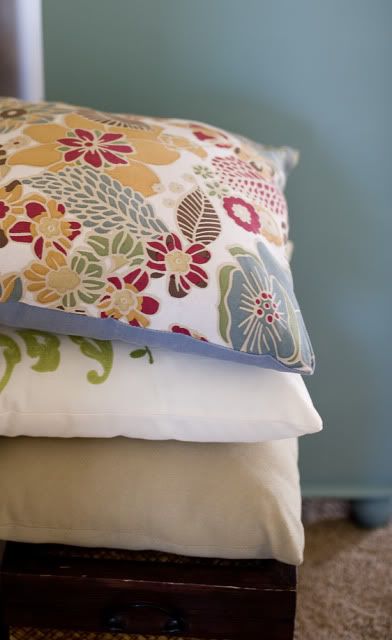
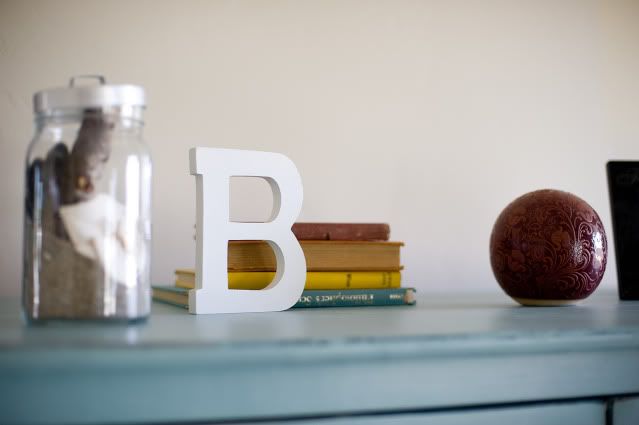
I rounded up some more colorful accent pieces and pulled out some of the reds in my pillows.


It makes the family room look way more fun.

I didn't hate the black, infact, I liked it, but with our dark brown couches I just felt like all of the dark stuff was sucking the light out of the room, and sucking the life out of me!


What I love about a piece like this is that it's perfect for family life. I'm not going to stress out about my boys driving their cars on it, or opening and closing the doors over and over, because it's supposed to look "lived in". When the day comes that I decide to change up my colors and phase out my blues, greens, aquas and turquoise, I can paint it another color, or white, and it will look great with layers of paint showing through in the distressed places.

I'm pretty happy with the way it turned out! There's nothing a new coat of paint can't fix!

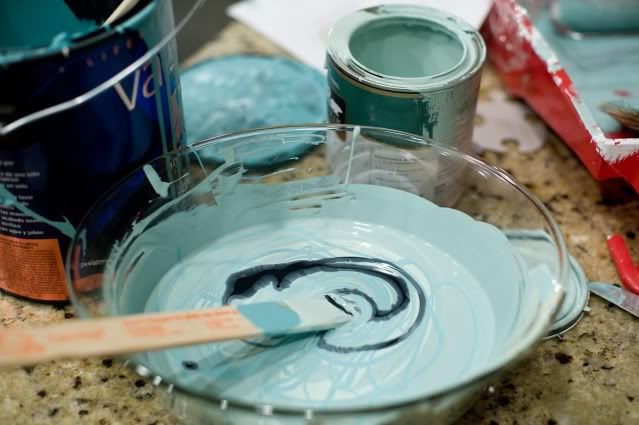
And here's the disclaimer. I did, in fact, make my own custom paint color. I chose a color I thought was perfect (Behr Marina Isle) and I put the first brush sroke on and could tell immediately it was way too light. It almost looked baby blue next to the black. WRONG color! I panicked for about 3.5 seconds, then I remembered the turquoise paint I used in my big boys room, and added some of that and some black and a little bit of tan so it had a more gray or dirtier look to it. It turned out just right!