Showing posts with label big projects. Show all posts

Thursday, August 5, 2010

outside update

The Black Family is pleased to announce, that after much sweat, tears, trials and tribulaions, we now have a little somethin' somethin' growing in the backyard...


yep, that would be tiny baby blades of grass!!!

and it's growing in our yard! We are so excited! (It only took us most of the summer)

It all started with DIRT. lots and lots of dirt.
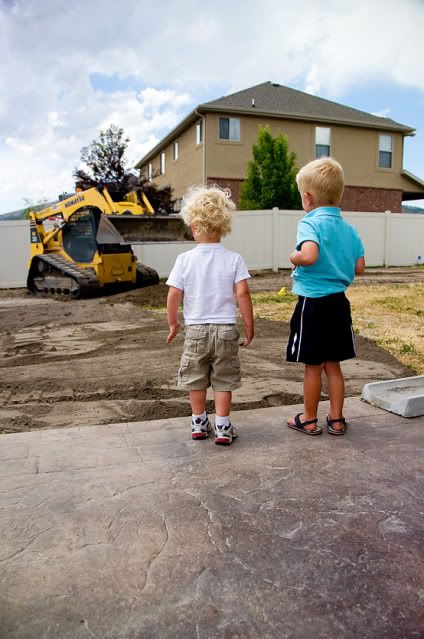


and SPRINKLERS, put in by my hard working hubby:


We are so happy to finally have this one checked off the list. We went with hydroseed rather than sod in hopes that it will grow into a nice luscious lawn, you sure miss out on the instant gratification element that way, but we're learning patience around here, after all.

speaking of patience.... I've been waiting since Christmas to use this:
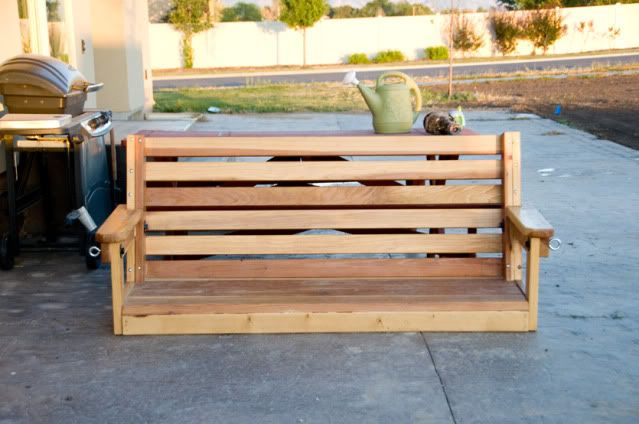
my dad made us this swing for the backyard and I can't wait to hang it from the pergola we're building on the patio!

In other news, we also now have flower beds in the front yard!
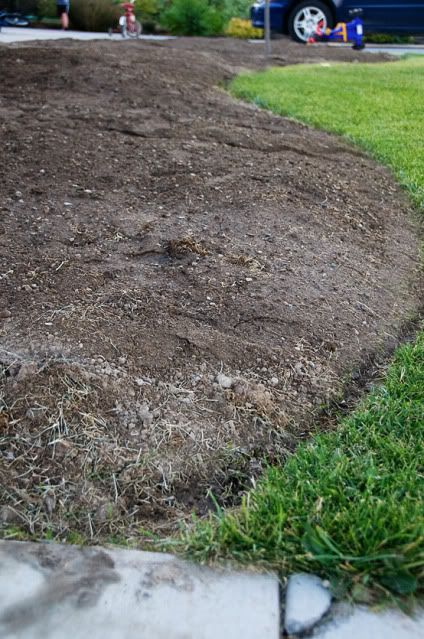


I used an extension cord (because I couldn't find string or a rope) and made a line about the shape I was going for along the grass, then spray painted that line, then came the hard work. I got down and dirty with a shovel and cut the line and ripped out sod for 4 nights in a row while my sweetie hauled wheelbarrows full of dirt into my beds for me!
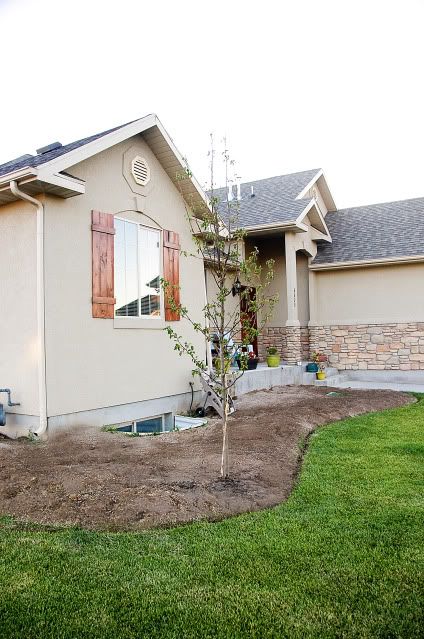
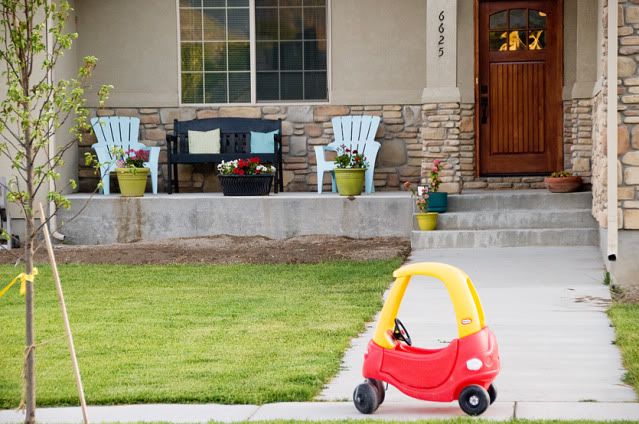

One night I had just come home from a cycling class at the gym to find him out there with at least 6 neighborhood little boys, all digging in the dirt and helping him. He decided to start without me, but I think he really just wanted to play in the dirt with the kids! I should have taken a picture, but those little boys went home dirty for a few nights in a row. They dug tunnels and really got into it. Our kids where the cool kids on the block because of our dirt pile. :)

We still need to add some nice organic matter to the dirt and a nice mulch on the top, but it's taking shape! I can't wait to plant in them!

This calls for a new before and after!

before:


AAAHHH!

after:
ahhh.


Landscaping is hard work. But it makes this house feel a lot more like a home, so we're glad to have done it. We're not just going to sit around and wait for grass to grow though...

so in typical Mindy fashion, I've already moved on to the next big thing, and I can't wait to show you my big boy's room! (wink wink)

Tuesday, May 25, 2010

{almost} the slip cover of my dreams


I'm finally finished!

One more project to check off the list, that's always a great feeling.

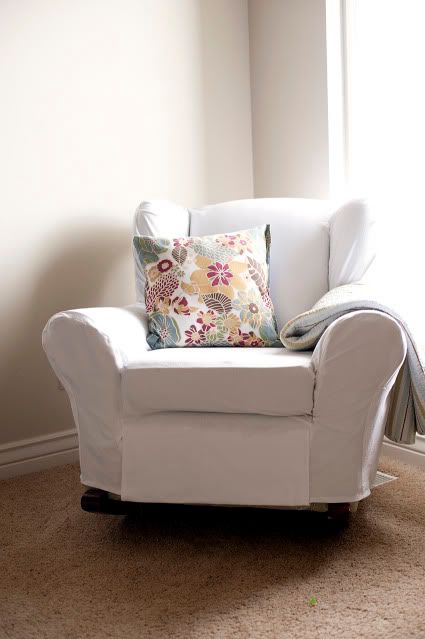
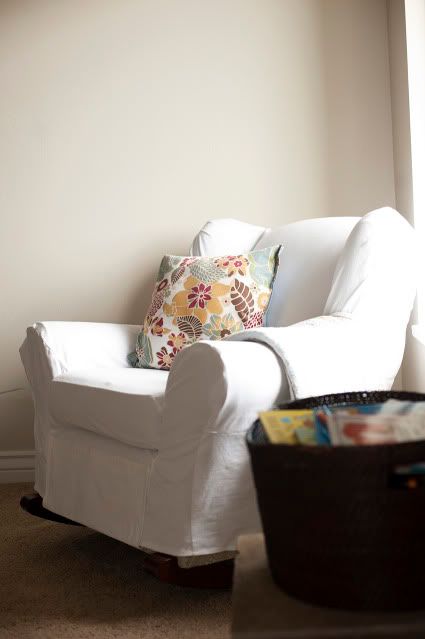
and of course I couldn't leave it naked for long, I had toss a pillow and throw on it before I even had the thing hemmed. The throw is kind of hard to see with the sun shining on it, but this is what it looks like:

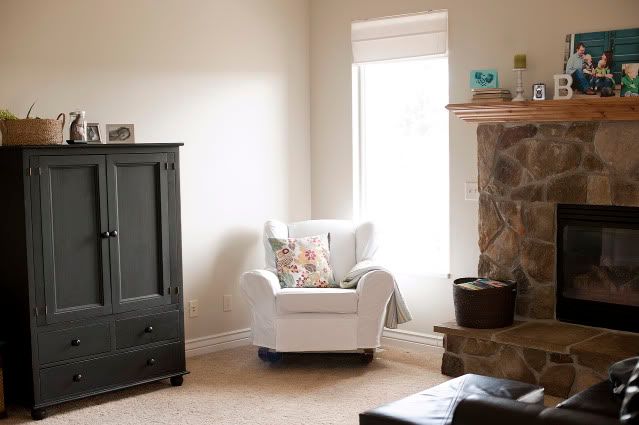
I think it may have a permanent home right there in the cozy corner with my "new" chair.
(the pillow is made from a place mat I found at pier1 a little over a year ago.)

I've had this nice upholstered rocker since right before my first little fella was born. It has been an awesome chair. It's been in the master bedroom for most of it's life, and I spent many a happy time blissfully nursing my babies in it. It was a floor sample, so we got a killer deal on it, but it was never my favorite fabric and I felt like it was hard to work around. (it was kind of a light sage green with white flowers on it.) I didn't hate it, but I didn't love it.

Now I love this chair more than I ever have.

Yep, it's white.

Yes I have two small boys.

No, I'm not worried about it one bit.

The fabric is 100% cotton twill and extremely washable/bleachable/OxyClean-able. My theory on dirt is why hide it? I would rather see it and wash it out. Having dark furniture wouldn't make it anymore clean... It would just be trying to hide it(even though I don't really believe that works.)So I'm prepared to be washing this baby as needed.

We've been contemplating couches... right now we have dark brown leather (or pleather? not sure.) couch and love seat. When our basement is finished they'll be headed downstairs and I'm thinking I probably want to go with a white slip covered couch and two colorful side chairs would replace the love seat... but for now I'm happy with how this chair fits with what I have and I'm sure it will look great with where this room will be going later.

It made a huge difference bringing this chair out of the bedroom and into the family room. My boys want to sit in it and look out the window with me in the morning, they love to read in it and be rocked in it again because it's right there where the excitement is, in the family room. The room just feels so much cozier with it there.


I'm an impatient sewer. I just want the final product, so it's really hard for me to force myself to slow down and be careful when I'm seeing the finish line in sight. I would consider myself an amature seamstress at best. I don't sew clothing, I hate following a pattern, and I'm happy if it's not perfect, but just "good enough". I would rate this as a medium difficulty level project.

If you look close you're bound to see imperfections... like how after I got it all hemmed up and finished I put it on and it was about an inch shorter than I intended. Oh well. If it bugs me bad enough I'll add to it with a ruffle or something to make it look like I meant to do that, but I don't mind showing it to you like this.... mostly. :)

Here's how I went about it:

* buy and wash about 5-6 yards of 100% cotton twill fabric (JoAnn 50% off coupon made it a little more than $3/yard, less than $20 total.)

* cut and pin pieces around the chair, basically making it from the inside out

* sew!

About half way through sewing I realized I didn't even cut the fabric on the bias... oh well! I don't think it made a difference, but maybe I just don't know what I'm talking about so ignorance is bliss. I was so over it by then and it couldn't be bothered with, so I just kept on chuggin'.

The hardest part for me was seeing how it needed to fit together when it was off the chair, a few times I had to put it back on the chair and re-pin to make sure I was sewing it right.

Here are some gals who can tell you what to do a whole lot better than I can:
the nester

Just do what they did and you'll be all right, promise.

I pinned it all together in about an hour, and then three weeks later I sewed it and finished it on a Saturday night, probably 2 hours of sewing and adjusting total. If you know what to do it's really not a bad little project.

Thursday, April 22, 2010

fabric day!

"Hallo... It's fabric day!"
(As said by FRONK from one of my favorite movies, Father of the Bride Part 2)


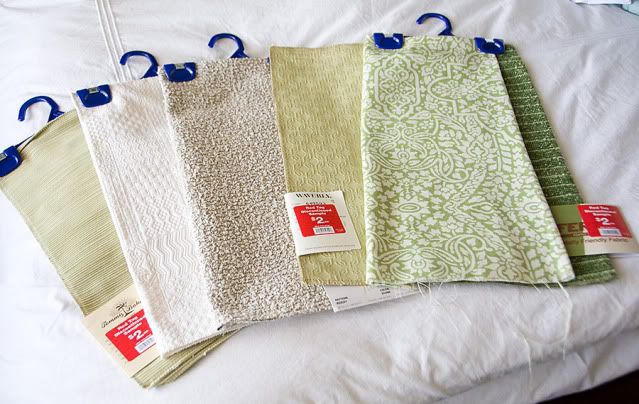
I announced this to my husband  one day last week when he came home from work (yes, of course I said it in my Fronk voice). I had taken the boys out fabric shopping and I came home with loads of sample pieces.

(Note to self: fabric shopping + 1 three year old + 1 [almost] two year old= chaos.)


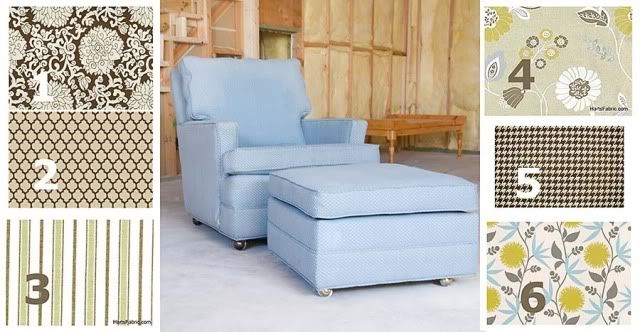
This is what I'm planning on doing with all of this fabric:


I picked this chair and ottoman up from a classified ad. ($30 for the set!)

I've been looking for a re-upholstery candidate  for over a month now and was delighted to find this one, it's in great shape, the cushions and frame are all good, it just has faded fabric and a tear in the ottoman. I plan on teaching myself how to upholster on this baby. I'll let you know how that goes.:)


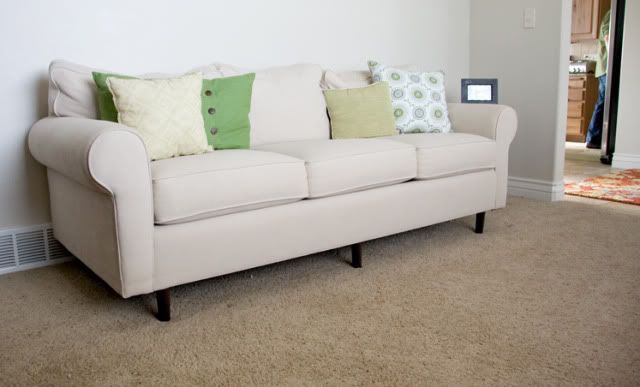
I love it's shape, and it's a good size for my living room. The couch in that room is kind of off white:


So I'm deciding between those fabric choices (or something completely different) for the chair. I don't want a "stuffy" formal living room. I want it to be casual and inviting.

Any opinions on these fabric choices? Which ones do you like the best?

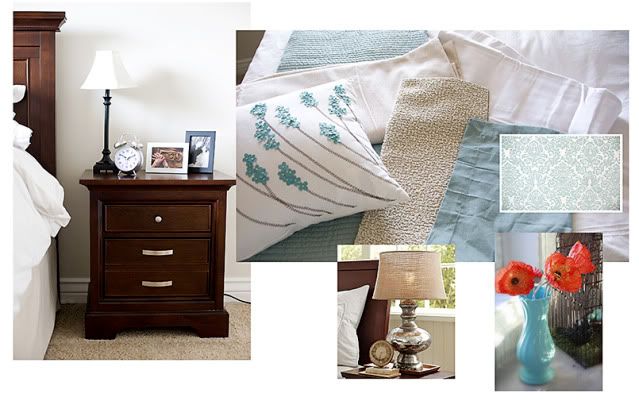
My other ongoing project right now is the master bedroom.

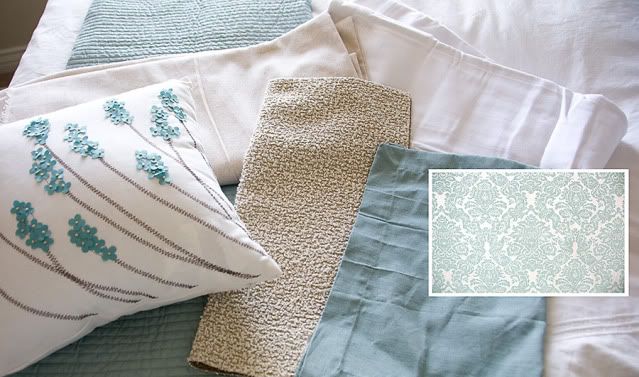
Here's what I've come up with for fabrics:


All of this will be against the backdrop of my white duvet cover.

Here's where I'm going with it:


I have most of it pulled together and was really hoping to get some sewing done, but my hubby has been out of town on business so it's just me holding down the fort with my little guys. (I don't know how single moms and dads do it, but those of you who do are AMAZING! I don't think I would do it very well, it's hard hard work!)

On this fabric hunting expedition, I also found all of these!

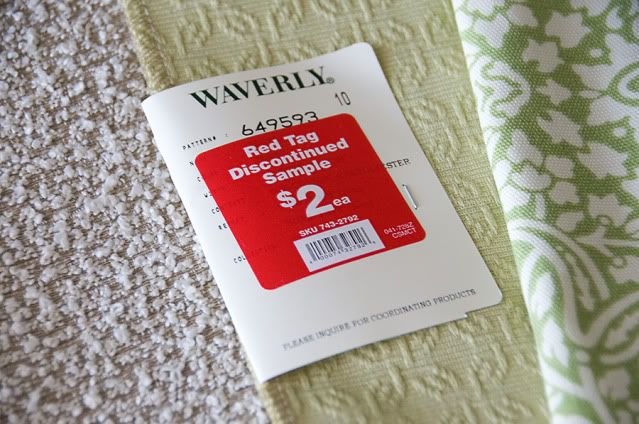
discontinued sample fabrics at JoAnn. They are already surged and the perfect size for pillow forms. All you have to do is attach two of them together or use a different fabric you already have as a backer.


And at $2, that makes for a pretty inexpensive and easy pillow form!

Now I just need to get sewing (and upholster-ing!)

Tuesday, April 13, 2010

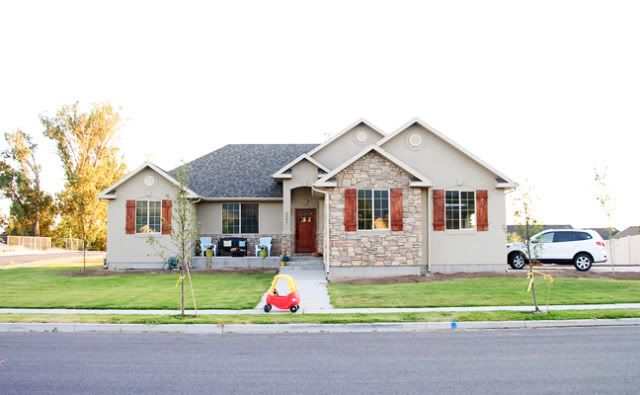
give my shutters some love!

They're up!


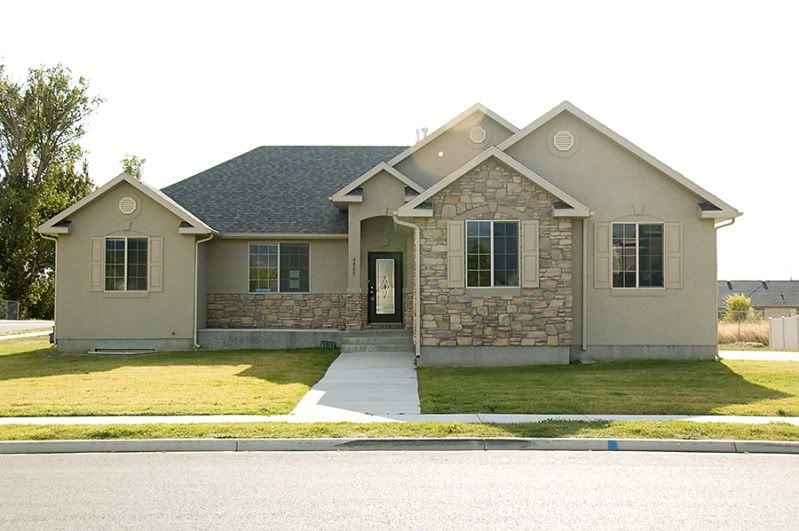
And to refresh all of our memories, here is the outside of the house when we first saw it... no wonder it sat empty for a while!

the shutters where pretty much the same color as the stucco. The door mostly glass, a kind of spider-webby design. It didn't fit the style of the house or the neighborhood.

When I showed my hubby the MLS picture of this house he was not impressed, and he thought I was kind of nuts that I wanted to come and see it. We had some cute houses on our list.
Like this little cutie:


But the neighborhood just didn't feel right. And we had made that mistake once before. What I really wish is that I could have picked this house up and moved it to this neighborhood. I still mourn for this house. I really loved it. The craftsman style, the white trim, the fact that it was green clap board and shingle style siding (with board and batten style on the sides and back) and not stucco... Anyway, we really wanted a neighborhood with lots of kids, and that just wasn't happening there.

So let's shake that house out of our heads, shall we?? :)


We knew this was the right house for us before we even saw the inside. we drove the neighborhood and saw kids and families all over the place, an amazing park with a creek and tall trees, and lots of trails and green space... the first time we walked the neighborhood, we met so many friendly neighbors who where so welcoming. We felt like we were buying the neighborhood more than the house. We decided to make up for what the house was lacking with a lot of hard work.

A few weeks after moving in, I painted the shutters black with paint we already had from our old house. It looked better, but when we replaced the door it bugged me to have black shutters with the chestnut colored door...

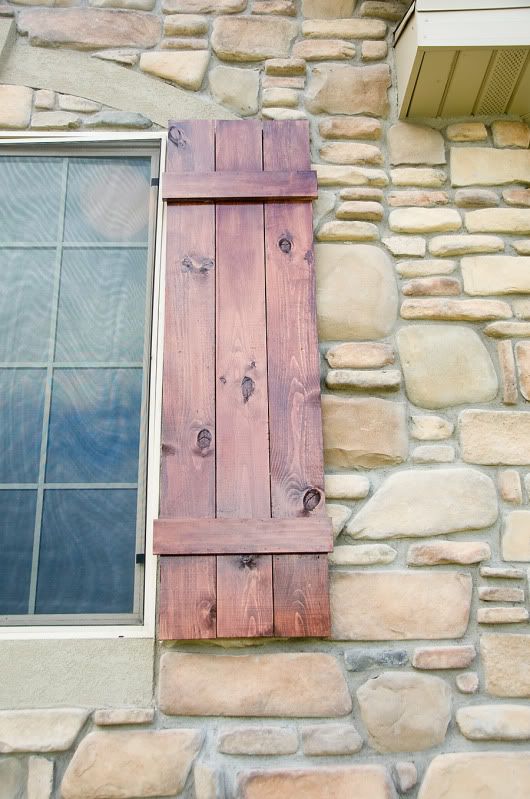
Thus the shutter building project.


First off, I'm pretty proud of myself... I built them 90% all by myself. I had the hubbs cut a few of the pieces of wood once I got going to hurry things along, but I did everything else sans man-powers.


Hubby was proud. It turns him on when I use power tools.

He did do most of the work with hanging them, though. And that turned out to be a hard job.

Mostly, I'm pretty happy with the result. They make the house look a little more cottage-y and a little more rustic craftsman-y (yep, I just made those terms up.)

We took one down right after we got them up on Saturday, it needed some tweaking. The stones are uneven and it's been really hard to make it look perfect where they are mounted on the stone.

Here's my advice to anyone attempting something similar:

* note to self: it's really hard to attach anything to stone... the part where the stones where under the shutters took a really long time, and one still needed more work, so we took it down to tweak it a little. The stones are really uneven and making it hang just right has been interesting.

* choose a wood that is the same species as your door (if applicable) so they'll stain up the same.

* hope your hubby is as smart as mine when it comes to hanging things to the outside of your little stucco house. It really was a pain. He tried to do it the hard way, using all of the same holes from the old shutters and making a template for the screws in the new shutters, but the old ones where secured with plastic anchors and many of them broke off in the rock or stucco. In the end, we ended up filling the holes with special stucco filler/sealer and making new ones.

It turned out to be a most-of-the-day Saturday project, so I granted the Hubbs immunity from house projects for a week... he deserves it!

Now my sad little yard looks bare naked. We bought this house without a single tree on the property, all that had been done with landscape is grass in the front yard.

We've got a summer full of planting and yard work ahead of us!

For now, I'm just glad to have these up!

Total cost: about $83.00. I had the stain and everything else on hand, so the wood was the bulk of the cost. Not too shabby!

I'm linking up:


DIY Day @ ASPTL